
Okay, here’s my blog post about my experience using grids with speedlights:
So, I’ve been messing around with speedlights for a while, trying to get better at controlling the light. I kept seeing these cool photos with really focused beams of light, and I figured out it was all about grids. I finally decided to give them a try, so here’s how it went.
Getting Started
First, I grabbed my speedlight – just a basic one I picked up a while back. Then I ordered a set of grids online. They came in a pack with different degrees, like 10°, 20°, and 30° I think. I had no idea what the difference was, to be honest, but more options seemed good!
I clipped the grid holder onto my speedlight. It was pretty easy, just a stretchy band thing that went around the flash head. Then I slotted one of the grids into the holder. I started with the 20° one, just because.
The Messy Experimentation
My first attempt was… well, it was a learning experience. I set up a little toy car on my table, thinking it would be a cool subject. I positioned the speedlight off to the side and fired a few shots. The light was definitely more focused than without the grid, but it was still kinda spilling everywhere.
So, I started moving things around. I moved the speedlight closer, then further away. I angled it up, then down. I switched to the 10° grid, and then the 30° grid. It was a lot of trial and error, and honestly, my table was a disaster zone of light stands and random objects I was using as test subjects.
- First try: Too much spill.
- Second try: Better, but still not quite right.
- Third try: Finally getting the hang of it!
Figuring It Out
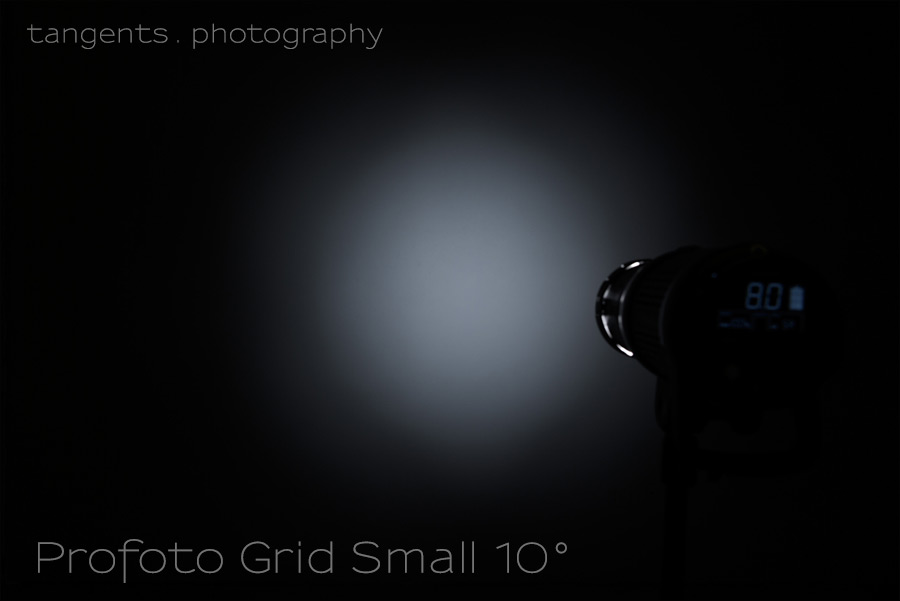
After a bunch of fiddling, I started to understand how the different grids worked. The smaller the degree, the tighter the beam of light. The 10° grid was super focused, like a spotlight. The 30° was wider, but still much more controlled than no grid at all.
I also realized that the distance between the speedlight and the subject made a HUGE difference. Closer meant a smaller, more intense circle of light. Further away made it bigger and softer.
The (Almost) Final Result
I finally managed to get a shot I was pretty happy with. I used the 20° grid, positioned the speedlight slightly above and to the side of the toy car, and made sure it was close enough to create a nice, defined pool of light. It wasn’t perfect, but it was a million times better than my first attempt!
It definitely takes some practice, but using grids with speedlights is totally worth it if you want that controlled, dramatic lighting. I’m still learning, but I’m excited to keep experimenting and see what I can create!
")


")


