
Okay, here’s my photostyling purple journey, just like I’d chat about it on my blog:
## Photostyling Purple: My Experiment
So, I was feeling kinda stuck in a creative rut, ya know? Everything was looking the same, and I needed a jolt. Purple’s always been a color I admire from afar, but never really used. Figured, why not dive in?
First thing I did was gather inspo. I hopped onto Pinterest, Instagram, all the usual suspects. I was looking for moods, not just pretty pictures. I wanted to see how other folks used purple – was it moody and dark, light and airy, or something totally unexpected? I spent like, an hour just scrolling and saving, trying to nail down what kind of purple vibe I was going for.
Next, I had to round up some props. This was the fun part! I went digging through my existing stash. Surprisingly, I had a few things already – a dusty lavender scarf, a couple of amethyst crystals I’d forgotten about, and a ceramic dish that was almost-but-not-quite purple. Then, I hit up a few thrift stores and a local craft shop. Found some cool textured paper, some dried flowers with purple accents, and a funky vintage vase.
I spent a good chunk of an afternoon playing with lighting. Purple can be tricky! Too much light and it washes out, too little and it disappears into the shadows. I experimented with natural light (diffused through a sheer curtain), and a small LED panel with a color gel. The LED panel was a game changer! I could really control the hue and intensity of the purple.
Then came the actual styling and shooting. This is where things got messy (in a good way!). I started with a simple composition – the ceramic dish, the crystals, and the scarf. Took a few shots, didn’t love ’em. Felt too flat. So, I added the dried flowers, and played around with the angles. Moved things around, shot from different perspectives, tried different depths of field.
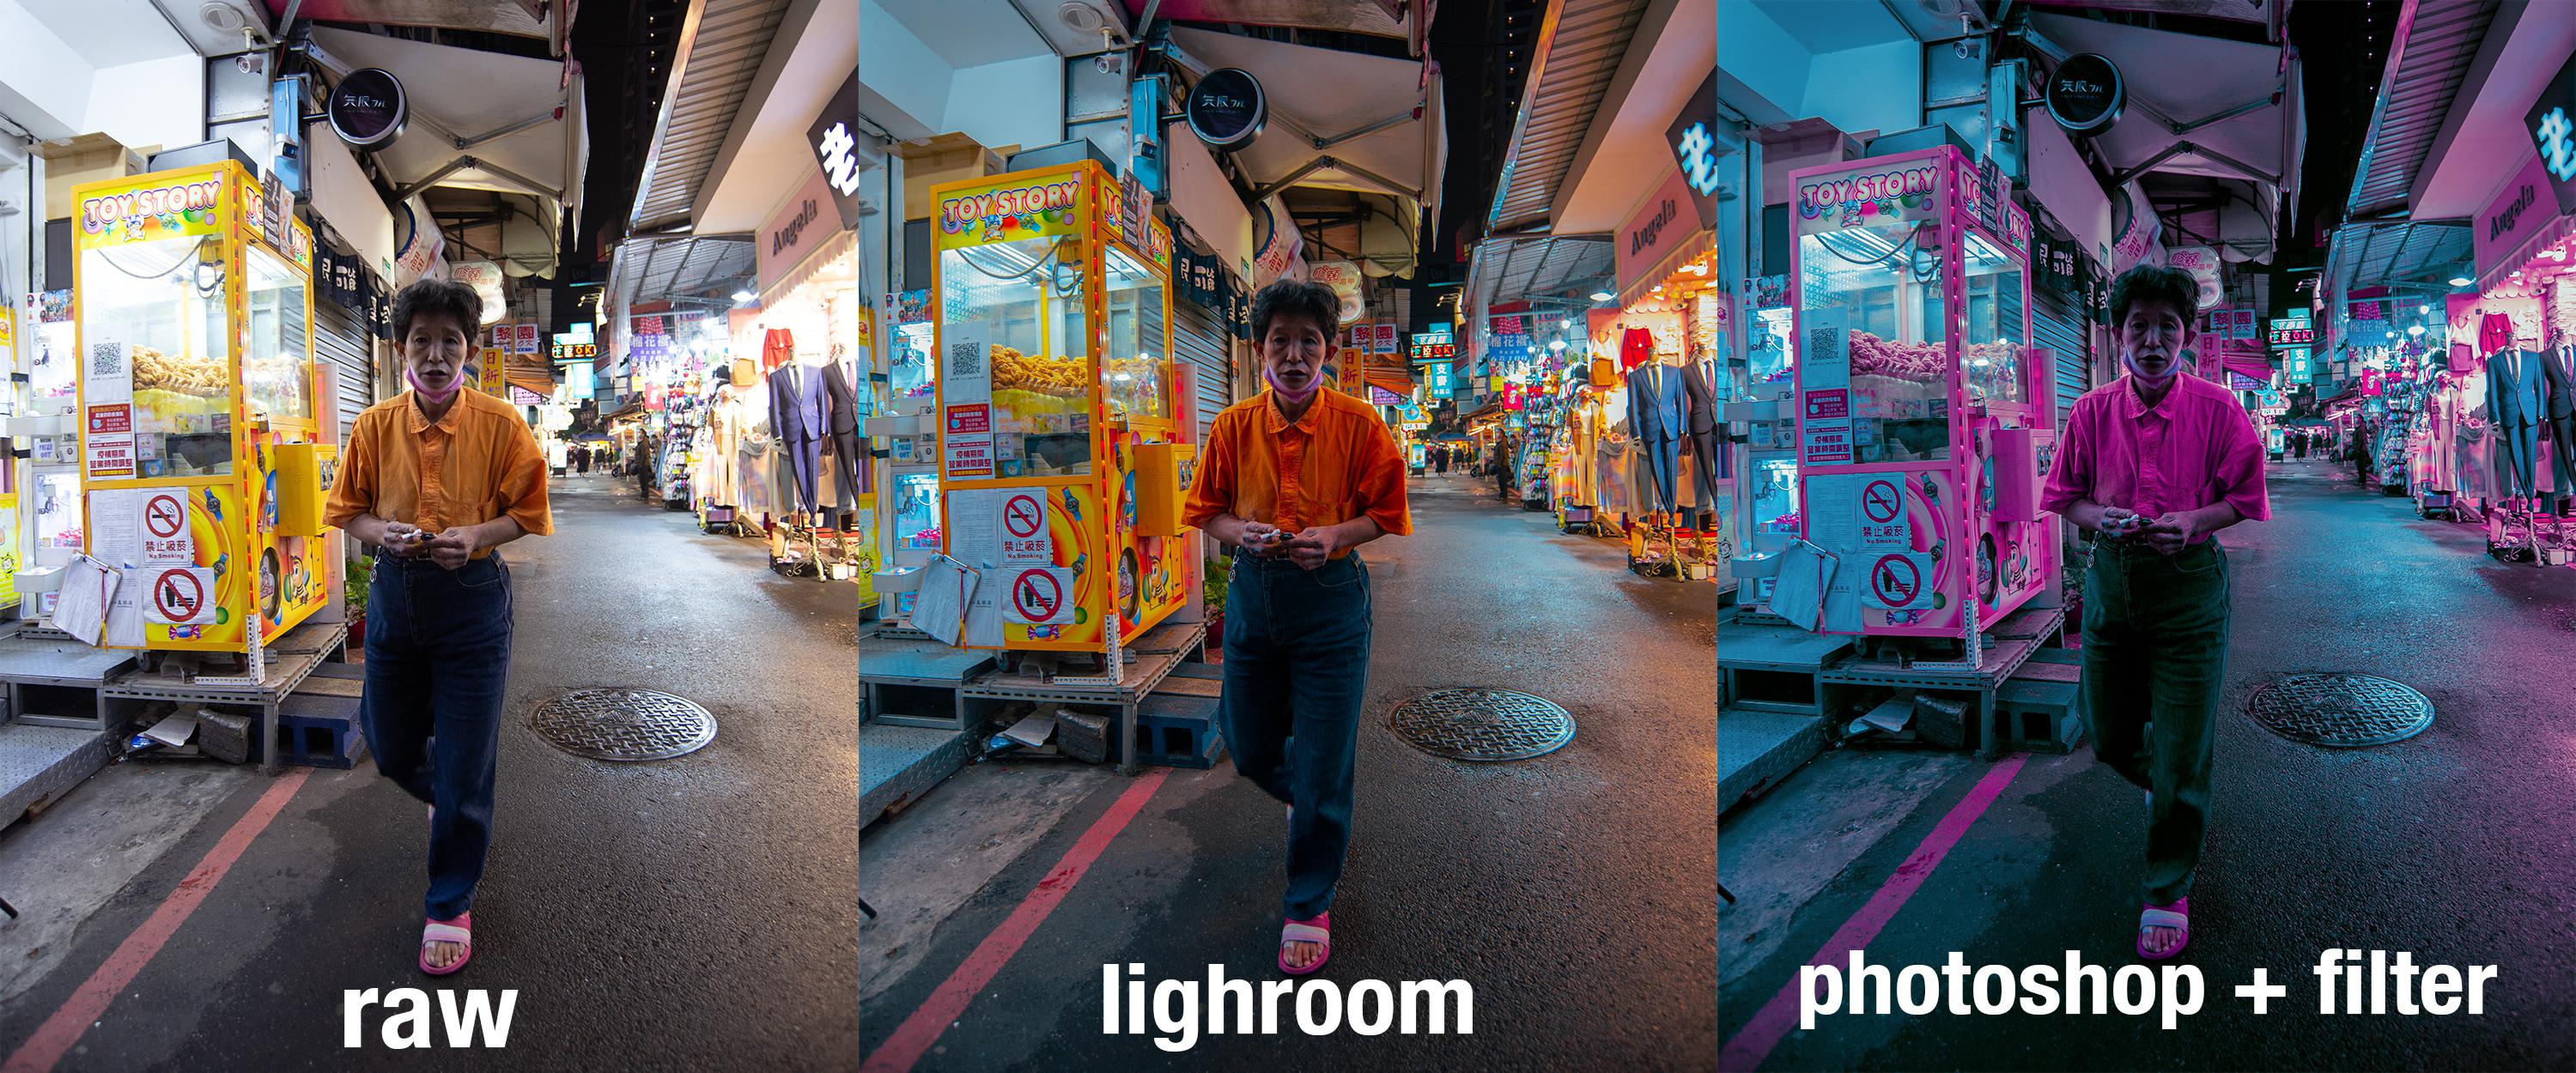
After the shoot, I jumped into editing. I use Lightroom, mostly. I adjusted the white balance to make sure the purple tones were accurate, tweaked the exposure and contrast to add some drama, and did a little bit of color grading to enhance the overall mood. I didn’t want anything to look too processed, just a little bit polished.
Finally, after a ton of tweaking and fiddling, I had a few shots I was actually happy with. It wasn’t perfect, but it was a start. I’d definitely call it a learning experience.
What I learned:
- Purple’s a lot more versatile than I thought!
- Lighting is KEY (duh, but especially with purple).
- Don’t be afraid to experiment! Some of my best shots came from happy accidents.
Would I do it again? Absolutely! I’m already thinking about my next color challenge… Maybe something with greens and golds? We’ll see!
")


")


