
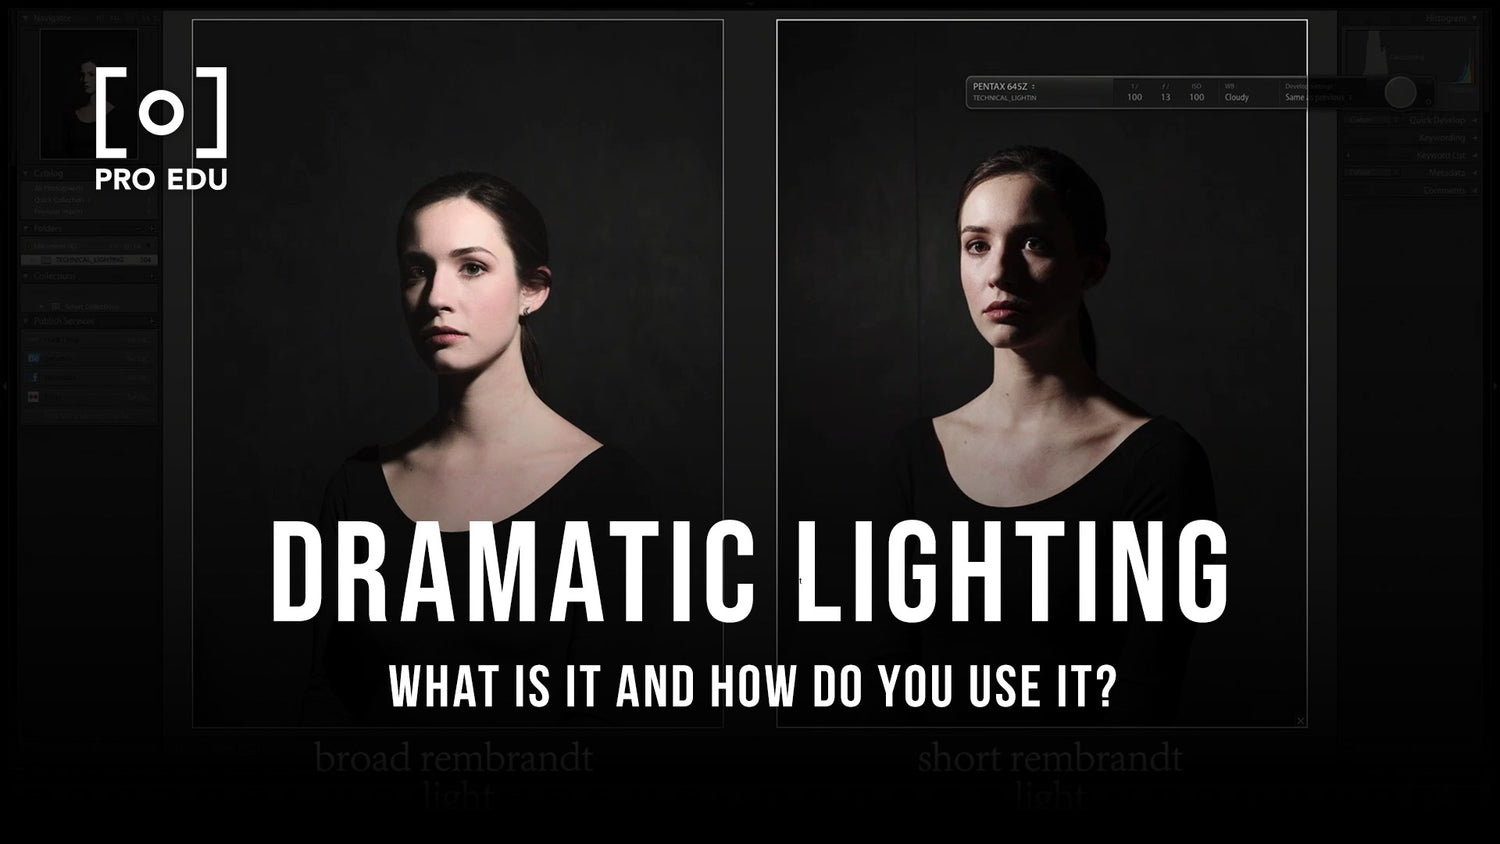
Okay, so I decided to mess around with side lighting today. Saw some pictures that looked really cool, lots of shadows and stuff, and thought I’d give it a try myself. Didn’t really have a big plan, just wanted to see what happens when you stick a light on the side of something.
Setting Things Up
First, I grabbed my old desk lamp. Nothing fancy, just a regular lamp with a bendy neck. Found a simple subject, an orange I had lying around, and put it on the kitchen table. The room was kinda dark already, which helped. I figured less light overall would make the side light stand out more.
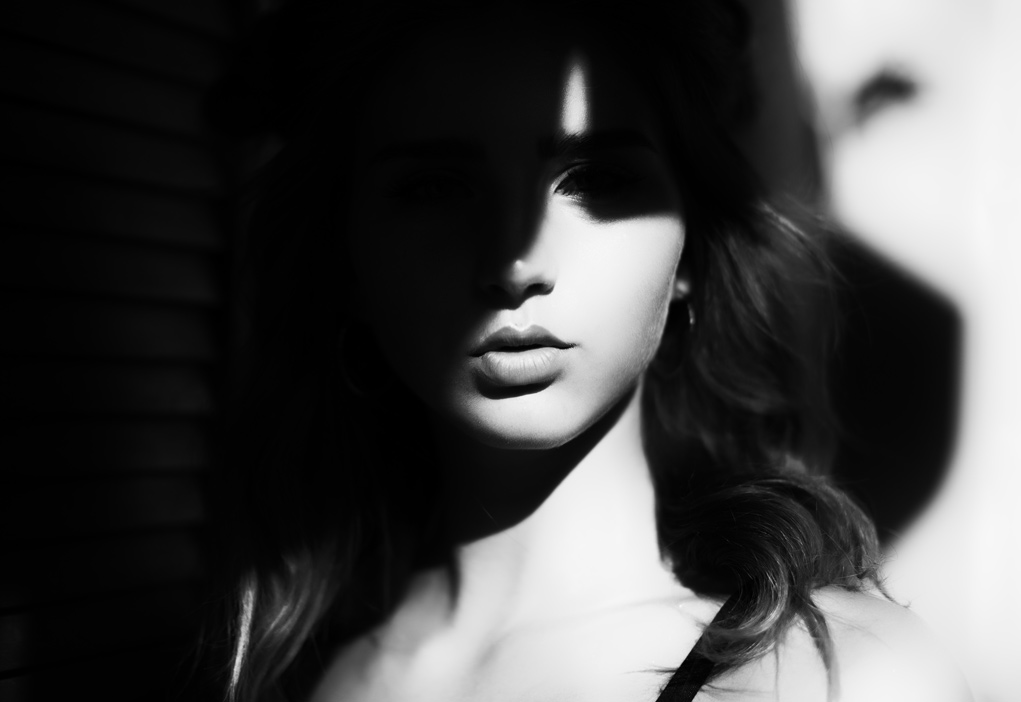
So, I placed the lamp directly to the left of the orange, maybe a foot or two away? Turned it on. Bam. One side of the orange was super bright, the other side was almost completely black. Looked pretty stark.
Playing Around with It
Got my camera out. Just used my phone camera, honestly. Easier to see the results right away. Took a few shots. Yeah, very contrasty. The texture of the orange peel really popped on the lit side, which was interesting. But the dark side was just… gone. Lost all detail there.
Then I started moving the light.
- Moved it a bit further away. That softened the light slightly, shadows weren’t quite as harsh. A little better.
- Tried moving it slightly forward, more towards the front but still on the side. This lit up a bit more of the orange, less dramatic maybe, but you could see more of the shape.
- Moved it slightly behind the orange. Ooh, that created a rim light effect on the edge, which was kinda neat. Made the shape stand out against the dark background.
- Lifted the lamp higher, pointing down. This changed the shadow shape completely. Gave it a different feel. Lowering it made the shadow stretch out.
I spent a good half hour just doing this. Moving the lamp an inch here, an inch there. Taking pictures like crazy. Most were probably junk, but that’s how you figure things out, right?
What I Noticed
Side lighting definitely does what people say. It makes things look more 3D, less flat. You really get a sense of shape and texture because one side is lit and the other is in shadow. It creates that moody, dramatic look pretty easily, even with just a simple lamp and an orange.
It’s super sensitive to where you put the light, though. Tiny changes make a big difference in how the shadows fall and what parts get highlighted. You gotta just experiment. There’s no perfect spot, depends on what you want it to look like.
So yeah, that was my little practice session. Didn’t use any fancy diagrams or anything, just moved a light around and watched what happened. Good way to learn, I think. Just getting hands-on with it.
")


")


