")
Man, I was fiddling around the other day, right? And this idea for black and white backlight photography just popped into my head. Sounded pretty cool, but let me tell you, getting there was a bit of a journey.
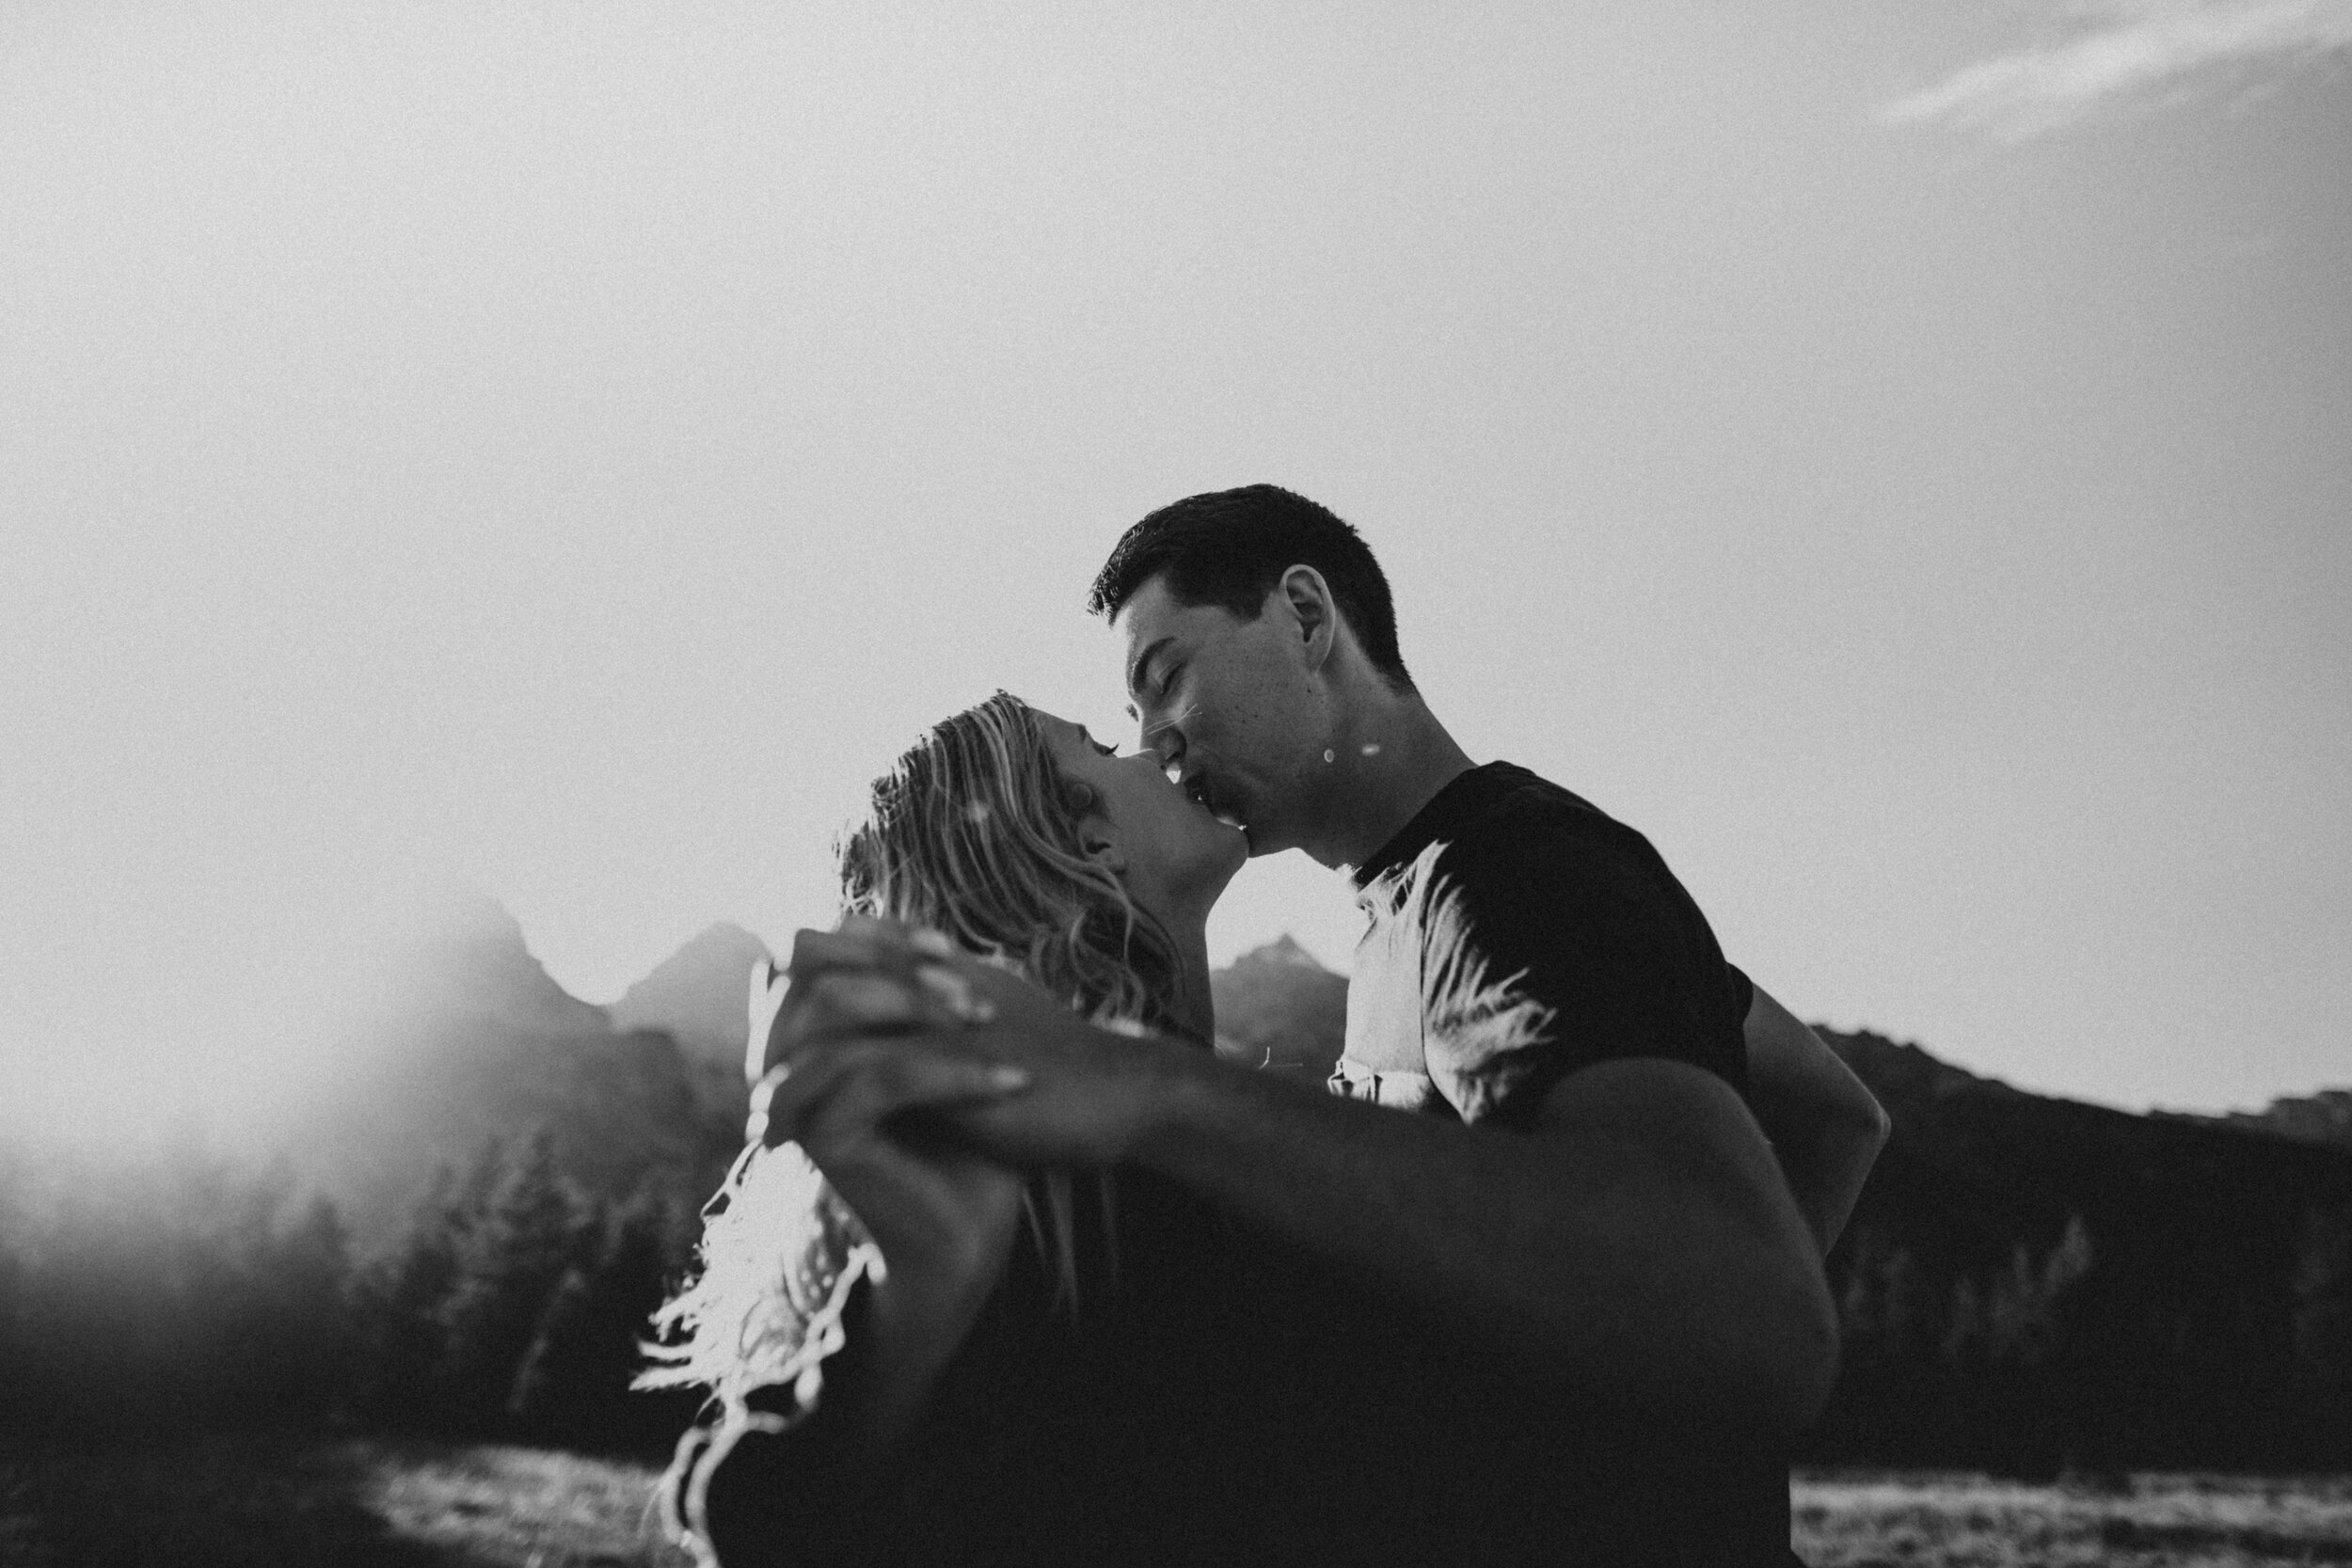
I’ve seen those kinds of pictures, you know, all dramatic with the light wrapping around the edges. Always thought, “I should try that.” But you know how it is, life gets in the way. The weather was pretty blah outside, so it was a good day to stay in and just mess around with my camera and some lights. Or, well, light from the window mostly.
It’s kinda funny I even had the time. My main camera, the one I’d saved up for, just decided to pack it in a few weeks back. Completely dead. Took it to this repair shop, and the fella there basically shrugged and said it’d cost more to fix than to buy a new one. Gutted, I was. So, I was camera-less for a bit, feeling pretty down in the dumps. Then my mate, bless him, lent me his old DSLR. It’s not top-of-the-line, a bit clunky, but hey, it takes pictures. That whole experience with my camera dying sort of pushed me to experiment a bit more, try things I wouldn’t normally do, especially with borrowed gear. Less pressure, you know?
Getting Started with the Setup
So, with this borrowed camera, I decided to finally give that black and white backlight thing a proper go. I didn’t think I’d need a ton of fancy equipment. Famous last words, eh?
First thing, I looked for a good spot. The window in my living room gets decent light, even on a cloudy day. So, I cleared off a small table and plonked it right there. That was gonna be my main light source. Easy.
Then I needed something to actually photograph. Rummaged around and found an old, kinda plain vase. Nothing special, but it had a few curves, and I figured it might catch the light in an interesting way for this backlight effect. Put it on the table, right in front of the window.
The Actual Muddle Through It
Okay, so the basic idea of backlighting is that your main light source is behind your subject, pointing towards the camera. Sounds simple, right? Well, not so much in practice. My first few attempts were just… a disaster. Either the background was completely blown out white, or the vase was just a solid black silhouette. Super frustrating. I almost packed it in right there.
I vaguely remembered reading somewhere that you need to expose for the highlights when you’re doing this kind of thing. So, I started fiddling with the camera settings. Exposure compensation, I cranked that way down. Then I switched to manual mode to get more control. It was still a massive pain.
My setup was dead simple:
- The light source: Just that big window. Since it was an overcast day, the light was pretty soft and diffused, which I think helped a bit, stopped it being too harsh.
- The subject: That boring old vase.
- The camera: My mate’s trusty old DSLR.
I also decided to switch the camera to shoot directly in black and white. I know some people say you should always shoot in color and convert it later in software, but I wanted to see what I was getting right there on the camera screen. It really helped me focus on the shapes, the light, and the shadows, without color getting in the way.
Then the real work began. I must have spent a good hour just moving things around.
- I moved the vase closer to the window, then further away.
- I tried different angles, getting down low, shooting from a bit higher up.
- Then I had a bit of a brainwave. I found a piece of white cardboard, just A4 size, and used it to bounce a little bit of light back onto the front of the vase. Just a tiny bit, so it wasn’t completely lost in shadow. That actually made a huge difference. Suddenly, I could see a bit of detail on the front, not just a black blob.
Finally Getting Somewhere
It took a lot of shots. A lot of looking at the screen, sighing, and hitting the delete button. But slowly, a few started to look… okay. Decent, even. The trick really was finding that sweet spot with the exposure. Dark enough to get that nice bright outline from the backlight, but not so dark that everything else disappeared. And that little piece of white card, honestly, that was a game-changer for me. It just lifted the shadows enough.
Underexposing quite a bit more than I normally would was key. And seeing it in black and white right away helped me judge the contrast. You start to see the subject less as a ‘vase’ and more as a collection of lines, curves, and tones. It’s pretty cool when it finally clicks and you get a shot that works.
So, What Did I Learn?
So, yeah, black and white backlight photography. It sounds all artsy and simple, but it’s a proper fiddle to get right, especially when you’re just winging it like I was. It’s definitely not as straightforward as those polished photos you see online make it look. My setup was as basic as it gets – a window, a vase, and a camera that wasn’t even mine, ha! But it was a good way to spend an afternoon and actually learn something by doing.
I’ve still got a long way to go, obviously. Most of my shots were still pretty rubbish. But those few that came out okay? They made the whole frustrating process worth it. It’s all about just trying stuff out, isn’t it? You experiment, most of it doesn’t work, but then every now and then, something just clicks. That’s the fun part of it, I reckon. Much more fun than arguing with a camera shop about a dead camera, that’s for sure. That’s just pure aggravation.
")


")


