
Man, getting a truly white background for photos. Sounds simple, right? Yeah, that’s what I thought too. For ages, my product pics for my little online shop looked, well, kinda sad. Backgrounds were always a bit grey, or you could see the texture of the wall, or weird shadows. Drove me nuts.
First, I just tried plopping things in front of my whitest wall. Big mistake. The wall wasn’t really white in the photos. It was off-white, beige-ish, depending on the time of day. And shadows! My god, the shadows were everywhere, making my stuff look cheap. I even tried a big piece of poster board from the craft store. Still, shadows, and it got dirty so fast.
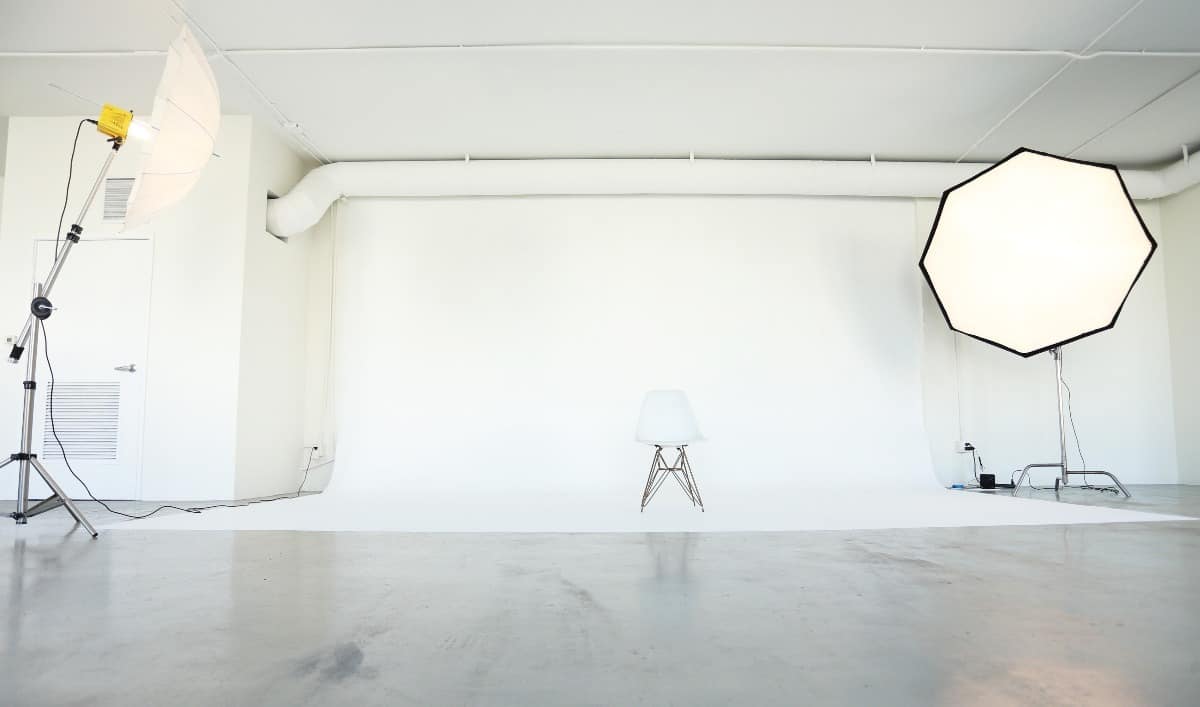
So, I thought, okay, gotta get something actually white and make it work. I remember seeing those fancy photo studios with all the lights and seamless paper rolls. Obviously, I wasn’t gonna shell out for all that for my little setup. But it got me thinking. Maybe I needed more light, and maybe it needed to be, I don’t know, spread out or something.
My next brilliant idea: a white bedsheet! I scrounged up the oldest, whitest one I could find. Hung it over a couple of chairs, tried to pull it tight. It was bigger, which was good. But wrinkles, man, so many wrinkles. And it still looked a bit dull in the photos, kinda greyish. The light just sort of soaked into it instead of bouncing off.
The Big Breakthrough (Sort Of)
Okay, so after a bunch of messing around, here’s what I landed on, and it actually works pretty okay for me now. It’s not pro-level, but it gets the job done for my needs, and my pictures look way better than they used to.
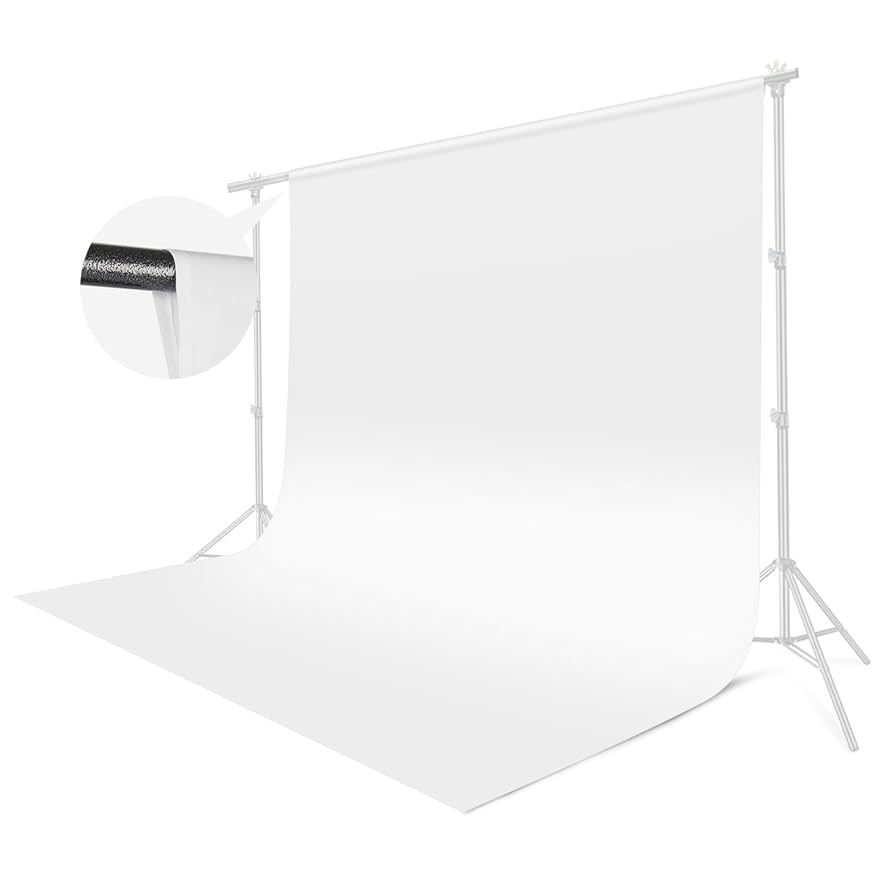
- Dedicated White Thing: I eventually caved and got a cheap pop-up white background. One of those collapsible ones, you know? It wasn’t super expensive, and it’s way better than a sheet because it’s made to be smooth and reflects light a bit. A big roll of white paper or even a large white vinyl sheet would work too, I reckon. The key for me was big enough and smooth.
- Lights, Lights, Lights: This was the real game changer. I got two cheap LED panel lights. They weren’t even fancy photography lights at first, just bright ones I found online. I put one on each side, sort of angled towards the background AND a bit towards what I’m shooting. The trick I stumbled upon was to make the background brighter than the subject. That’s how you make the background super bright, like pure white, without making your actual product look all washed out and ghostly.
- Positioning is Key: I learned to pull my subject away from the background. Like, a good foot or two, or even more if I have space. This helps the background lights do their job without spilling too much onto the thing I’m photographing and creating weird bright spots. It also helps the background blur out a little, which looks kinda nice.
- Camera Fiddling: I had to mess with my camera settings quite a bit. Shooting in manual mode definitely helps, if your camera has it. I usually try to make the background a tiny bit too bright on purpose. If you know how to use that histogram thing on your camera, that can help. Or just keep taking test shots and looking at the preview on your camera screen to make sure the background is pure white but your subject isn’t blown out. It’s a balancing act, for sure.
A little bit of editing helps too, not gonna lie. Sometimes, even with all that effort, the white isn’t perfectly, 100% pure white in every corner. So, I might open the picture in a simple editing app on my computer or phone and just nudge the whites or highlights up a tiny bit. But the goal is to get it 90% there right out of the camera, so you’re not spending ages trying to fix it later.
It was a pain to figure all this out, lots of trial and error, mostly error at the start, if I’m honest. I watched a ton of videos, read a bunch of stuff, and most of it was either too complicated for me or needed gear I just didn’t have and couldn’t afford. But this simple setup? It works for me. My photos look way cleaner now. Still not perfect, because what is, right? But hey, it’s progress!
")


")


