")
So, I finally decided to bite the bullet and figure out this whole “manual mode” thing on my camera. For ages, I was strictly an auto-mode kind of person. Point, shoot, hope for the best. And honestly, it worked okay most of the time. But then I kept seeing these amazing photos online, you know, the ones with the super blurry backgrounds or the perfectly captured motion, and I knew auto mode wasn’t cutting it anymore. I wanted more control, darn it!
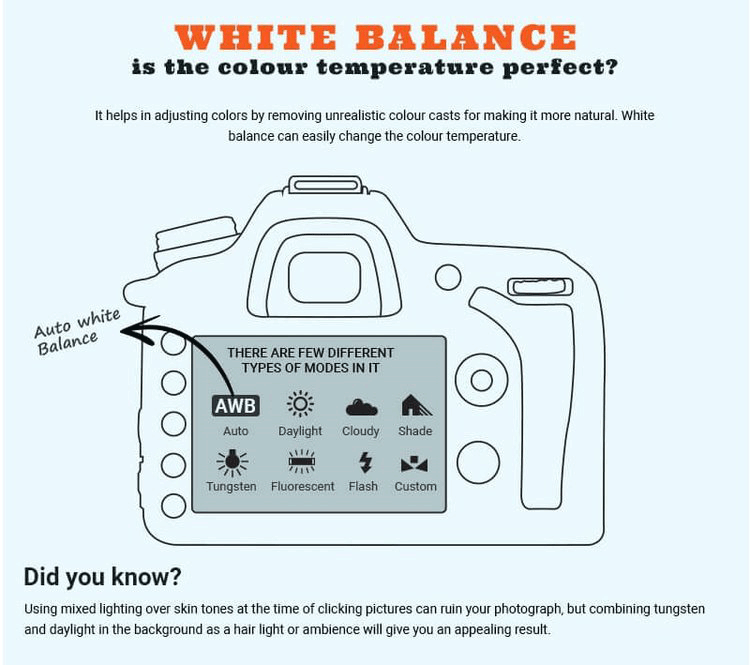
Diving In – What Are All These Buttons?!
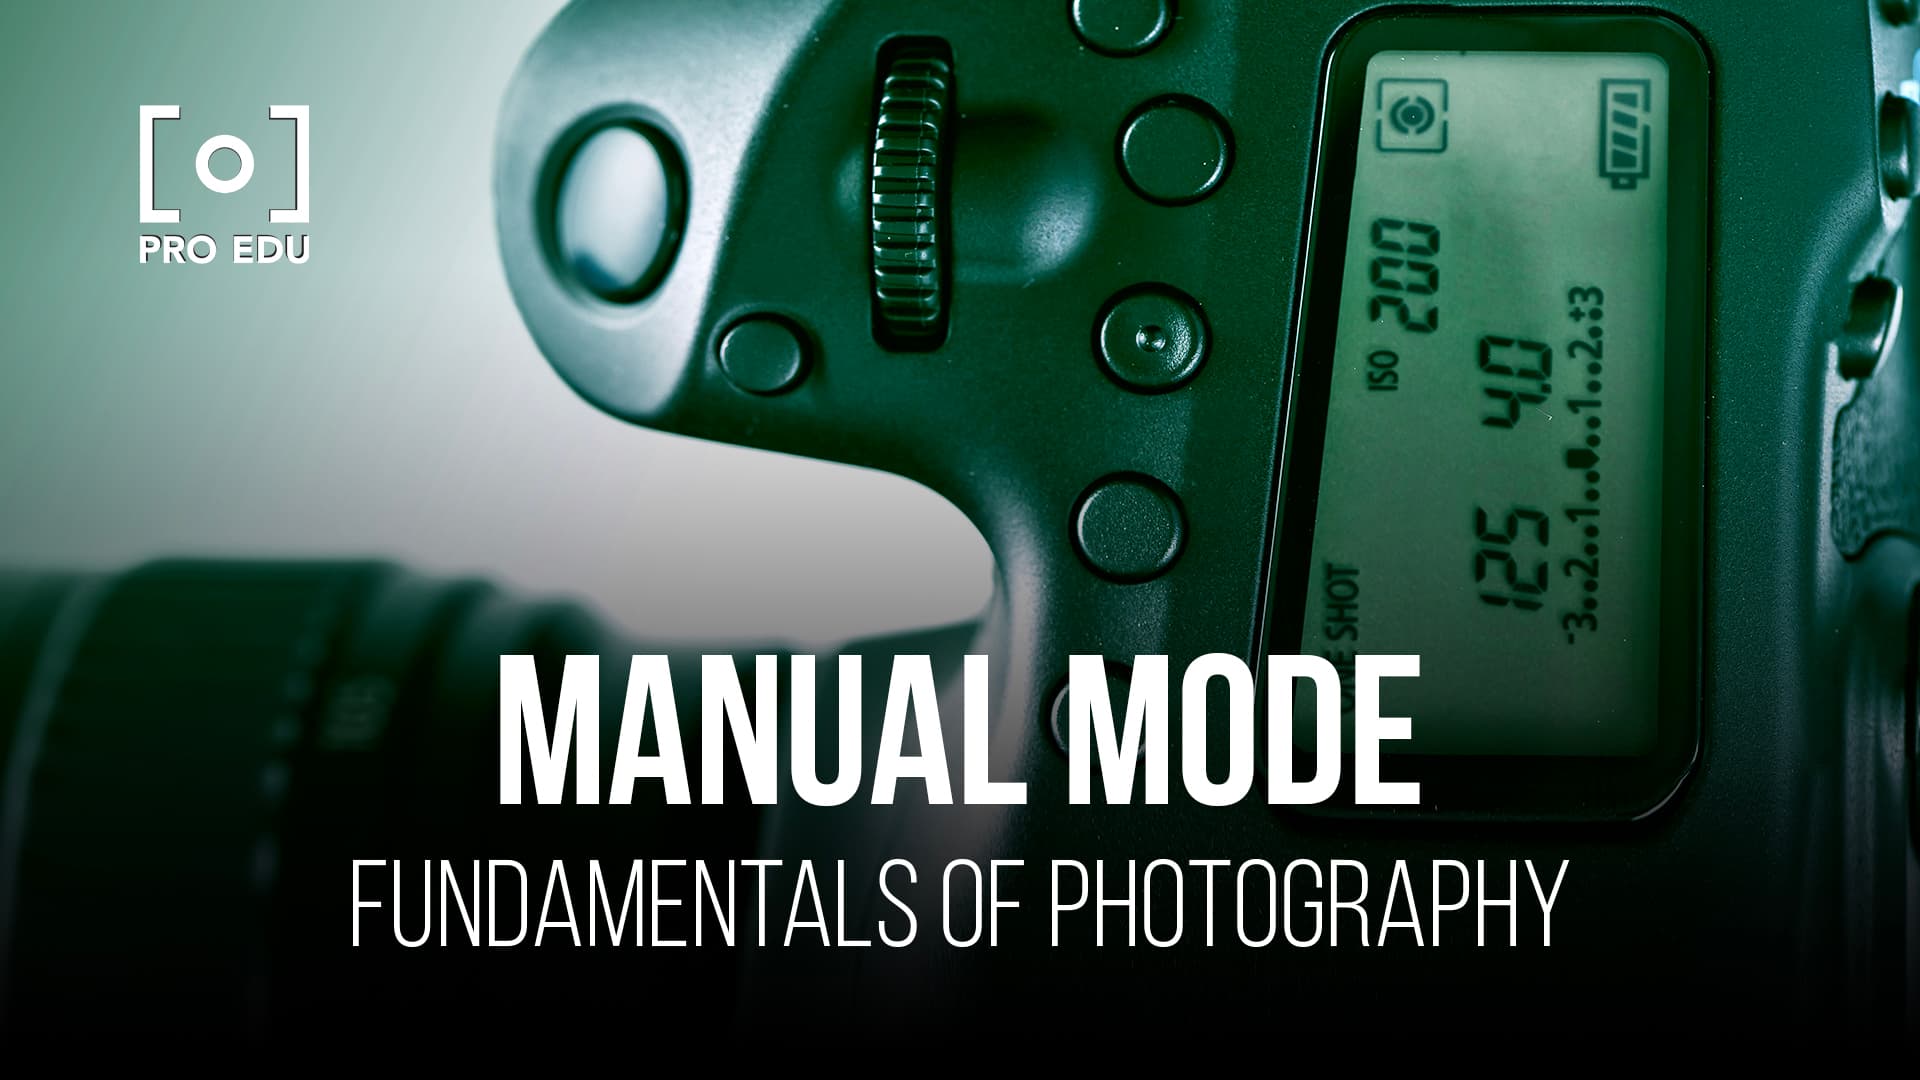
Okay, let me tell you, switching that dial to ‘M’ for the first time was intimidating. Suddenly, the camera wasn’t making any decisions for me. It was all on me! I looked at the screen and saw all these numbers and symbols flashing – ISO, F-stops, shutter speed. My brain pretty much went blank. My first few attempts? Let’s just say they were either pitch black or blindingly white. Not exactly a promising start.
Tackling the Big Three: ISO, Aperture, Shutter Speed
I figured I had to learn this stuff one piece at a time. So, I started reading, watching a few videos – trying to understand what each setting actually did.
- ISO: This was the first one I kind of got. It’s about how sensitive the camera is to light. I played around with it a lot. Took photos in dim light with a low ISO – too dark. Cranked the ISO way up – brighter, but then the pictures started looking all grainy and weird. So, lesson learned: keep ISO as low as possible for good quality, but bump it up when you absolutely need more light.
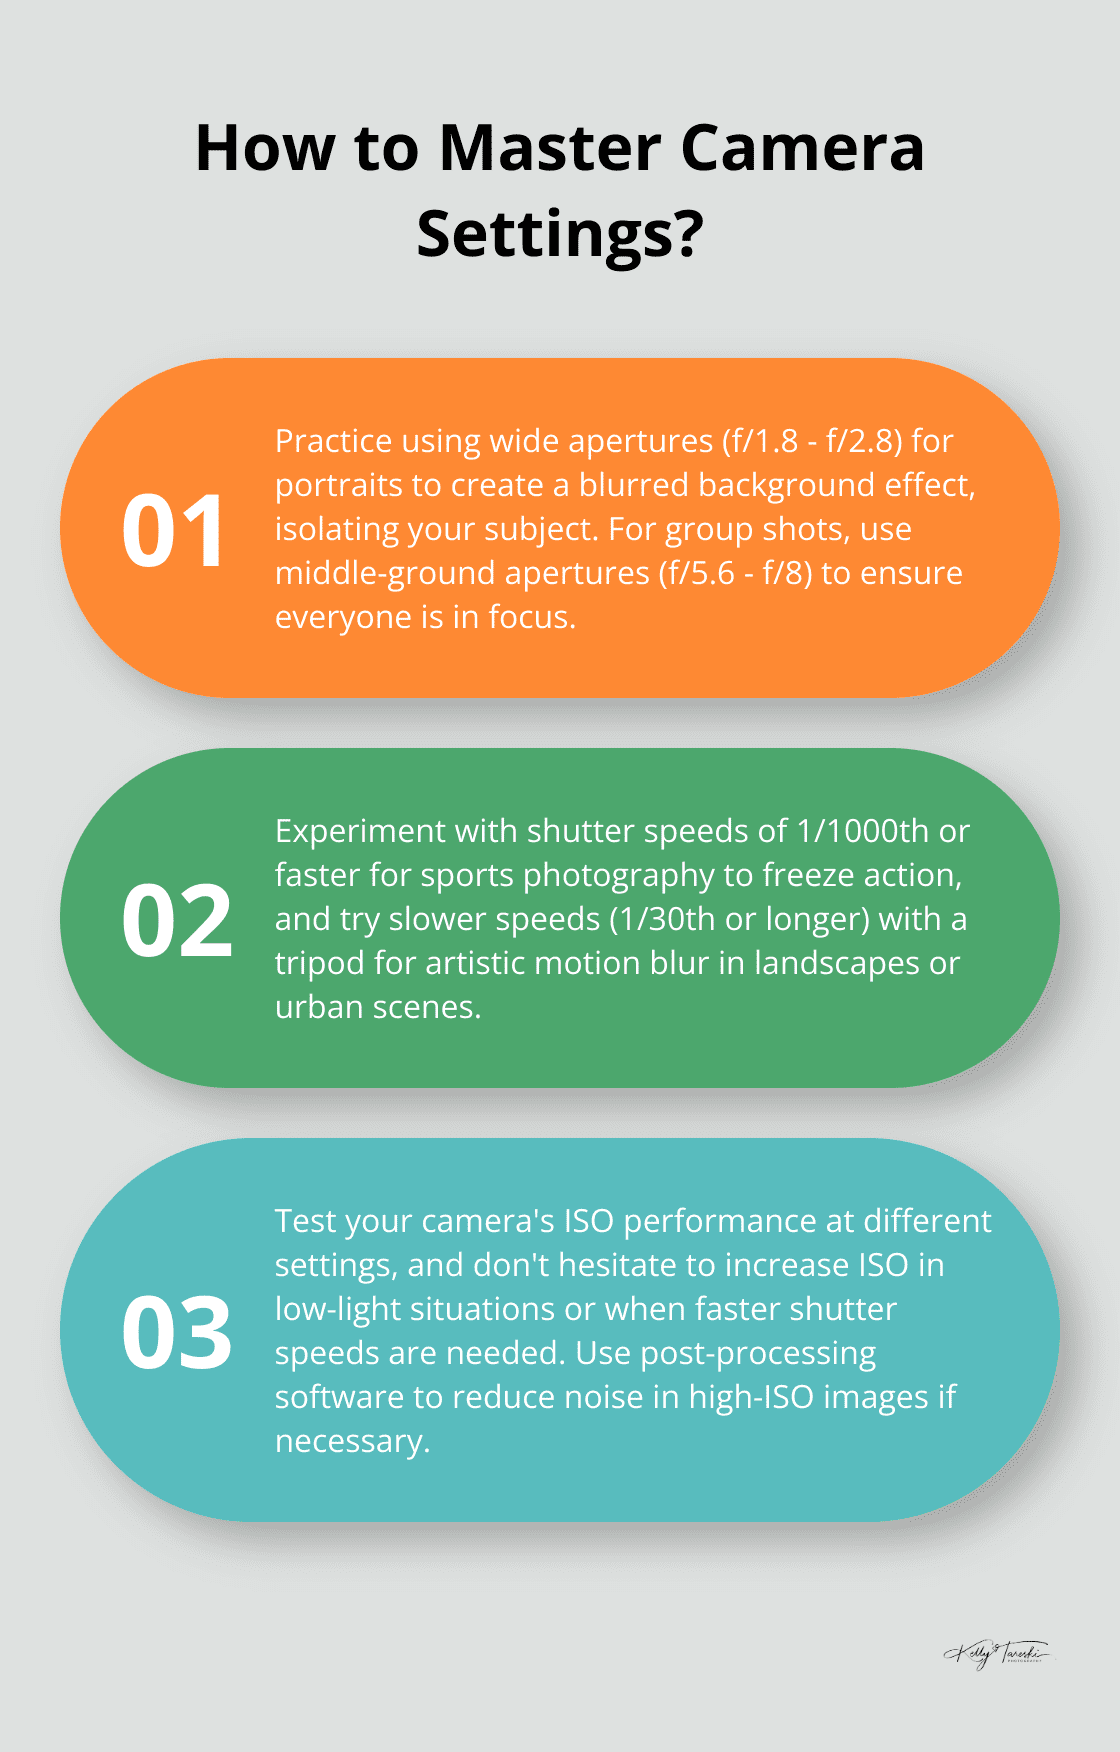
- Aperture (the F-stop thingy): This was the magic behind those blurry backgrounds I loved! The lower the F-number (like f/1.8), the blurrier the background. The higher the F-number (like f/16), the more everything is in focus. I spent a whole afternoon just taking pictures of a plant in my garden, changing the aperture each time. It was a lot of “oohs” and “aahs” when I finally started seeing that nice creamy blur. But it also affected how much light came in, so I had to keep an eye on that.
- Shutter Speed: This one was about freezing action or showing motion. Fast shutter speed (like 1/1000s) to freeze my dog running around. Slow shutter speed (like 1/15s, or even slower with a tripod) to get those silky smooth waterfall shots or light trails from cars at night. This one was tricky because if it was too slow and I wasn’t steady, everything just became a blurry mess. My hand isn’t as steady as I thought!
The Balancing Act – Making Them Work Together
Okay, so understanding each one individually was a step. But then came the real challenge: making them all work together. Change one, and you often have to change another to keep the picture properly exposed. It felt like juggling. If I opened up the aperture to get a blurry background (letting in more light), I’d often have to increase my shutter speed or lower my ISO to stop the photo from being too bright. It was a constant back-and-forth.
My camera has this little light meter thingy inside the viewfinder, a little scale that tells you if it thinks your settings will make the picture too dark, too bright, or just right. That became my best friend! I’d fiddle with the settings until that little indicator was in the middle. It wasn’t always perfect, but it was a massive help.
Practice, Practice, and More Frustrating Practice
Honestly, there were times I wanted to just switch back to auto. I took so many bad photos. Hundreds, probably. Photos that were completely unusable. My family probably got sick of me pointing the camera at them and muttering about F-stops. But I kept at it. I took my camera everywhere. I photographed boring stuff, interesting stuff, anything just to practice adjusting those settings.
I’d go out, pick a subject, and try to get a specific look. “Okay, I want a sharp subject and a really blurry background.” Then I’d mess with the aperture, adjust shutter speed and ISO until the light meter looked happy, and take the shot. Then I’d look at it on the camera screen, see what I did wrong (or right!), and try again.
Those “Aha!” Moments
Slowly, very slowly, things started to click. I remember one evening, I was trying to get a shot of some fairy lights. I played with a wider aperture, a slightly slower shutter speed, and got the ISO just right. And the photo… it actually looked good! The lights were soft and glowing, the background was nicely out of focus. That was a big “aha!” moment for me. It wasn’t just luck; I had made it happen.
Another time, I managed to freeze my nephew mid-jump on the trampoline, perfectly sharp, without it being too dark or too bright. I felt like a wizard!
Where I Am Now
I’m definitely not a pro, not by a long shot. But I’m so much more confident with manual mode now. I can look at a scene and have a good idea of what settings I need to start with. I can intentionally create effects that were impossible on auto. I still mess up, sure, but now I usually understand why I messed up, which is a huge step.
It’s been a journey, and it’s still ongoing. But getting out of auto mode has made photography way more creative and fun for me. If you’ve been thinking about it, just give it a try. It’s frustrating at first, but stick with it. The control you get is totally worth it!
")


")


