
Okay, here is my blog post about visual balance techniques:
Today I tried to mess around with some design stuff, aiming to figure out what this “visual balance” thing is all about. It’s been on my to-learn list for a while, and I finally got around to it.
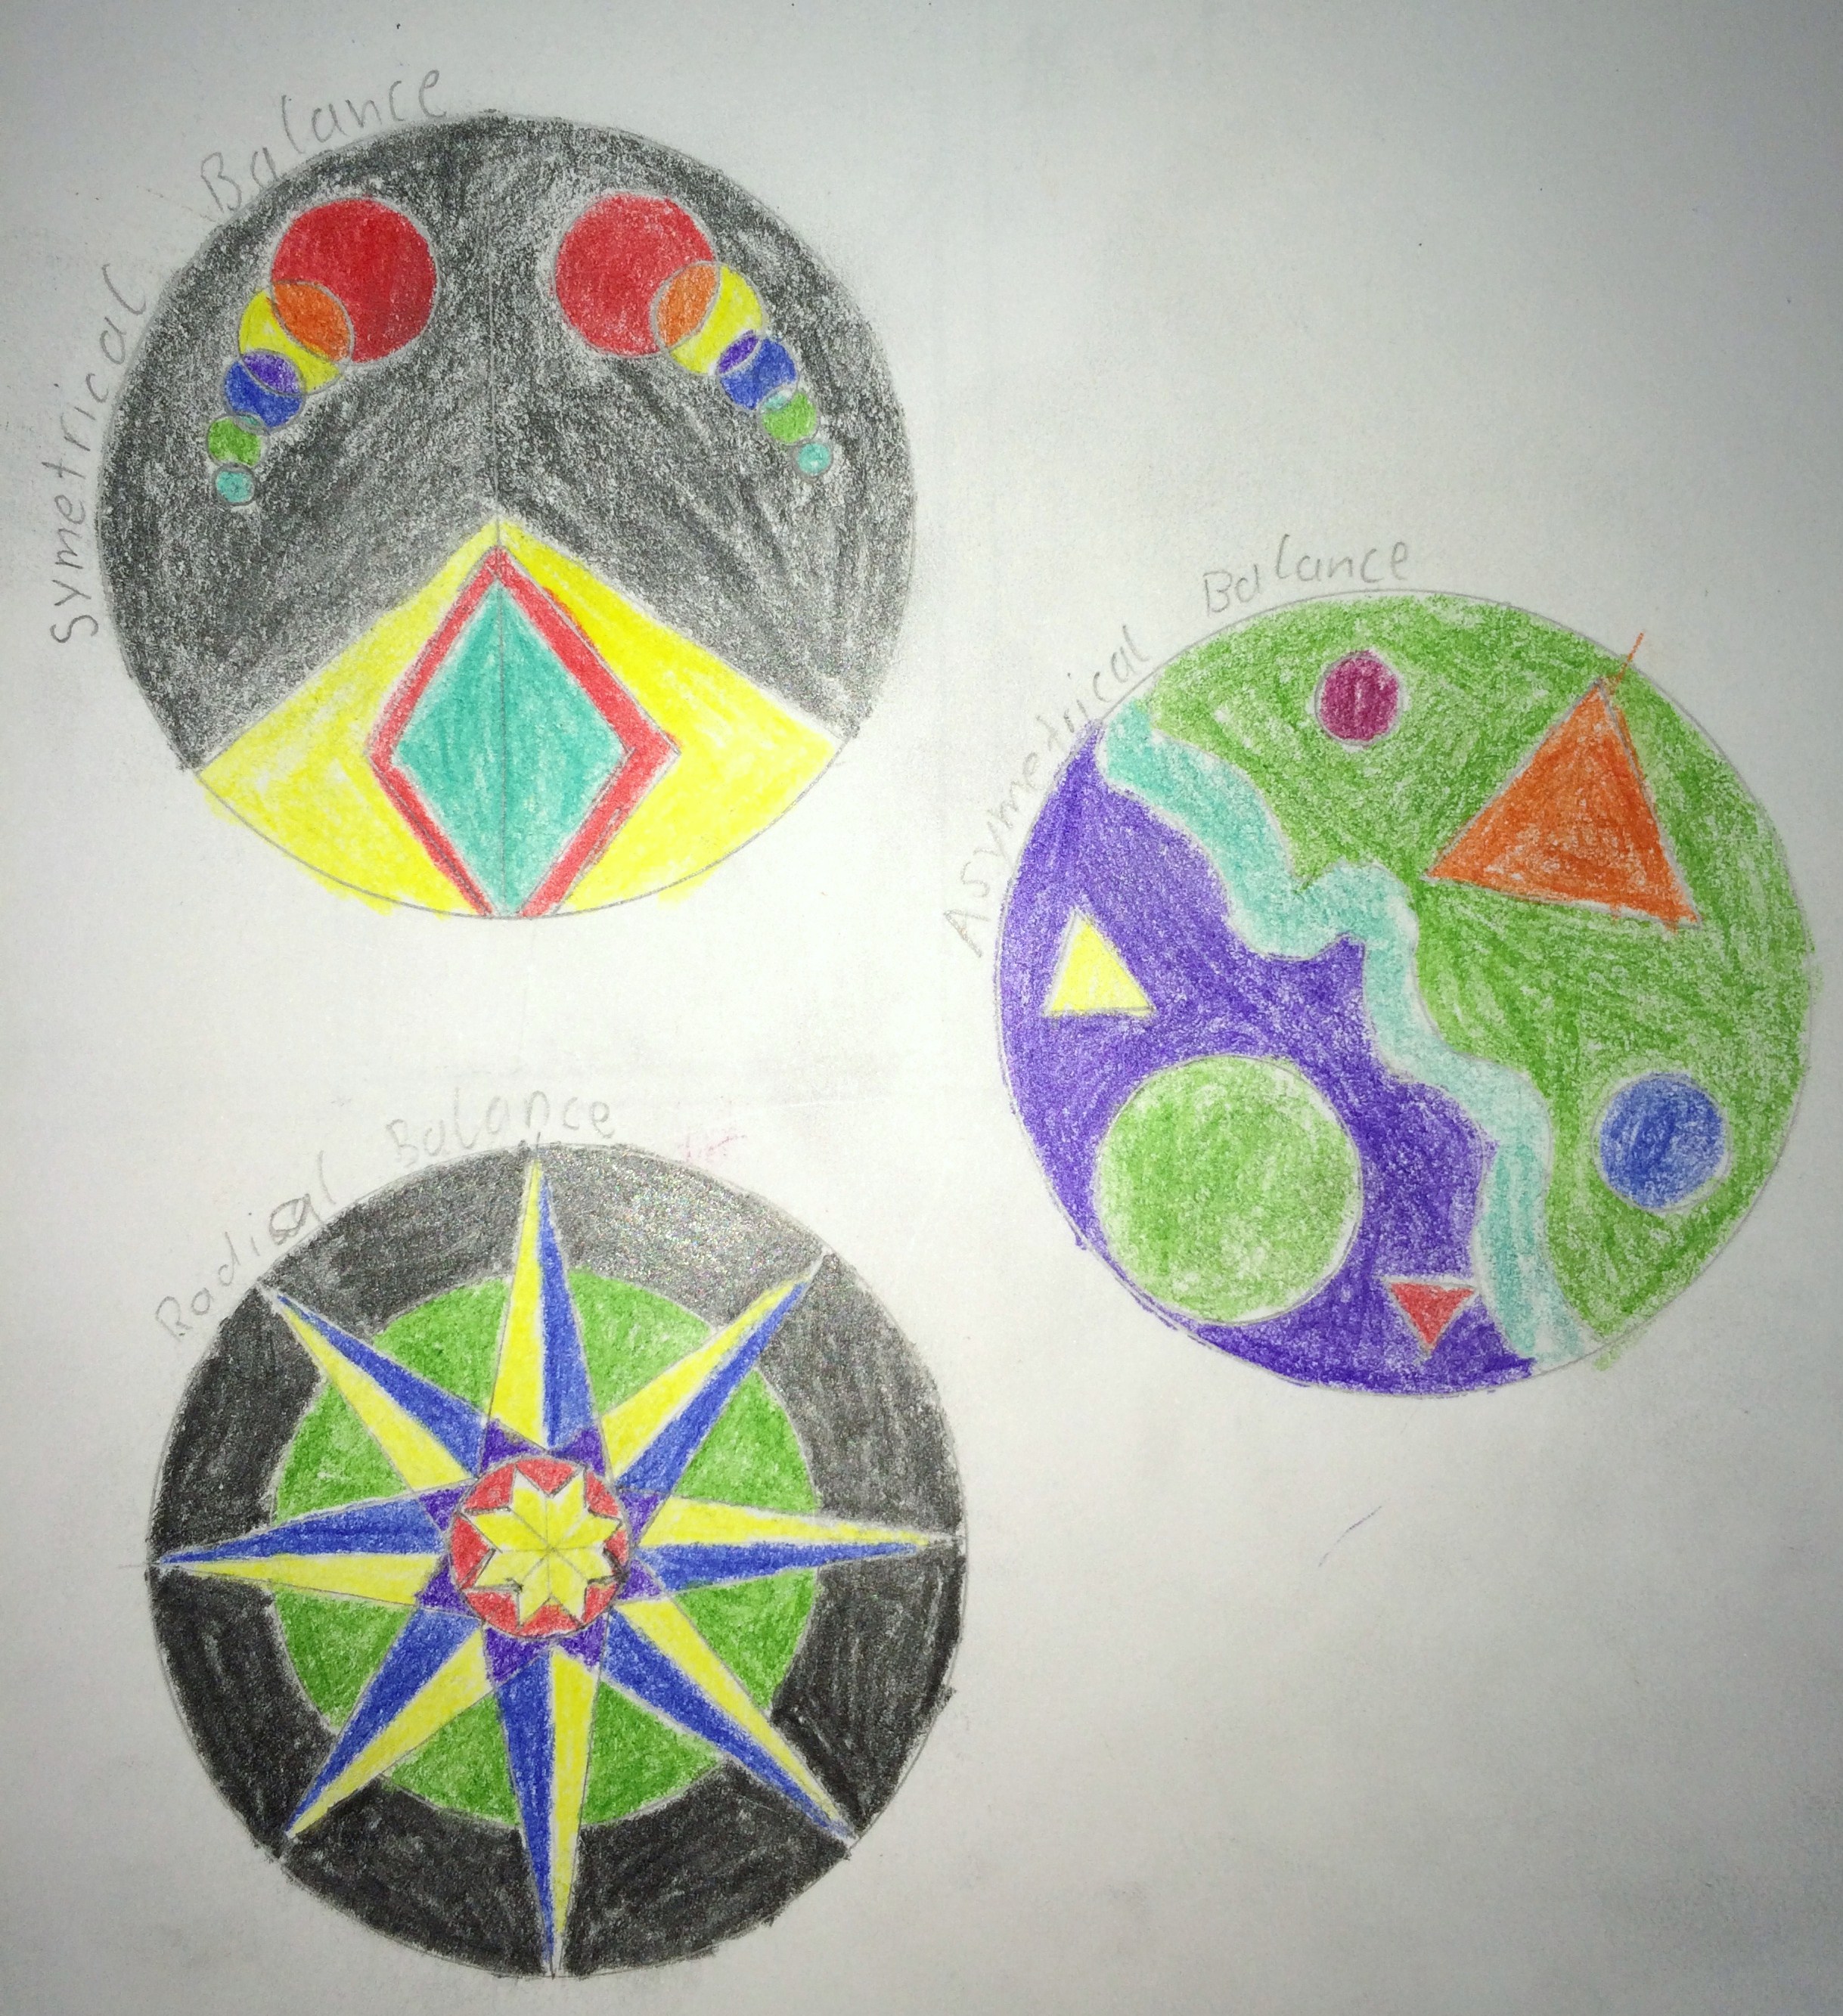
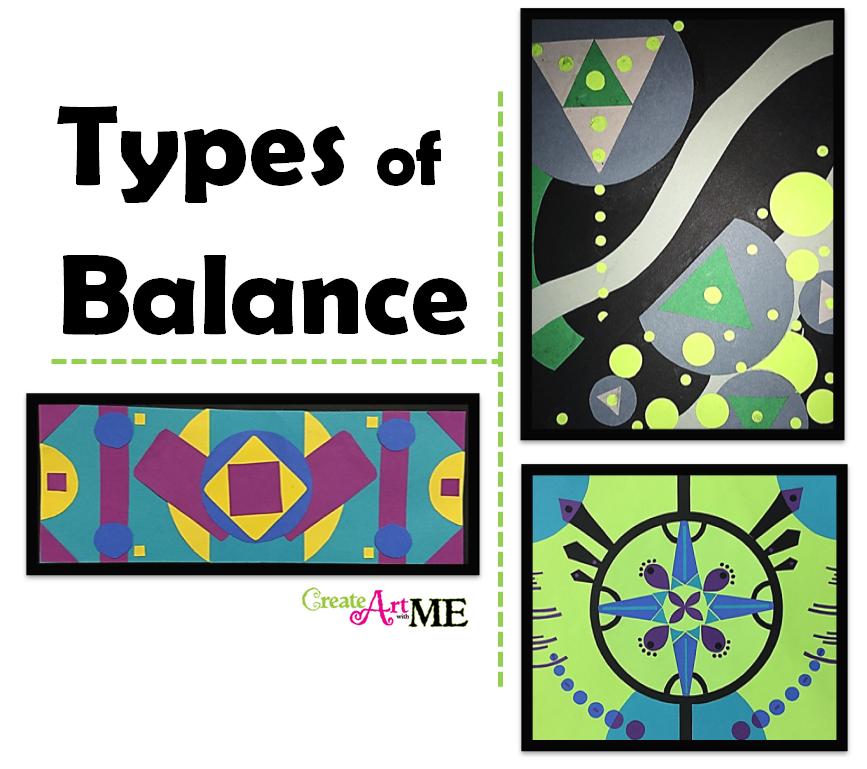
Symmetrical Balance
First up, I started with symmetrical balance. I drew a line down the middle of a page and tried to mirror elements on each side. It was kind of like making a reflection in a mirror. I used squares, circles, and triangles, placing them so they looked even on both sides. I realized pretty quickly that this setup gives off a formal and orderly vibe.
Asymmetrical Balance
Next, I moved on to asymmetrical balance. This was a bit trickier. Instead of mirroring, I played around with different sized objects to see if I could still make it feel balanced. I put a big circle on one side and a few smaller squares on the other. It took some fiddling, but I found that if I spaced the smaller items out, it started to feel right. This method definitely felt more dynamic and interesting.
Radial Balance
After that, I tried radial balance. For this, I picked a center point and arranged elements around it like the spokes of a wheel. I used a bunch of lines coming out from the center and added circles at different points along those lines. It was kind of fun to see how it all came together, and it gave me a sense of focus and centrality.
Crystallographic Balance
Then there was crystallographic balance, which some people also call “allover balance.” I filled the whole page with a repeating pattern of stars. It was a bit like making a quilt. No single point stood out, but it felt very harmonious. I guess this is why it’s used in things like wallpaper and fabric designs.
Mosaic Balance
I also experimented with mosaic balance. This one felt like organized chaos. I scattered different shapes and sizes all over the page without any clear focal point. The challenge was to make it look intentional and not just a mess. I found that by varying the density of the elements, I could create a sense of rhythm that held it all together.
Imbalance
Imbalance was an interesting one. I intentionally made one side of the page very heavy with elements while leaving the other side sparse. It definitely made the design feel off-kilter, but I could see how this could be used to draw attention to a specific area or create a sense of unease.
Balance by Value
For balance by value, I played with light and dark. I put a large, light-colored square on one side and a small, dark square on the other. Even though the sizes were different, the contrast in values made it feel balanced. I learned that darker elements tend to feel heavier, so you can use this to your advantage.
Balance by Color
Balance by color was fun to explore. I used a big patch of a cool color like blue on one side and balanced it with a smaller patch of a warm color like red on the other. It was cool to see how different colors could balance each other out based on their intensity and warmth.
Balance by Shape
Lastly, I worked on balance by shape. I put a large, simple shape on one side and a smaller, complex shape on the other. Even though they were different, the complexity of the smaller shape balanced out the simplicity of the larger one. It was like a visual puzzle, trying to find the right combination.
All in all, it was a productive day of experimenting. I learned a lot about how different elements can work together to create balance in a design. And I feel a little more confident in applying these ideas to my future projects.
")


")


