")
Alright, so I decided to mess around with gobo portrait photography the other day. You see those cool, moody shots with light patterns everywhere, and I thought, “How hard can it be?” Well, let me tell you, it’s a bit more than just shining a light through a piece of paper with holes in it, though that’s pretty much where I started.
Setting Up the Chaos
First things first, I needed a gobo. I wasn’t about to buy some fancy metal thing, not for a first try. So, I grabbed a piece of black cardboard, the thick stuff you get from packaging. My kid had some leftover from a school project, perfect. I took an X-Acto knife – carefully, mind you, almost sliced my thumb remembering that time I tried to fix the toaster – and cut out some random slashes. Think Venetian blinds but made by someone who’s had too much coffee.
Then, the light. I’ve got this old strobe in the garage, a real workhorse. I dusted it off, found a snoot attachment I forgot I even owned, and figured that would help focus the beam. My “studio” for the day was just a corner of the living room. Cleared out some space, pushed the couch back. The wife gave me that look, but hey, art calls.
The First Ugly Attempts
I set up a plain backdrop, just a grey sheet I pinned to the wall. My subject? A patient, long-suffering mannequin head I call ‘Gladys’. Don’t ask. I positioned the strobe, put my fancy cardboard gobo in front of it, held by a clamp on a light stand. Switched it on.
Disaster.
The pattern on Gladys was… a blob. A blurry, indistinct blob. You couldn’t tell it was supposed to be slashes of light. It looked more like a badly focused Rorschach test. I fiddled with the distance of the gobo from the light. Closer? Worse. Further? A bit better, but still mush. The light was also spilling everywhere, even with the snoot. It was less “dramatic pattern” and more “someone forgot to turn off a weird lamp.”
I remember thinking back to when I tried to build a birdhouse from a kit. Instructions looked simple. End result looked like a strong gust of wind would turn it into kindling. This felt similar. That birdhouse, by the way, sat in the shed for three years before I finally just threw it out. I was determined not to let this gobo thing beat me so easily.
Figuring Things Out (Slowly)
Okay, deep breath. I realized the main issue was probably the focus of the light through the gobo. My strobe has a modeling light, so I switched that on to see what was happening in real-time, which helped a ton.
- Distance from gobo to subject: This was a big one. Moving Gladys further away from the gobo/light setup started to sharpen the edges of the pattern. Too close and it was all soft.
- Distance from light to gobo: Also critical. I had to play with this a lot. Moving the light source further back from the cardboard gobo made the projected pattern smaller and sharper. Closer made it bigger but fuzzier. It’s a balancing act.
- Angle of the light: Pointing it straight on was boring. Angling it from the side started to give some depth and shape to Gladys’s features with the light and shadow.
I also realized my DIY cardboard gobo was a bit flimsy. The edges weren’t super crisp, which contributed to the blur. Next time, maybe I’ll try something a bit more rigid, or even just be more careful with the cutting. But for a first run, it was doing its job, sort of.
Getting Somewhere Decent
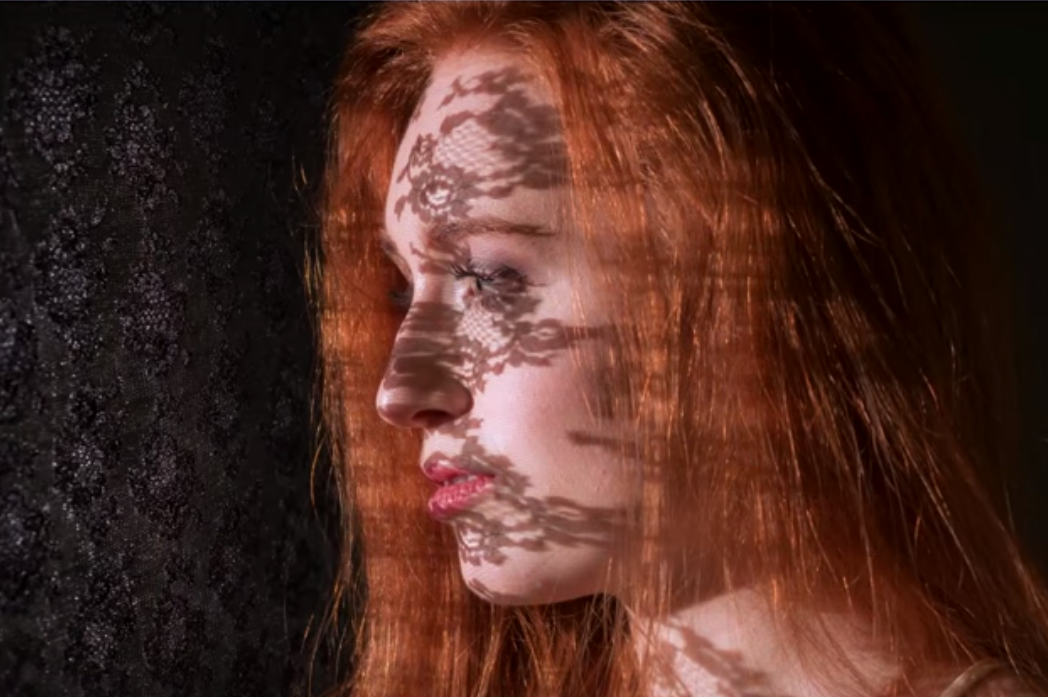
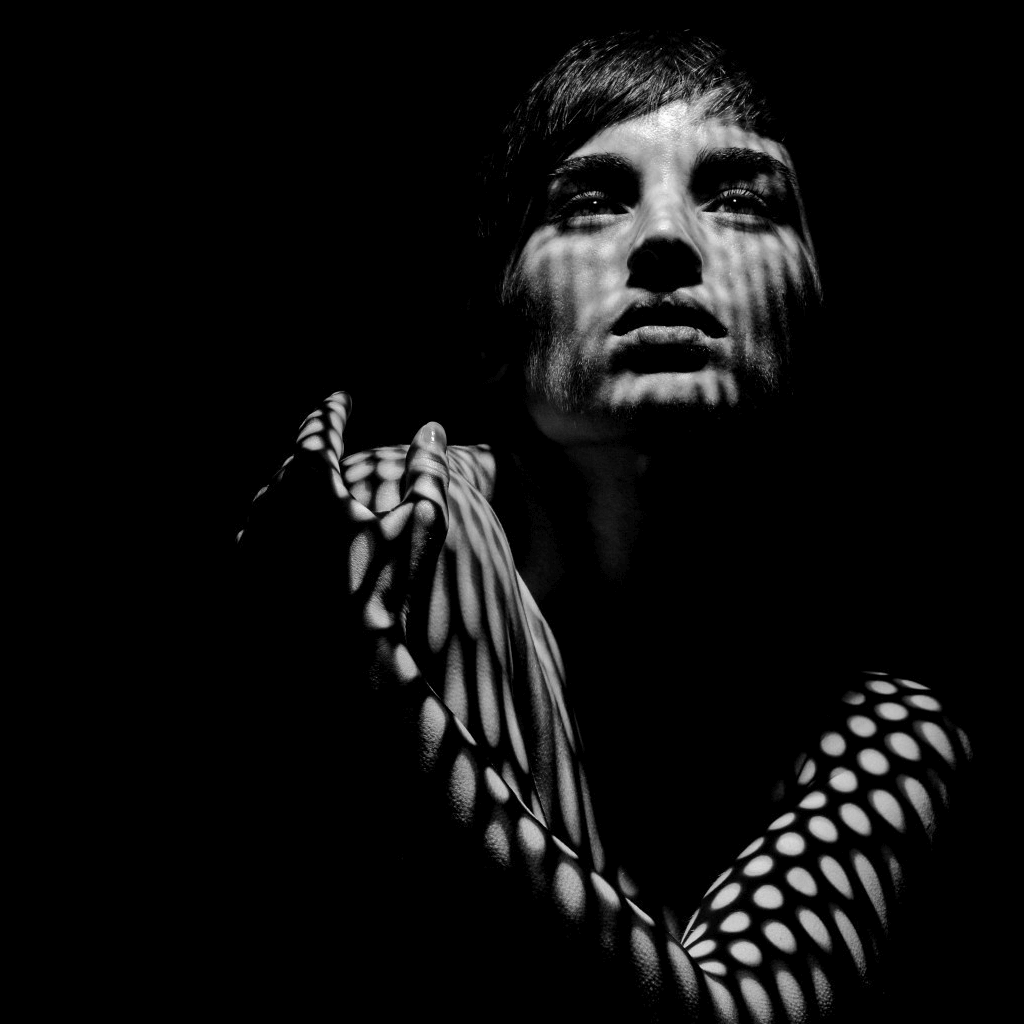
After about an hour of tweaking – moving the light an inch, then the gobo half an inch, then Gladys a foot – I started to get something that actually resembled the cool photos. The slashes of light were now defined, cutting across Gladys’s face, leaving parts in deep shadow. It actually looked pretty dramatic!
I took a bunch of shots, playing with the position of the pattern. A slash across the eyes, another just hitting the cheekbone. It’s amazing how moving the light just a tiny bit can completely change the mood. I even ditched the snoot at one point and just used the bare reflector on the strobe, but moved it much further back from the gobo. This gave a harder light, which made the gobo pattern even crisper. That was a good discovery.
By the end, I was pretty chuffed. It wasn’t perfect, far from it. But I went from “what is this mess?” to “hey, that’s actually pretty cool!” My living room was a tangle of stands and cables, Gladys was probably tired of being stared at, but I had some shots I was happy with.
So yeah, gobo photography. Definitely takes some patience and a willingness to just move stuff around until it looks right. It’s not plug-and-play, that’s for sure. But it’s a fun way to get some really creative lighting effects without needing a ton of expensive gear, just a bit of cardboard and a lot of trial and error. Now to put the living room back together before I’m in the doghouse.
")


")


