
Alright, so today I’m gonna talk a bit about tree photography. Sounds dead simple, doesn’t it? Just find a tree, point your camera, and click. That’s what I thought at first, anyway. But lemme tell ya, it ain’t always that straightforward. My own journey with snapping pics of trees has been, well, a learning curve.

When I first started, I’d just wander around, see a tree, and take a picture. Most of ’em turned out pretty blah, to be honest. Flat, no life, just… a tree. I figured, how hard can it be? Trees don’t move, they’re always there. But my photos just weren’t cutting it. They looked like something you’d see on a cheap calendar, if you know what I mean.
So, what changed, you ask?
Well, it wasn’t like I suddenly became a pro or anything. It was more about having a bit of time on my hands, and really starting to look. I had this period where I was out in the sticks a lot. Not much else to do, so I started paying attention to the trees. It’s funny, when you actually slow down and observe, you see stuff you never noticed before. Kinda like when you’re forced to wait for something, and you start noticing the little details in the room. That was me, but with trees.
I started experimenting. Got up super early sometimes, like before the sun, just to see how that first light hit the leaves. Froze my fingers off more than once, I can tell you that. Then I’d try late afternoon, when the sun’s going down and everything gets that golden glow. Light is a big deal, I quickly learned that. It changes everything.
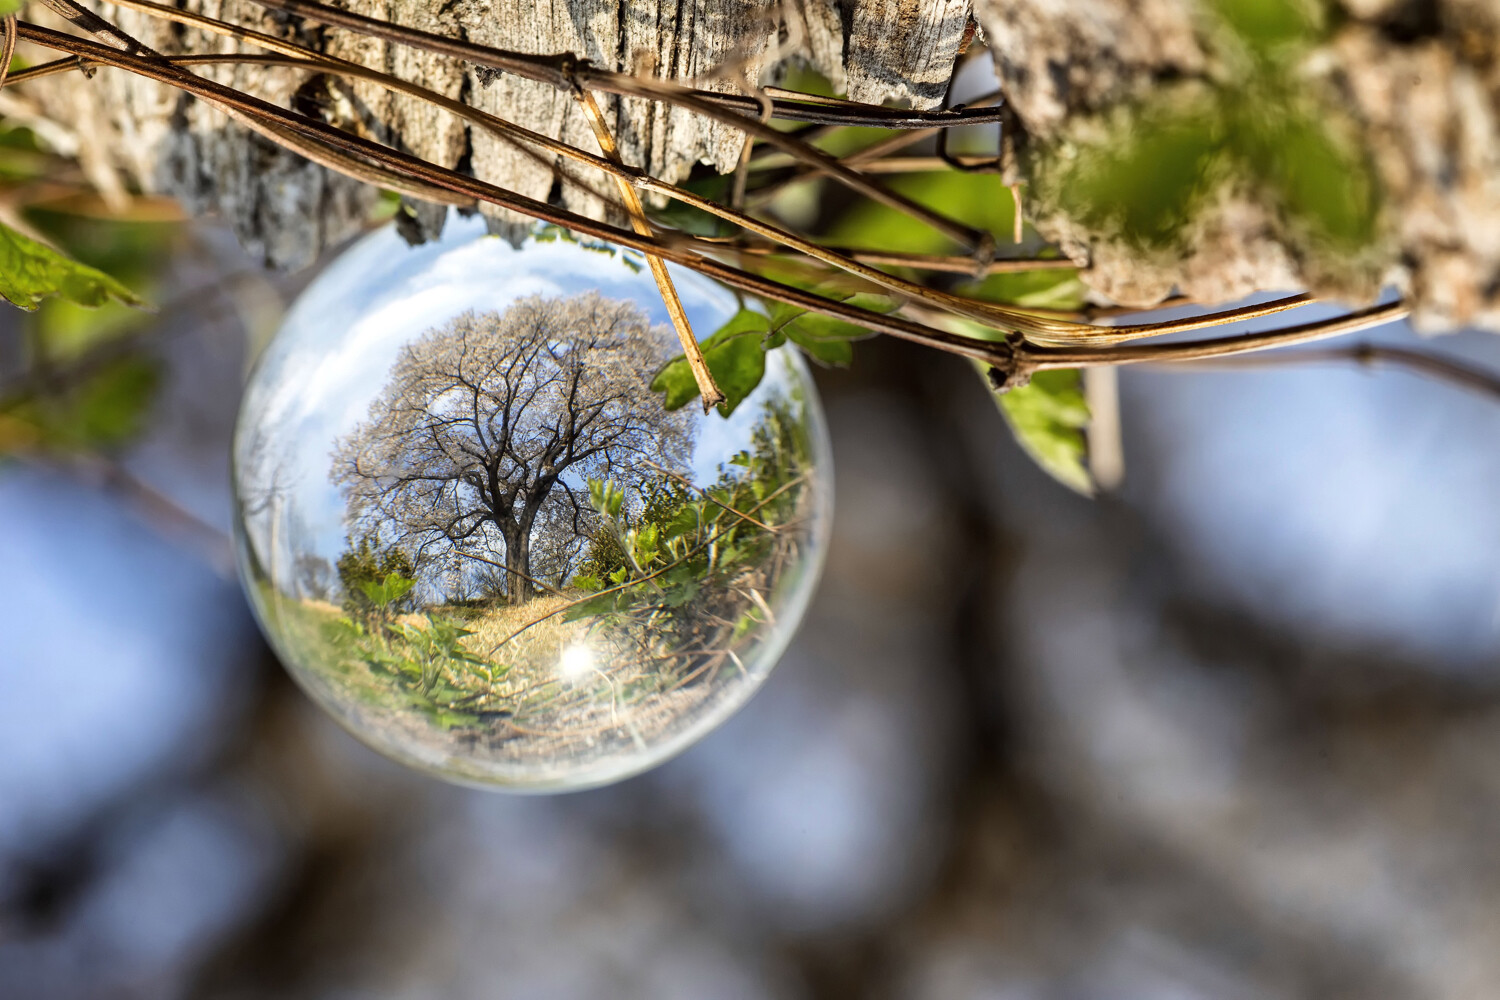
I’d walk around a single tree, like, a dozen times. Looking for different angles. Sometimes I’d get down real low, almost flat on my belly, to look up through the branches. Other times, I’d try to find a higher spot to look down. It wasn’t about fancy gear. My phone was my main tool for a long while. It was more about just trying different things, seeing what worked.
- Focusing on details: Instead of the whole tree, sometimes I’d just get a shot of the bark texture, or a single leaf with raindrops on it.
- Playing with the sky: Sometimes the tree was just a silhouette against a cool sky. That was neat.
- Dealing with weather: Foggy days? Awesome for moody tree pics. Windy days? A nightmare if you want sharp leaves, but sometimes you get cool blurry effects.
I also realized that the “perfect” looking trees, those straight, symmetrical ones, often made for the most boring photos. It was the gnarly, twisted, odd-looking ones that had character. The ones that had clearly been through some stuff. They told more of a story, I guess.
So, what did I really get out of all this? Well, I got a bunch of tree photos, some good, some not so good. But mostly, I learned to slow down and see. It’s not just about pointing and shooting. It’s about observing, waiting for the right moment, and trying to capture a little bit of what makes that particular tree, or that particular moment, interesting.
There’s no magic formula, really. Just gotta get out there, mess around, and see what happens. And yeah, sometimes you’ll still end up with a boring picture of a tree. But other times, you might get something pretty cool. That’s the fun of it, I suppose.
")


")


