
Okay, so I’ve always dreamed of seeing the pyramids, and this year I finally made it happen! Getting a tourist visa to Egypt was part of the adventure, so I thought I’d share my experience.
Gather Your Documents
First things first, I needed to gather all the necessary documents. This is super important because you don’t want to get held up later because you missed something simple.
- Passport: Made sure mine was valid for at least six months after my planned trip.
- Visa Application Form: Got this from the Egyptian embassy website, printed it out, and filled it in carefully.
- Passport-sized Photos: Had a couple of these taken, following their specific size requirements.
- Flight Itinerary: I booked my round-trip flights and printed the confirmation.
- Hotel Reservations: Booked my accommodations and printed those confirmations as well. Just to be safe, I booked places that offered free cancellation, just in case plans changed.
- Proof of Funds: I printed out recent bank statements to show I could support myself during the trip.
- Travel Insurance: Got a travel insurance policy that covered medical expenses and any unforeseen issues. Printed out the policy details.
Submitting the Application
With everything in hand, I went to the Egyptian consulate. You can apply by mail or use a visa service, but I wanted to make sure everything was done correctly. I went during their operating hours, handed in my application and documents. I felt a little bit nervous but the staff were really professional. They checked everything, asked a few basic questions about my trip – you know, the usual stuff like where I was planning to go and how long I was staying.
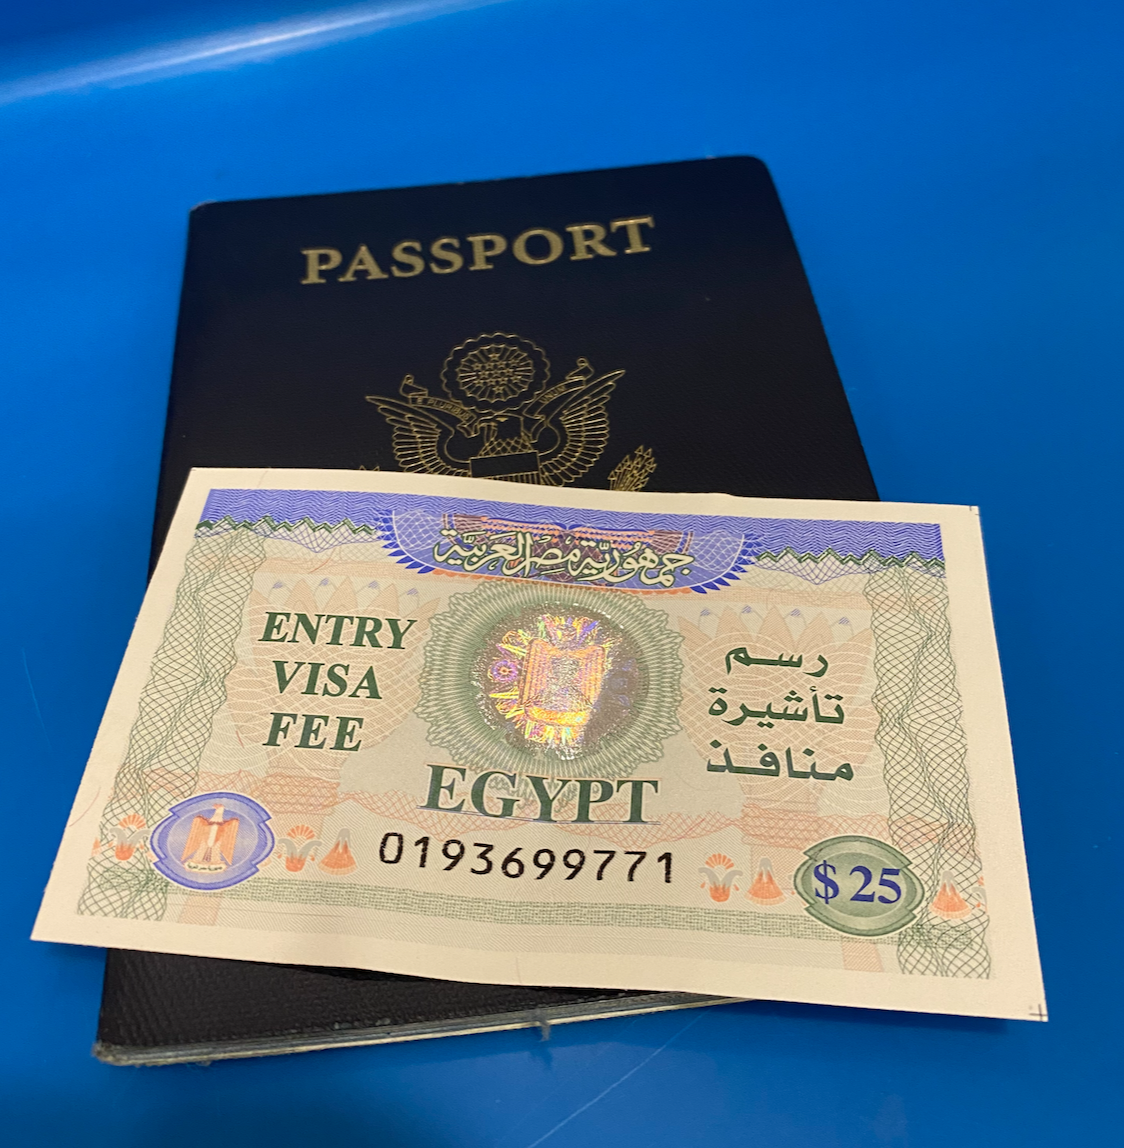
Pay the Visa Fee
After they reviewed my application, I had to pay the visa fee. The amount can vary, so it’s a good idea to check the embassy’s website beforehand. I paid with a credit card, but they also accepted cash. Made sure to get a receipt for the payment, just in case.
Wait for Processing
Then came the waiting game. The processing time can also vary, but it usually takes a few days to a couple of weeks. I was kind of on edge during this time, constantly checking my email and phone for updates. To ease my anxiety, I started planning out my itinerary in more detail, researching places to visit and things to do.
Collect Your Visa
Finally, I got the call that my visa was ready! I rushed back to the consulate to pick it up. They pasted the visa sticker into my passport, and I felt a huge wave of excitement. I double-checked all the details on the visa to make sure everything was accurate – dates, name, passport number, all that jazz.
Final Thoughts
Getting the visa was a bit of a process, but it was totally worth it. Just be organized, have all your documents ready, and follow the instructions carefully. And remember, the folks at the consulate are there to help, so don’t be afraid to ask questions if you’re unsure about anything. Now, off to explore the wonders of Egypt! I can’t wait to share those stories with you all soon!


")


