
So, You Want That “Cinematic” Look, Huh?
Everyone’s chasing it, that “cinematic style full body image portrait.” Sounds fancy, right? But let me tell you, it’s not just some magic button you press. It’s a whole song and dance, and half the time you’re just winging it, hoping for the best. I’ve been down this road plenty of times, so here’s how I usually stumble through it.
First Up: What Am I Even Trying to Do?
Before I even touch my camera, I gotta have some vague idea. “Cinematic” can mean a thousand things. Dark and moody? Bright and airy but still with that film vibe? I usually rummage around for inspiration, see what kind of feel I’m going for. Is it a lone figure in a big landscape, or something more intimate? This part is mostly just me staring into space, trying to picture it.
Then there’s the subject. And the clothes. And the place. These things gotta talk to each other. You can’t just stick someone in a superhero costume in a bland office and call it cinematic. Well, you could, but it’d be a different kind of movie, probably a comedy. I try to get the location and the wardrobe to match the mood I’m aiming for. Sometimes it’s a pain, scouting locations or digging through closets.
The Actual Shoot: Let the “Fun” Begin
Alright, so I’ve got my idea, my subject (hopefully patient), and a location that doesn’t totally suck. Now for the camera. Honestly, the specific camera isn’t the holy grail everyone thinks it is. It’s more about how you use what you’ve got. I usually go for a lens that gives me a bit of that background separation, you know, makes the subject pop. But again, no magic lens either.
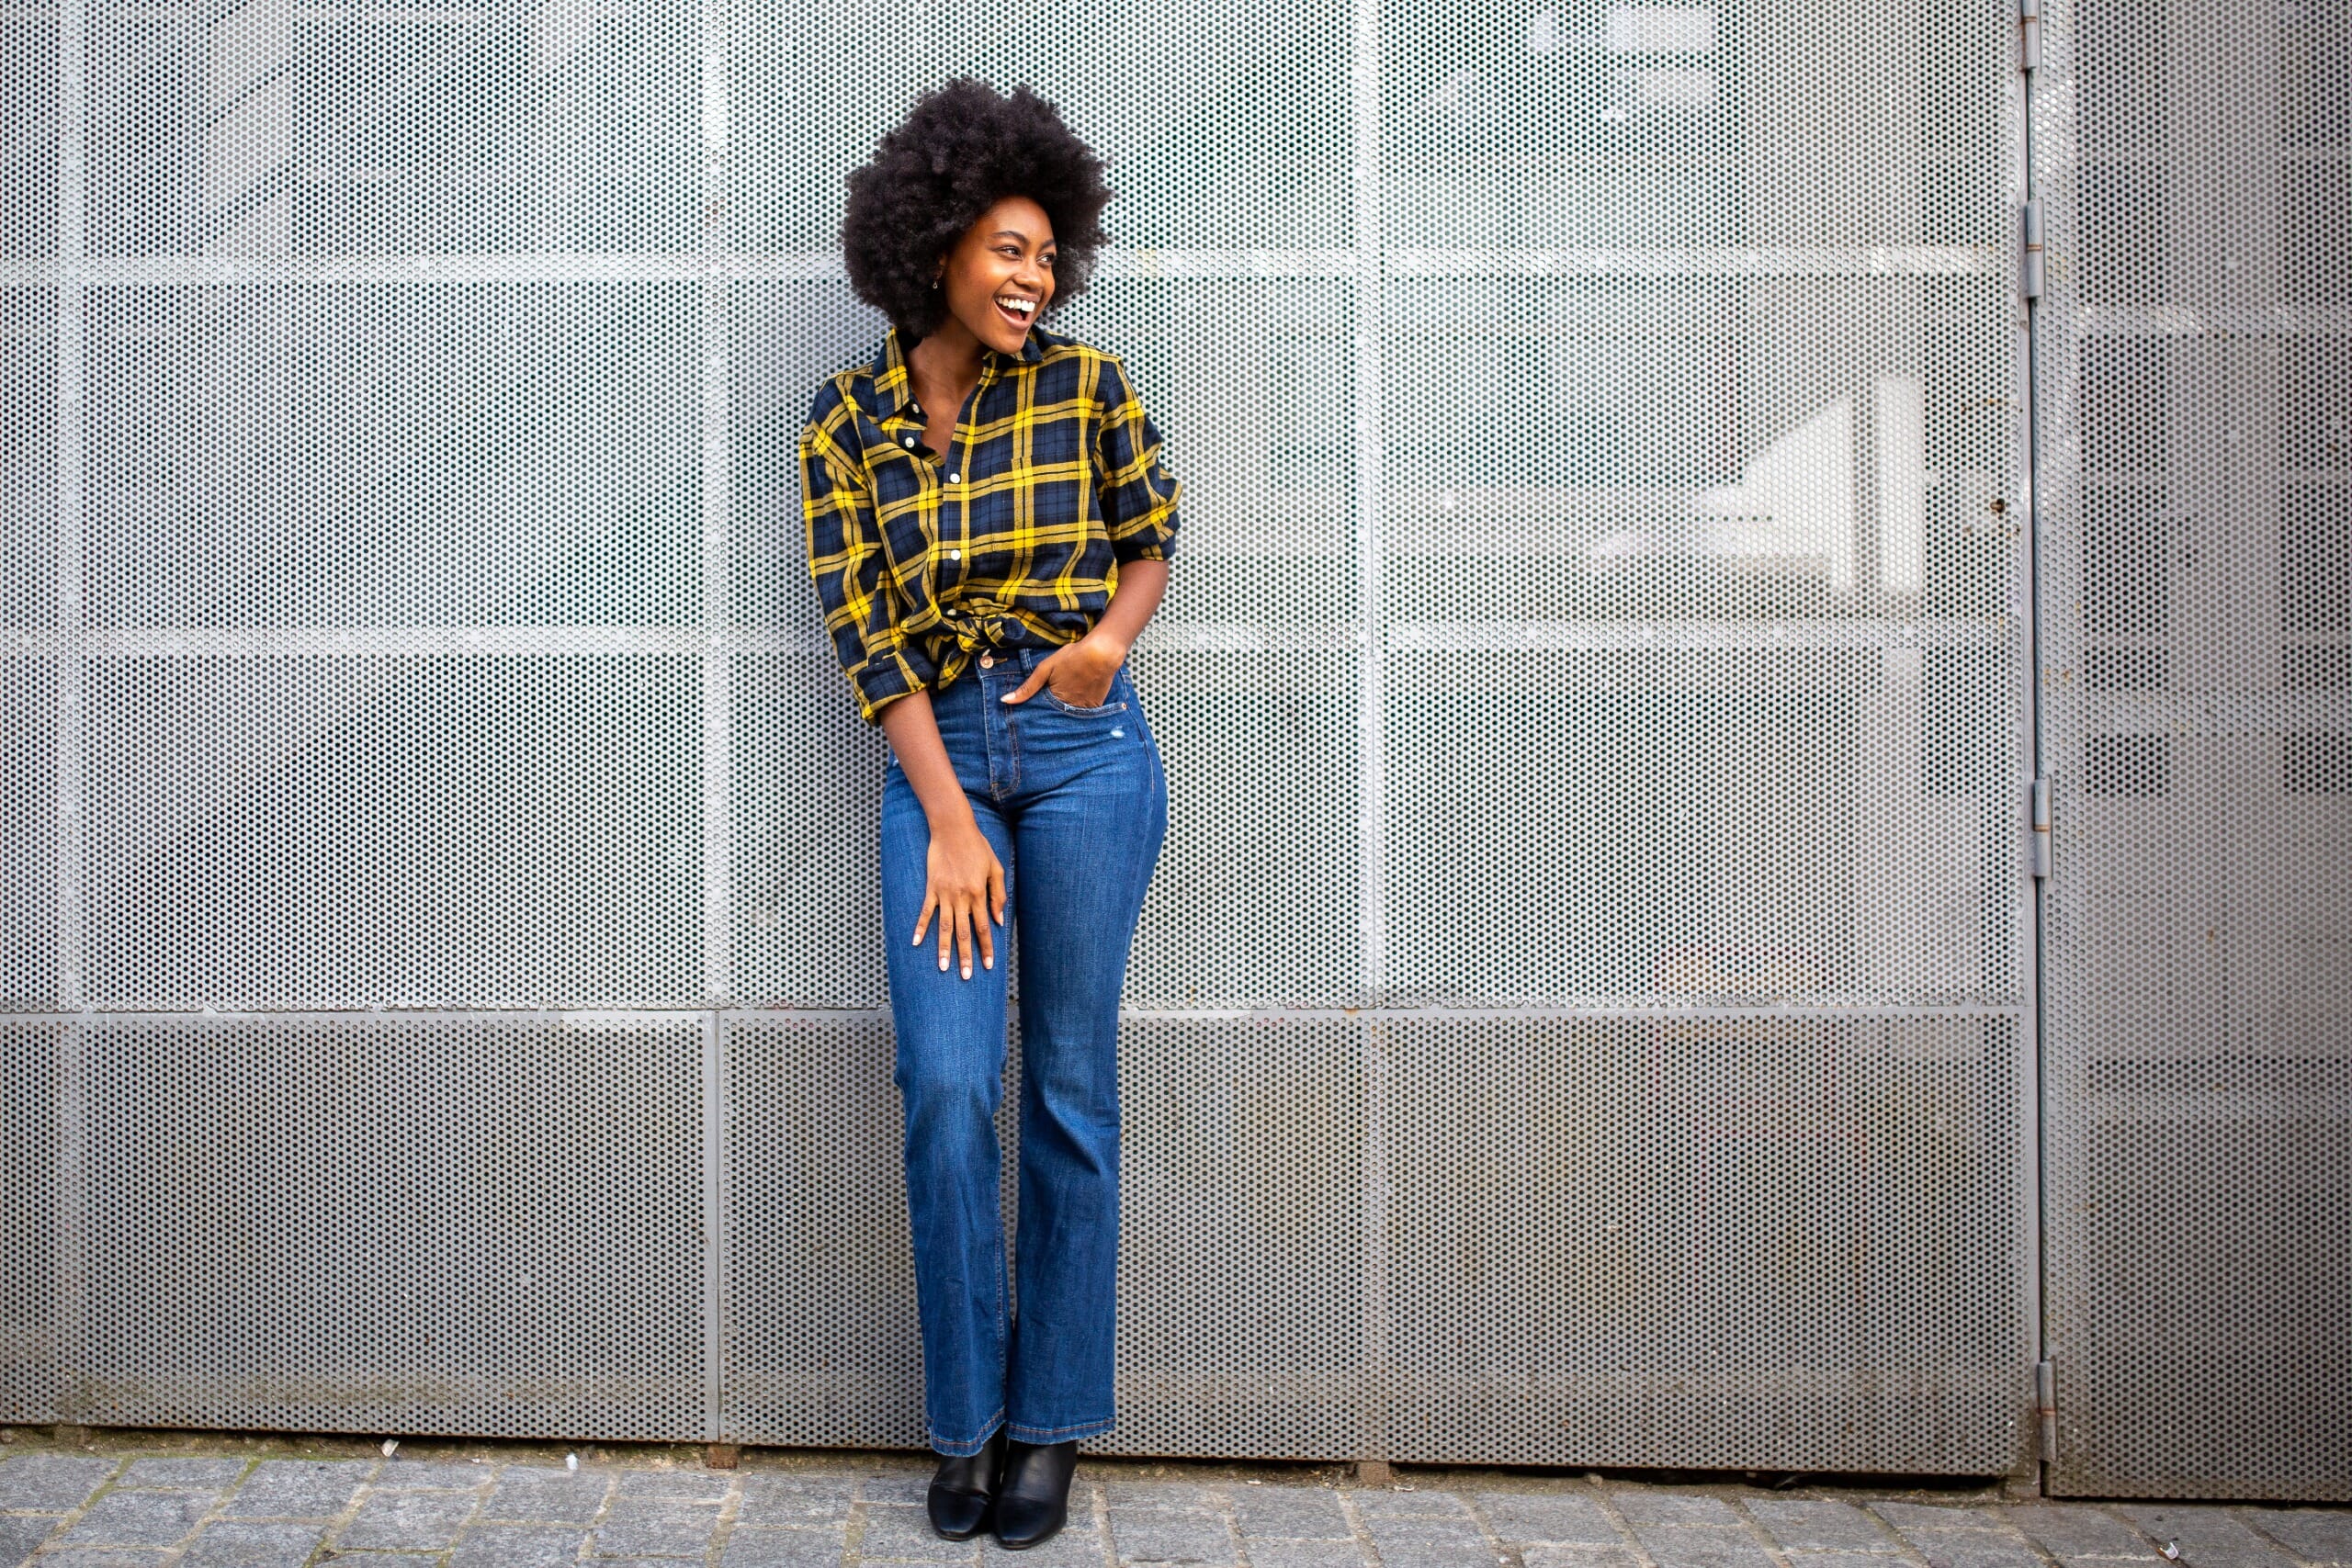
Shooting full body means you gotta think about the whole scene. Composition is king. Where’s the person standing? What’s in the background? Is there anything distracting? I move around. A lot. Squat down, stand on things (safely, mostly). I try different angles. I take way more photos than I’ll ever need, because you never know. Sometimes the light changes, or the person blinks, or a bird photobombs the shot. It’s usually a bit chaotic, and I’m just trying to wrestle some order out of it.
Posing? Ugh. I try to keep it natural. “Just walk over there,” “Look out that window.” Stuff like that. The more you “pose” someone, the stiffer they look. And stiff ain’t cinematic, unless you’re going for a zombie movie.
Sifting Through the Pile: The Culling
After the shoot, I dump everything onto my computer. And then comes the part I dread and love: picking the keepers. You’d think with hundreds of photos, it’d be easy. Nope. I’m looking for that one shot, or maybe a few, that just feel right. Good expression, decent composition, nothing too horribly wrong with it technically. Sometimes the “best” shot is an accident, a candid moment I didn’t even plan for. That’s always a nice surprise.
Making it “Cinematic”: The Real Grind
Okay, so I’ve got my chosen one. Now, how to make it look like it’s a still from a movie? This is where the computer work comes in. For me, it usually involves a few key things. I’m not gonna list every single click, ’cause it changes every time, but here’s the gist:
- Cleaning up: First, any distracting bits. A stray branch, a weird spot on the wall. Gone. Keep it clean.
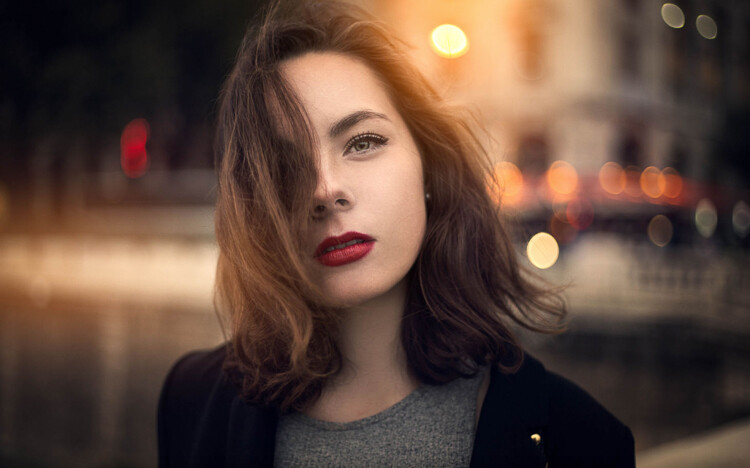
- Light and Shadow: This is big. I play with the exposure, contrast, highlights, shadows. Trying to sculpt the light a bit, make it more dramatic or soft, depending on the mood. This is often called dodging and burning, fancy words for making parts lighter or darker.
- Color Grading: This is probably what most people think of as “cinematic.” It’s all about the colors. Do I want those teal and orange tones everyone loves? Or something more desaturated and moody? Or warm and nostalgic? I mess with color balance, saturation, individual color hues. There’s no single “cinematic” preset, despite what some folks sell you. It’s about finding colors that tell the story. This takes time. Lots of tweaking. Pushing sliders back and forth until my eyes hurt.
- Texture/Grain (Sometimes): Occasionally, I might add a tiny bit of film grain. Just a touch. Too much and it looks like a bad Instagram filter. But a little can add some texture.
- The Crop: Sometimes I’ll crop to a widescreen aspect ratio, like 16:9 or 2.35:1. That instantly screams “movie.” But the image has to work with it. You can’t just slap a crop on anything.
I usually use whatever software I’m comfortable with. Photoshop, Lightroom, Capture One… they all can do the job. The tool is less important than knowing what you want to achieve.
So, Did It Work?
Finally, after all that, I lean back and look at the final image. Sometimes I nail it, and it feels pretty good. Other times, it’s… close, but no cigar. And sometimes it’s just a reminder that I still have a lot to learn. But that’s the process, right? It’s a lot of trial and error. There’s no secret recipe, just a lot of trying stuff out, seeing what sticks. And then you do it all over again for the next one. It’s a grind, but when you get that shot that just clicks and has that vibe… yeah, that’s worth it. Usually.
")


")


