
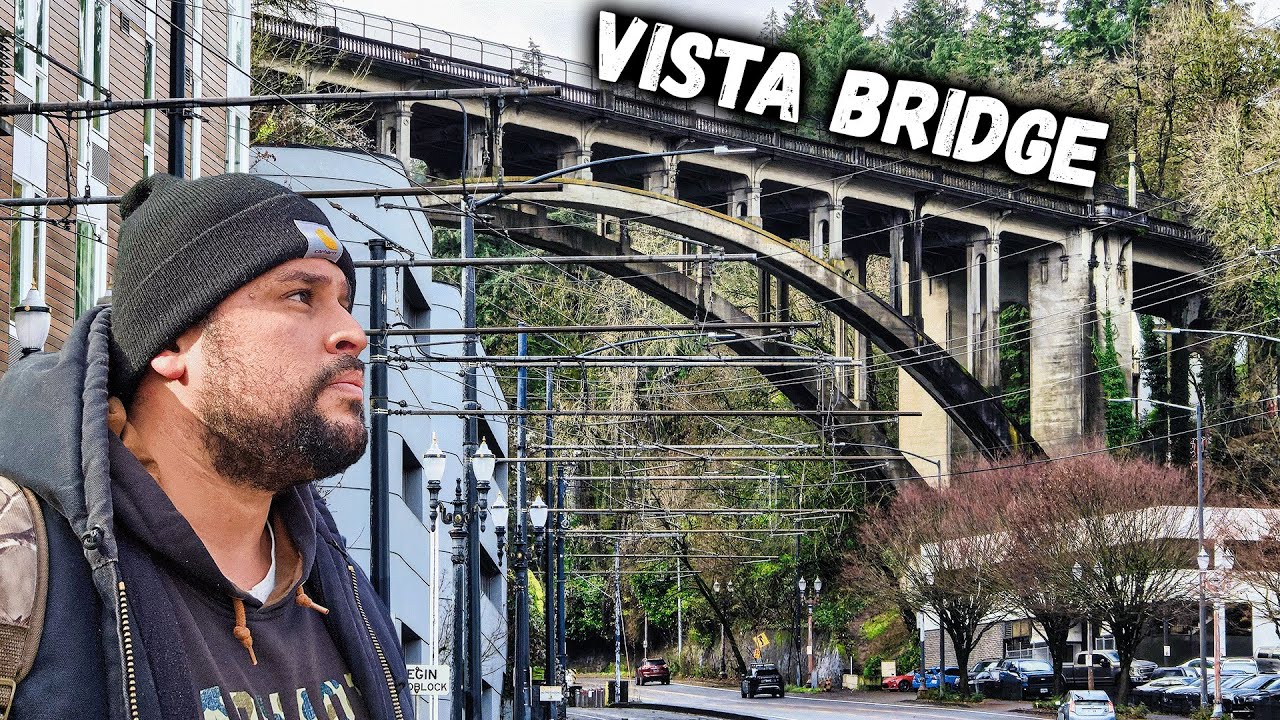
Alright folks, let me tell you about my little adventure with the Vista Bridge in Oregon. I’ve been wanting to get some good shots of it for ages, and I finally carved out some time last weekend. So, grab a coffee, and let’s dive in.

First things first, I planned the trip. I checked the weather forecast like a hawk – no point in heading out there if it was gonna be a downpour. Luckily, the forecast was showing partly cloudy skies, perfect for some dramatic lighting. I also mapped out my route, figured out where the best vantage points were based on some internet sleuthing (without clicking any sketchy links, of course!), and packed my gear.
Gear-wise, I kept it relatively simple. I grabbed my trusty DSLR, a couple of lenses (a wide-angle for the overall scene and a telephoto for some close-up details), my tripod (a must for sharp shots), and some extra batteries. Can’t forget those batteries, learned that lesson the hard way once!
Hit the road early! I wanted to get there before the crowds started showing up. The drive itself was pretty scenic, winding through some beautiful Oregon countryside. Made a quick stop for coffee and a pastry at a local bakery to fuel up for the day.
Arrived at the bridge and immediately started scouting around. Found a spot on the hillside overlooking the bridge. Set up my tripod, attached my camera, and started playing with different angles and compositions. The light was still a bit harsh at this point, so I experimented with different settings, trying to capture the details of the bridge’s architecture.
As the sun started to dip lower in the sky, the light got magical. The clouds started to catch the golden light, creating some really stunning effects. I switched to my wide-angle lens and captured some sweeping shots of the bridge against the dramatic sky.
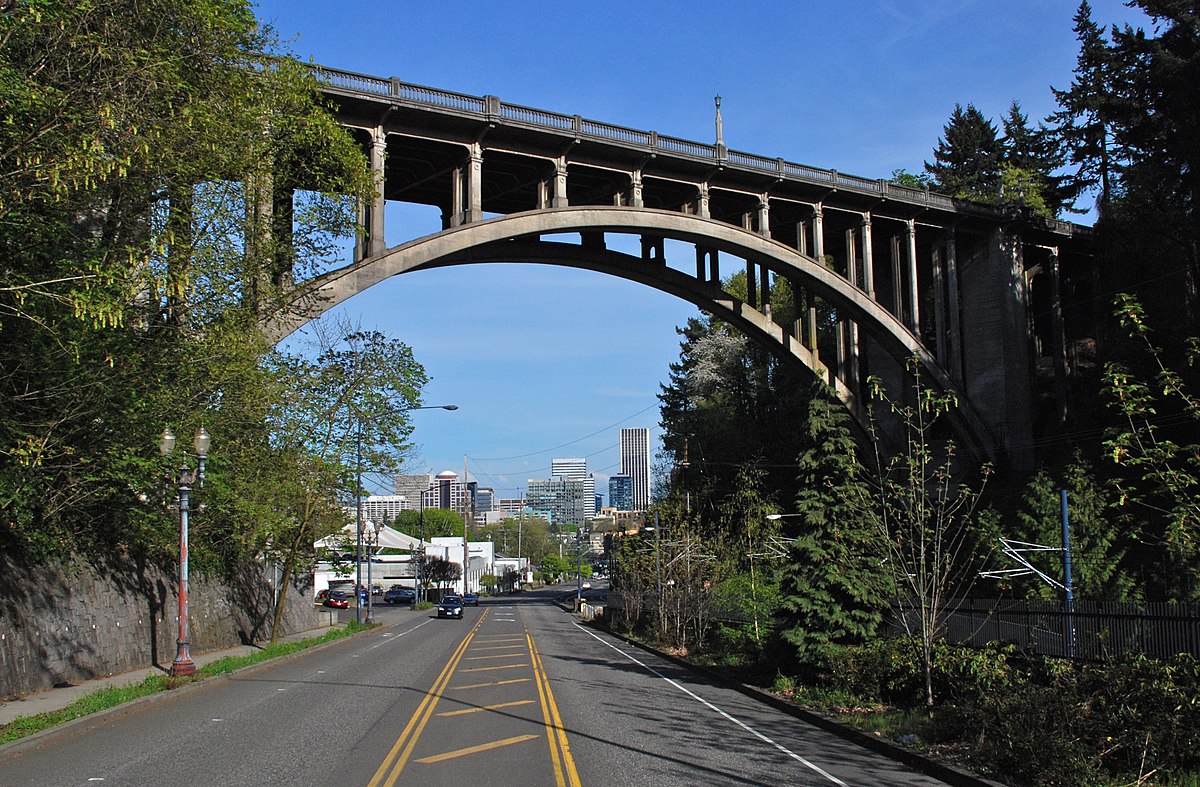
Then, I switched to my telephoto lens to get some close-up shots of the bridge’s intricate details. The arches, the stonework, the little architectural flourishes – it’s all really quite beautiful.
Experimented with long exposures. Using a slow shutter speed, I managed to blur the clouds and create a sense of movement in the sky. This also helped to smooth out the water in the river below, creating a nice contrast to the sharp details of the bridge.
Faced a little challenge. Some unexpected fog started rolling in. At first, I was a bit bummed, but then I realized it actually added a cool, ethereal quality to the scene. I adjusted my settings to compensate for the lower light and kept shooting. Sometimes, the unexpected can lead to the best results!
Wrapped up as dusk settled. By this point, the light was fading fast, and I was starting to get a bit chilly. Packed up my gear, feeling pretty satisfied with the shots I had captured.
Post-processing time. Back home, I loaded my photos onto my computer and started editing them in Lightroom. I adjusted the exposure, contrast, and color balance to bring out the best in each image. I also did some minor retouching to remove any distractions, like stray branches or power lines.
And that’s basically it! It was a fun day out, and I got some shots of the Vista Bridge that I’m really happy with. Here’s what I learned:
- Planning is key: Check the weather, map out your route, and pack your gear in advance.
- Be patient: Wait for the right light and don’t be afraid to experiment.
- Embrace the unexpected: Sometimes, unexpected conditions can lead to unique and beautiful results.
- Post-processing is important: Use editing software to enhance your photos and bring out their best qualities.
So, that’s my Vista Bridge story. Hope you enjoyed it! Now get out there and explore!


")


")


