
Alright, so I wanted to talk a bit about something I’ve been playing around with in my design work lately – this idea of “rule of odds” but specifically for how I define my grids. It’s not some super complex theory, just something I’ve found helps make things look a bit more… interesting, you know?

My First Stumble and Experiments
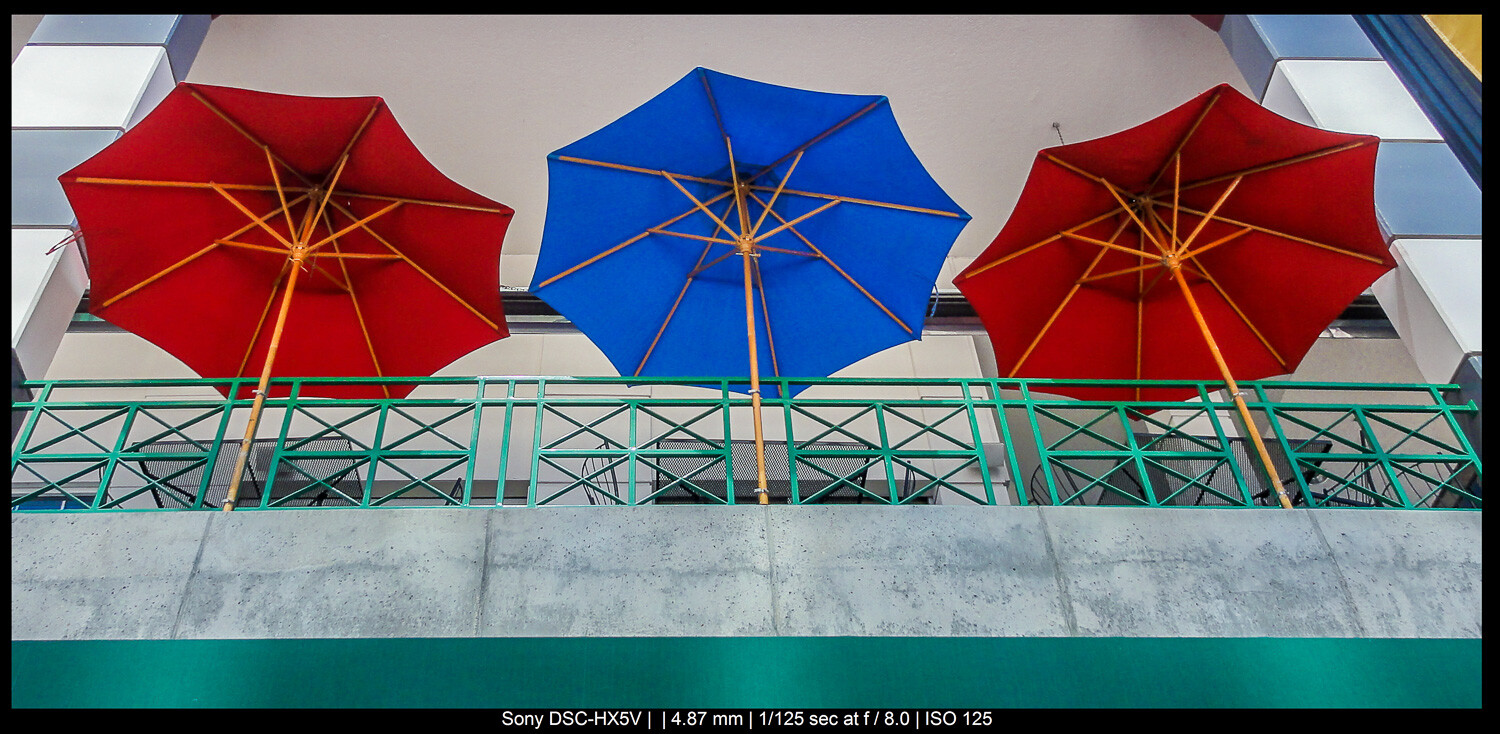
I remember looking at some of my layouts, and they just felt a bit flat. Everything was super symmetrical, usually in twos or fours. Nice and tidy, sure, but also a bit boring. I’d heard about the “rule of odds” in photography – how having an odd number of subjects can be more appealing than an even number. So, I thought, why not try that with grids?
My first experiments were pretty basic. I just started playing with the number of columns in my main layout. Instead of always defaulting to a 2-column or 4-column structure, I tried using 3 columns, or sometimes 5 columns for wider areas. It sounds simple, but it immediately changed the feel. With three columns, for example, the center column naturally draws a bit more attention, or the whole thing just feels less… rigid.
I started sketching out UIs, and when I was defining a new section, I’d ask myself, “Could this work with an odd number of primary blocks?” It wasn’t about forcing it everywhere, but just having it as an option in my toolkit.
Going Deeper than Just Columns
Then I realized it wasn’t just about the overall number of columns. It was also about the number of items you group together. Like, if I had a row of feature boxes or product images, I found that displaying three of them often looked better to my eye than two or four. It created a sort of natural focus, or just made the grouping feel more dynamic.
I had this one project, a kind of dashboard interface. Initially, I had a section with four stat boxes, a neat 2×2 grid. It was fine, functional. But then I tried arranging three key stats in a row, and suddenly, that row had more punch. It felt more deliberate.

So, my “grid definitions” started to incorporate this thinking. When I was planning a component that would list items, I’d consider:
- Can I present these in groups of three or five?
- If I have a central highlight, can I flank it with an even number of items on each side, making the total odd?
- Even for single, prominent elements, making sure they aren’t perfectly centered between two equal flanking elements, but maybe making the flanking elements part of a larger odd-numbered group.
It became a conscious step in my process: define the grid, then think about the groupings within it using this odds idea.
It’s Not a Magic Bullet, Though
Now, I gotta be honest, it’s not like this rule of odds is the answer to everything. There were definitely times when I tried to force it, and it just made things awkward. Sometimes content just naturally comes in pairs, or you have exactly four things you need to show with equal importance. Trying to shoehorn an odd number in can make the layout feel unbalanced in a bad way, or just confusing.
What I learned was that it’s a guideline, not a strict rule. You have to use your judgment. If a clean, even grid serves the content best, then that’s the way to go. But having the “rule of odds” in mind when defining my grids gives me another way to break up monotony and create a bit more visual pull.
So yeah, that’s been my journey with it. Just trying things out, seeing what sticks. It’s made me think more about asymmetry and how to guide the eye, which is always a good thing. It’s less about a rigid definition and more about a flexible approach to make things a little more engaging. Give it a shot if you haven’t already; you might find it useful too!
")


")


