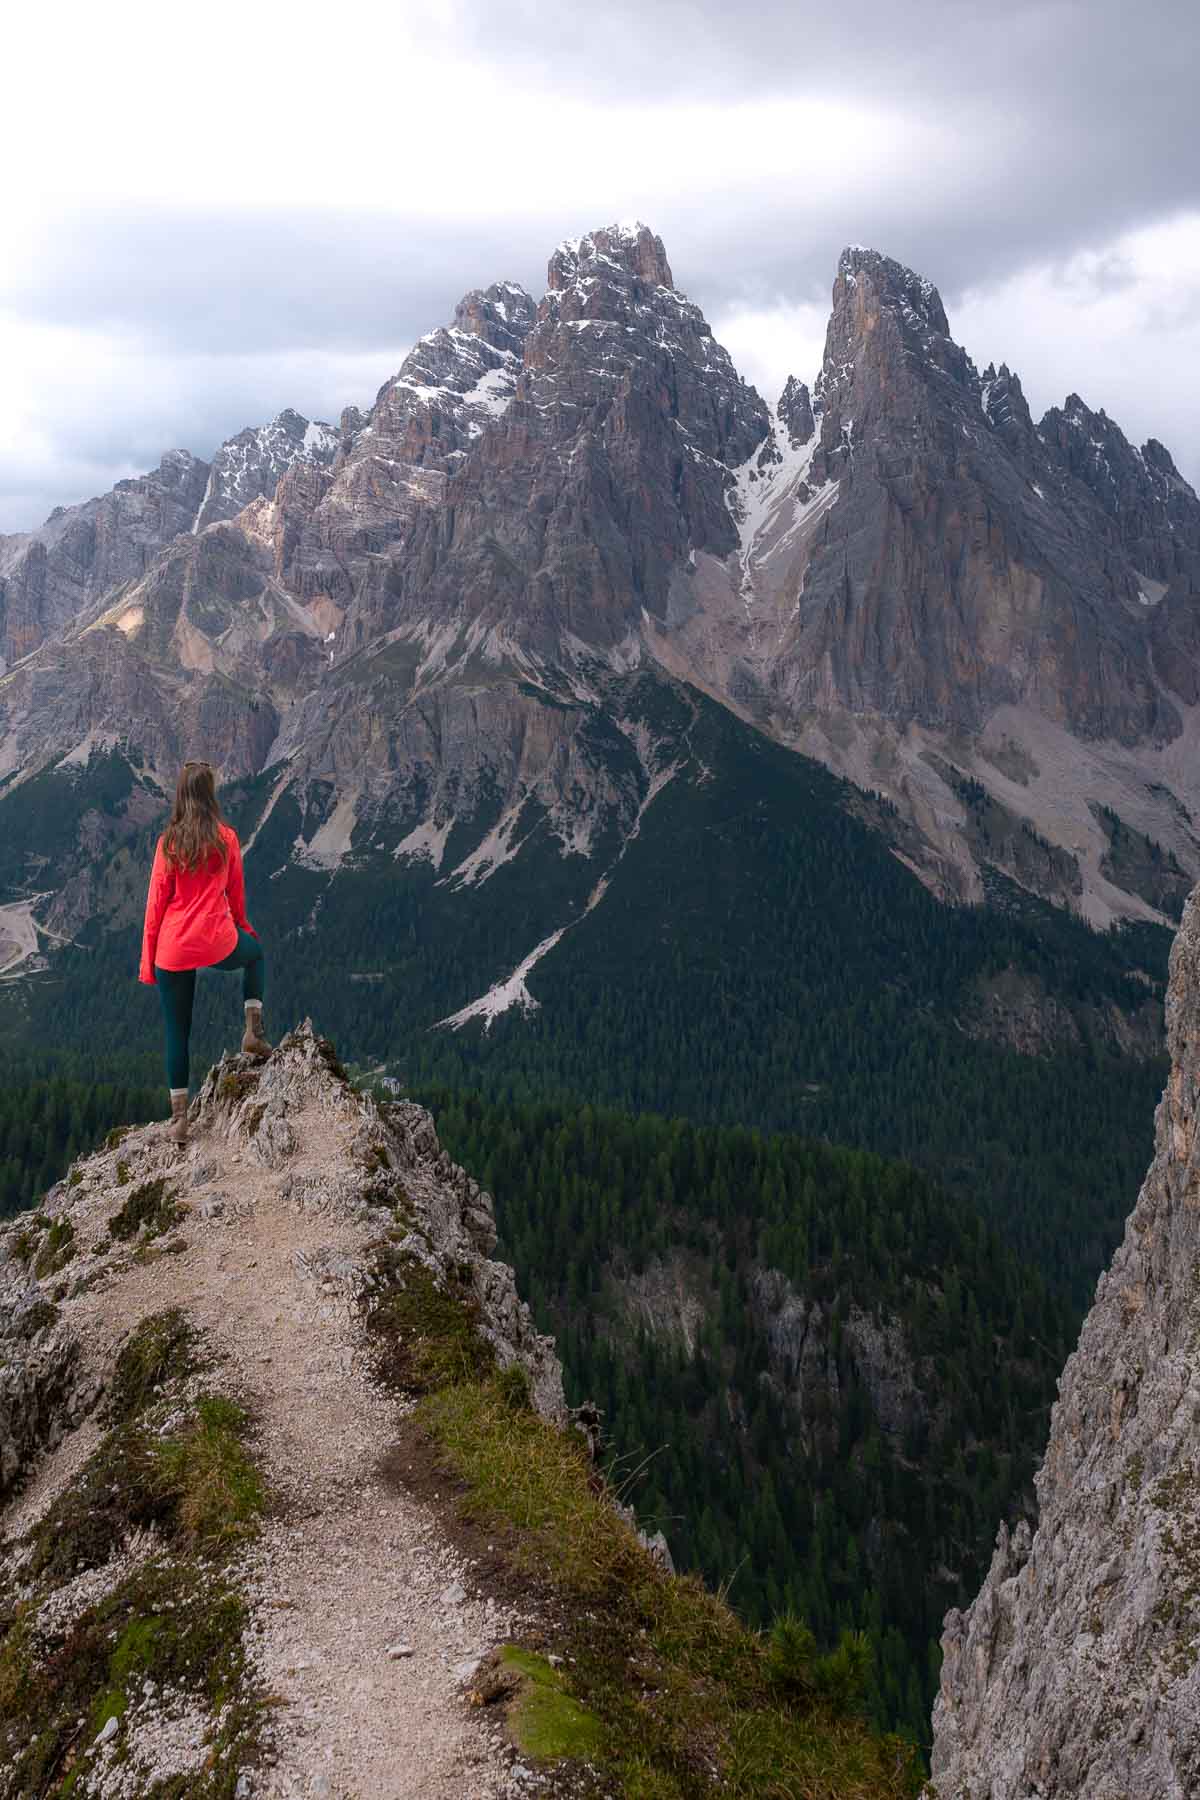
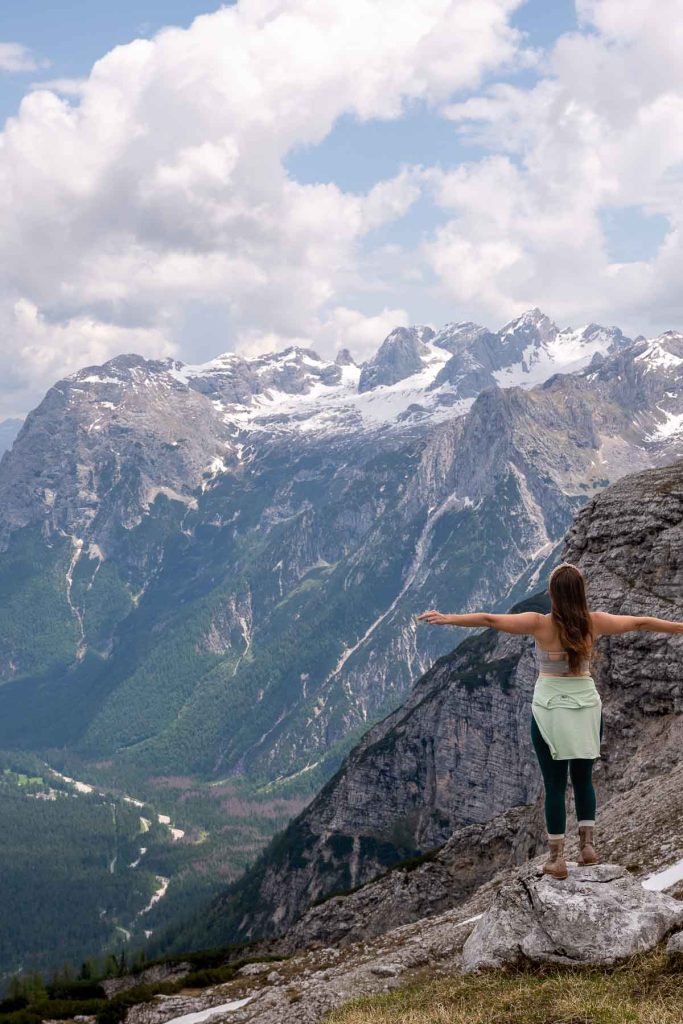
I’ve always been a huge fan of solo travel. It’s a bit intimidating at first, but with some planning, it can be one of the most rewarding experiences. So, I’ve recently made my own trip itinerary planner specifically for solo adventures. Here’s how I created it, step-by-step.
Deciding on the Destination
First things first, I had to pick a place. I started by making a list of countries and cities I’ve always wanted to visit. I considered factors like safety, cost, and what kind of activities I wanted to do. I love hiking and exploring historical sites, so I narrowed down my list to places that offered both. Eventually, I decided on Japan, specifically a mix of Tokyo and Kyoto, because it’s known for being safe, and it has a bunch of cool stuff I’ve always wanted to see.
Researching the Location
Once I had my destination, I did a ton of research. I read blogs, watched travel vlogs, and checked out official tourism websites. I also looked into local customs and basic phrases in Japanese to make things easier. It’s always good to know a little about the culture before diving in.
Setting a Budget
Money is always a big deal. I set a budget for the entire trip, breaking it down into daily expenses. I included accommodation, food, transportation, and activities. I used some online tools to estimate costs and decided to go for a mix of budget and mid-range options to balance comfort and affordability. I also set aside some extra cash for unexpected stuff.
Choosing Accommodation
For solo travelers, where you stay can really make or break the trip. I looked for places that were safe, had good reviews, and were conveniently located. I booked a few nights in a hostel in Tokyo to meet other travelers, and a traditional Ryokan in Kyoto for a more cultural experience. Booking ahead helped me secure good deals and avoid the stress of finding a place at the last minute.
Planning Activities
This was the fun part! I made a list of all the things I wanted to see and do. I grouped activities by location to make the most of my time each day. For example, one day in Tokyo I planned to visit the Senso-ji Temple in the morning, explore the Akihabara district in the afternoon, and enjoy the nightlife in Shibuya in the evening. I also left some free time in my schedule for spontaneous adventures and just chilling out.

Transportation
Getting around was another important thing to figure out. In Japan, the public transportation is amazing, so I decided to get a Japan Rail Pass for intercity travel. For getting around within the cities, I planned to use the subway and buses. I downloaded some handy apps to help with navigation and schedules. Having a clear plan for transportation made me feel way more confident about getting around on my own.
Packing Essentials
Packing light is key for solo travel. I made a packing list to make sure I didn’t forget anything important. I packed versatile clothes that could be mixed and matched, comfortable walking shoes, and all the necessary travel documents. I also included a small first-aid kit, a portable charger, and a universal adapter. It’s better to be prepared for anything, right?
Creating a Detailed Itinerary
Finally, I put everything together into a detailed itinerary. I used a simple spreadsheet to organize each day’s plans, including the activities, meals, and transportation. Having a visual plan made it easy to see how each day would flow and make adjustments if needed. Here’s what a typical day in my itinerary looked like:
- Date: May 15, 2024
- Location: Tokyo
- Morning:
- 8:00 AM: Breakfast at the hostel
- 9:00 AM: Visit Senso-ji Temple
- 11:00 AM: Explore Asakusa market
- Afternoon:
- 1:00 PM: Lunch at a local ramen shop
- 2:30 PM: Travel to Akihabara
- 3:00 PM: Explore Akihabara district (electronics, anime shops)
- Evening:
- 6:00 PM: Travel to Shibuya
- 7:00 PM: Dinner at a restaurant in Shibuya
- 8:30 PM: Enjoy the Shibuya nightlife (Shibuya Crossing, bars)
- 10:00 PM: Return to the hostel
Staying Flexible
Even though I had a detailed plan, I knew it was important to stay flexible. Things don’t always go as planned, and that’s part of the adventure. I made sure to have backup options and was open to changing my plans based on how I felt or what I discovered along the way. This flexibility made the trip way more enjoyable and less stressful.
So, that’s how I created my trip itinerary planner for solo adventures. It took some time and effort, but having a well-thought-out plan made my solo trip to Japan an unforgettable experience. I got to see amazing places, meet new people, and really enjoy my time without feeling overwhelmed. If you’re thinking about planning a solo trip, I hope these steps help you out. Happy travels!


")


