
Okay, so I’ve been planning this trip to Southeast Asia for ages, and let me tell you, figuring out the itinerary was a beast. I didn’t want to just wing it, but I also didn’t want to pay for some fancy travel planner. So, I dove into the world of free tools, and here’s how I cobbled together a pretty awesome route.
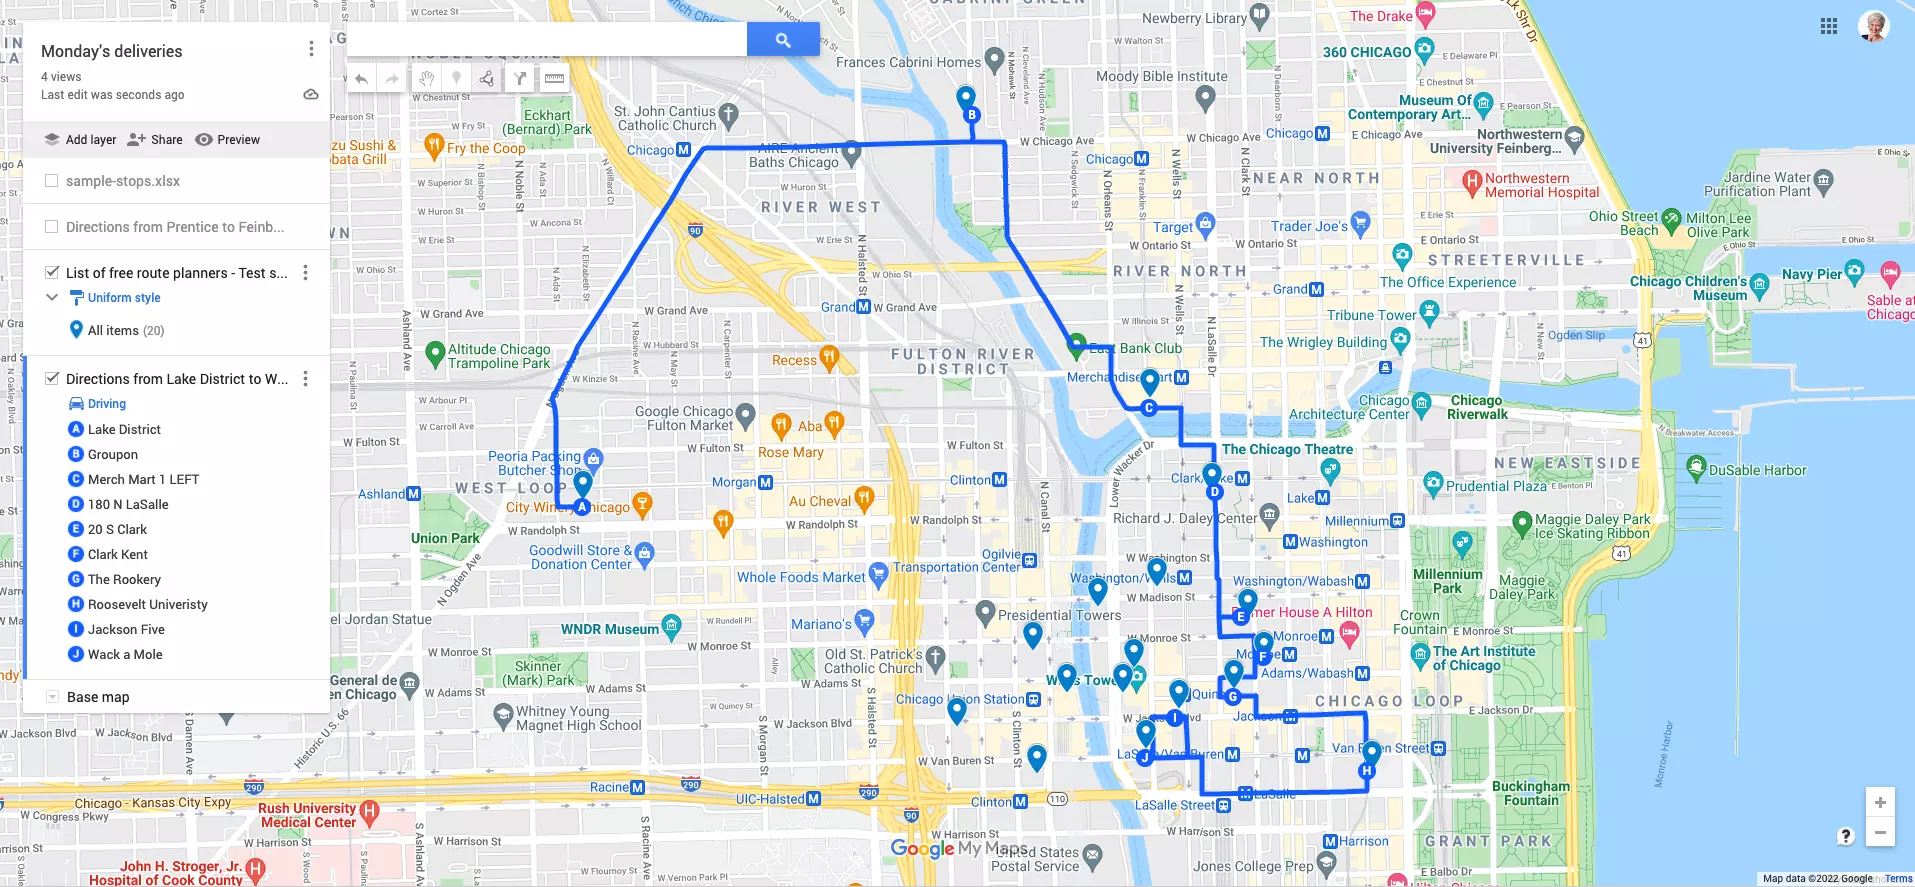
Brainstorming and Pinpointing – Google My Maps
First, I needed a visual. I started with Google My Maps. It’s not specifically for travel, but it’s perfect for getting a lay of the land. I created a new map and just started dropping pins on places I’d heard of – cities, temples, beaches, national parks, the works. Just seeing everything laid out like that helped me get a sense of distances and what was geographically feasible.
I created different layers within the map. One for “Must-Sees,” another for “Maybes,” and even one for “Food Spots” I’d read about. This helped me prioritize and start to visualize potential routes.
Connecting the Dots – Rome2rio
Next up, figuring out how to actually get from point A to point B. This is where Rome2rio became my best friend. You type in any two locations, and it spits out all the possible transport options – buses, trains, planes, ferries, even combinations of them. It gives you estimated travel times and approximate costs, which is HUGE for budgeting.
I spent a good chunk of time playing around with Rome2rio, plugging in different city pairs from my Google My Maps list. I quickly realized that some routes were ridiculously long or expensive, while others were surprisingly easy. This helped me narrow down my “Must-Sees” and start forming a realistic path.
Building the Daily Schedule – Google Sheets
Once I had a rough route and a sense of travel times, I needed to organize it into a day-by-day schedule. For this, I kept it simple with Google Sheets. I created columns for:
- Date
- Location
- Accommodation (I just put in names of hostels or areas I was considering)
- Activities (including travel time, using Rome2rio’s estimates)
- Notes (things like visa requirements, booking confirmations, etc.)
- Estimated Costs( Just Rough price)
This spreadsheet became my master document. I could easily move things around, add notes, and see how much time I was spending in each place. It also helped me identify any potential gaps in my plans – like, did I have enough time to actually see things, or was I just spending all my time on buses?
Making It Pretty (and Shareable) – Google Docs
Finally, I wanted something a little nicer-looking than a spreadsheet, especially if I wanted to share it with friends or family. So, I copied the basic information from my Google Sheet into a Google Doc. I added some headings, formatted it a bit, and even threw in a few pictures I’d found online. This made it much more readable and presentable.
The beauty of using all these Google tools is that they’re all linked and accessible from anywhere. I could make changes on my laptop, then pull up the itinerary on my phone while I was on the go. And it was all FREE! It took a bit of time and effort, but I ended up with a detailed, personalized travel plan that I’m super excited about. It saved that money!


")


