
Okay, so I decided to go to the Philippines. First thing I needed was a tourist visa. I had no idea where to start, so I did what anyone would do – I Googled it.

Figure out the Requirements
The first thing was to Find the official website of the Philippine embassy or consulate. I made sure it was the actual government site, not some third-party thing.
Then I Looked for a “Visa” or “Consular Services” section. I find the page for tourist visas, and got requirements listed, I wrote them down like these:
- Passport: Had to be valid for at least six months beyond my planned stay.
- Application Form:Downloaded this from the website. I Filled in all the information about myself and all of that.
- Passport Photo: It needs standard-sized.
- Proof of Funds: Got my recent bank * I had enough money to actually enjoy my vacation.
- Flight Itinerary: They wanted to see my round-trip ticket – basically, proof I planned to leave.
- Accommodation Proof: My hotel booking and so on.
- Visa Fee: Of course.
Get Everything Together
So I went to make a copy of my passport’s main page, Just in case.
Printed out my bank statements for the last few months. And I Carefully filled out the application form, double and triple-check it.
Got my passport photos taken.
Printed out my flight confirmation and hotel booking.
Organize those all in a folder!
Submitting the Application
I checked the embassy’s website again. I see if I needed an appointment to submit everything, or could I just walk in. Lucky me, I needed an appointment. Booked the earliest slot available. I Pray that I do not forget something.
On the day of the appointment, I arrive, went a bit early. Dress nicely. And brought my folder with all the documents.
At the embassy, I take a number, wait my * give my all documents to the * the visa fee and get a receipt.

Wait and Get Result
The embassy said it’d take a few weeks to *, I wait and wait.
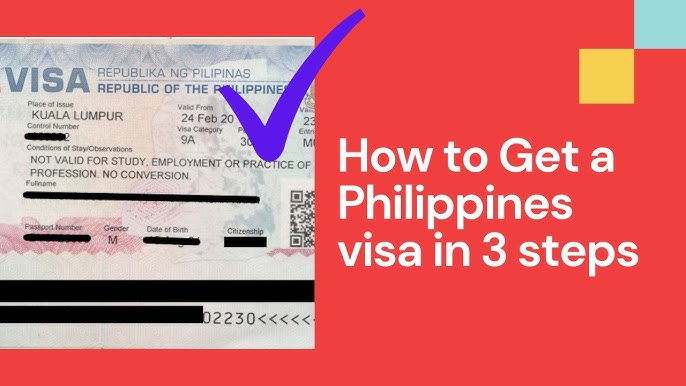
Finally, I got an email saying my visa was approved! I went back to the embassy to pick up my passport, and there it was, the visa all shiny and new.
That’s really it! It was just like a checklist. Get the requirements, gather the documents, submit, and wait. Now I can go to the Philippines!


")


