
Okay, here’s my blog post about my “value examples photography” practice session. Hope it’s helpful!
Alright, so today I’m gonna ramble about something I’ve been messing around with: value in photography. You know, how light or dark things are in your photos. It’s one of those things that sounds kinda artsy-fartsy, but it actually makes a HUGE difference.
I started by just trying to wrap my head around what “value” even means. I looked up a bunch of stuff online – you see those scales showing dark grays going all the way to white? That’s basically it. It’s about how much light something reflects.
The Gear I Used: Just my trusty old Canon DSLR and a 50mm lens. Nothing fancy. Plus, my laptop for editing later.
First thing I did was just go outside and start snapping pics. I was trying to find scenes with really different values. Like, a super bright sky next to a dark, shadowy building. I didn’t really know what I was doing, I was just clicking away.
- Experiment 1: High Contrast. I focused on capturing scenes with extreme differences in light and dark. Think: bright sunlight hitting one side of a brick wall, leaving the other side in deep shadow. Snapped a ton of these, trying different angles.
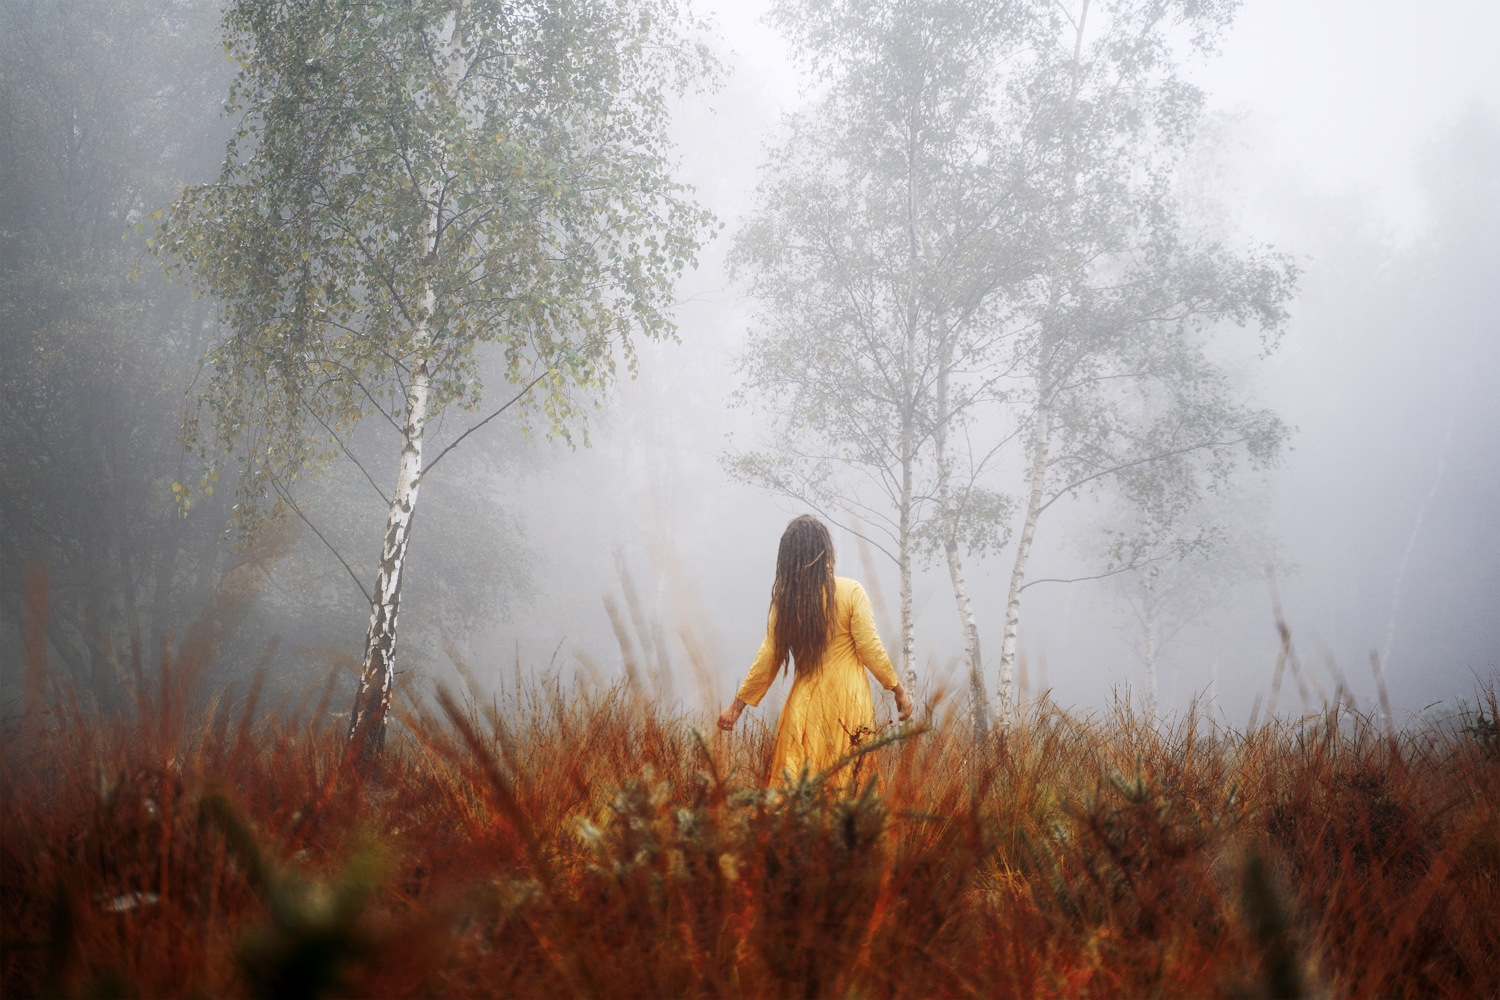
- Experiment 2: Low Contrast. Then, I went the opposite direction. Overcast day, everything kinda muted. I tried to find textures and patterns that would still be interesting, even without a lot of bright highlights or dark shadows. Concrete, foggy trees, that sort of thing.
- Experiment 3: The “Big Three” Dance. Okay, I messed with my camera settings – Shutter Speed, Aperture, and ISO – to see how they affected the values. Faster shutter speed in bright light to darken things, wider aperture to blur backgrounds and change the overall feel. It was a lot of trial and error, but I started to see how these things interact.
Then came the editing part. This is where things got interesting. I loaded my photos into Lightroom and started playing with the sliders.
I found that bumping up the highlights in a low-contrast image could create some really cool effects, like pulling out details in the clouds. And darkening the shadows in a high-contrast image could make it look way more dramatic.
My Editing Process:
- Basic Adjustments: Exposure, Contrast, Highlights, Shadows, Whites, Blacks. I’d usually start here, just trying to get the overall feel right.
- Tone Curve: This thing is POWERFUL. I could fine-tune the values in specific parts of the image. Like, making the midtones a little brighter without blowing out the highlights.
- Black and White Conversion: This was a game changer! When you take away the color, all you’re left with is the value. It really forces you to think about the tones in your image.
One thing that really clicked was thinking about the “3 C’s” – Content, Concept, and Composition. I realized that value isn’t just about making a pretty picture, it’s about telling a story. A high-contrast image might be perfect for showing drama and tension, while a low-contrast image could be more peaceful and calming.
What I Learned:
- Value is way more important than I thought.
- Even boring subjects can be interesting if you play with the light.
- Editing is where the magic happens (sometimes).
- Practice makes perfect (or at least better).
I’m still learning, obviously. But messing around with value has definitely opened my eyes to a whole new way of seeing things. I’m gonna keep experimenting and see where it takes me. Maybe next time I’ll try shooting some black and white film. That should be a real challenge!
Anyway, that’s my little adventure into the world of value in photography. Hope you found it interesting!
")


")


