
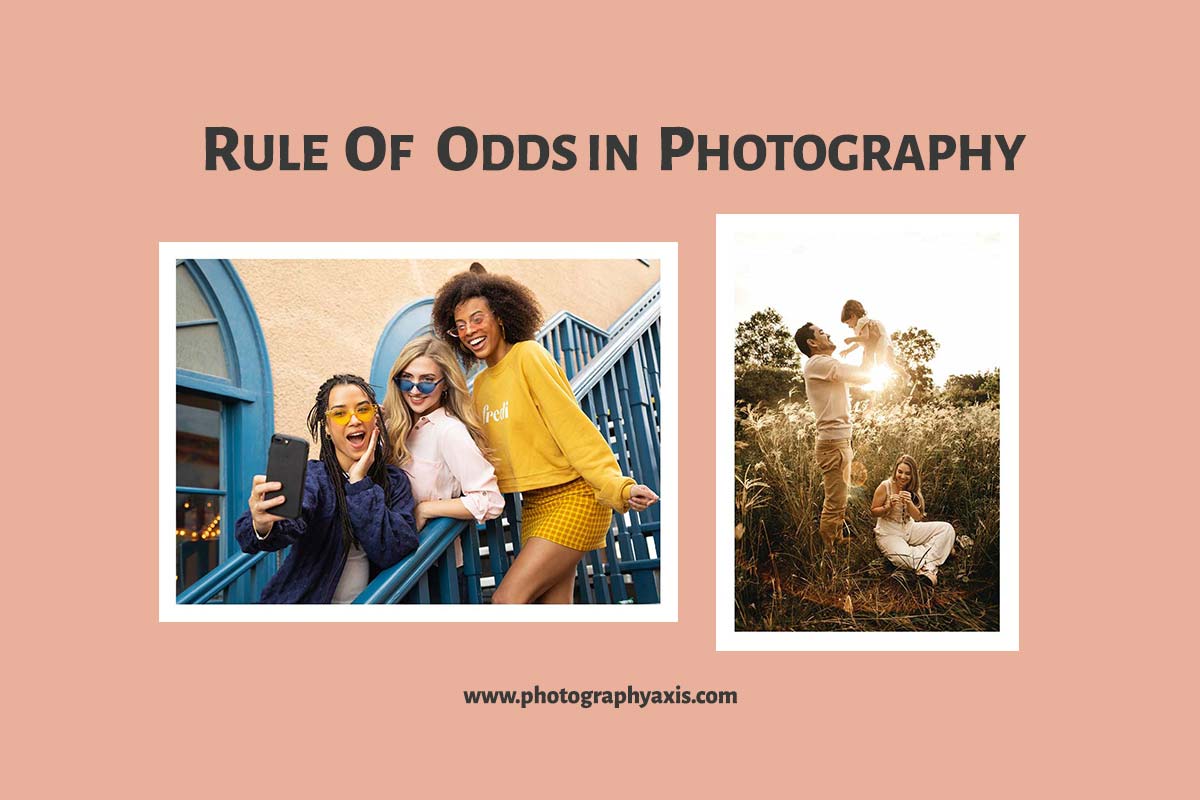
Alright, so I’ve been mucking about with photography, trying to get some decent shots, you know? And then I got to thinking about how to explain some of these fancy ideas to my kid, ’cause they love snapping pictures too. One thing that popped up was this “rule of odds” thing. Sounds complicated, right? Especially the “grid photography definition for kids” bit. I just wanted to see if I could make it super simple.
My First Go at It
So, I started off just thinking, “odds.” Like, odd numbers. One, three, five. Easy peasy. I figured if I just told my kid to put, say, three toys in the picture instead of two or four, it might look a bit better. My first attempts were, well, a bit all over the place. I’d grab some blocks, or maybe some fruit from the bowl. I’d say, “Okay, take a picture of three apples.” And they would! But sometimes they’d just line ’em up straight, or clump them all in one corner.
It wasn’t quite hitting the mark. The photos were okay, but not really showing what this “rule” was supposed to do. I realized just saying “odd number” wasn’t enough. There had to be more to it, especially that “grid” part I’d heard whispers about.
Figuring Out the “Grid” Bit (Without Getting Too Technical)
I didn’t want to pull out diagrams or talk about intersecting lines. That’d just make their eyes glaze over, and mine too, probably! So, I thought about it differently. I imagined the camera screen, or even just the space they were looking at, like a simple tic-tac-toe board. Just three rows, three columns. Super basic.
Then I thought, okay, if we have our three things (let’s stick with apples), instead of putting them all in one square, or all in a straight line, what if we try to spread them out a bit, using some of those imaginary tic-tac-toe spots? The key was still having an odd number of main things you’re looking at.
Putting It Into Practice – The Fun Part!
This is where it got a bit more hands-on. I set up a few scenarios:
- One main thing: This was easy. One big toy in the middle, or slightly off to one side. Kids get this one fast. “Look, just one awesome dinosaur!”
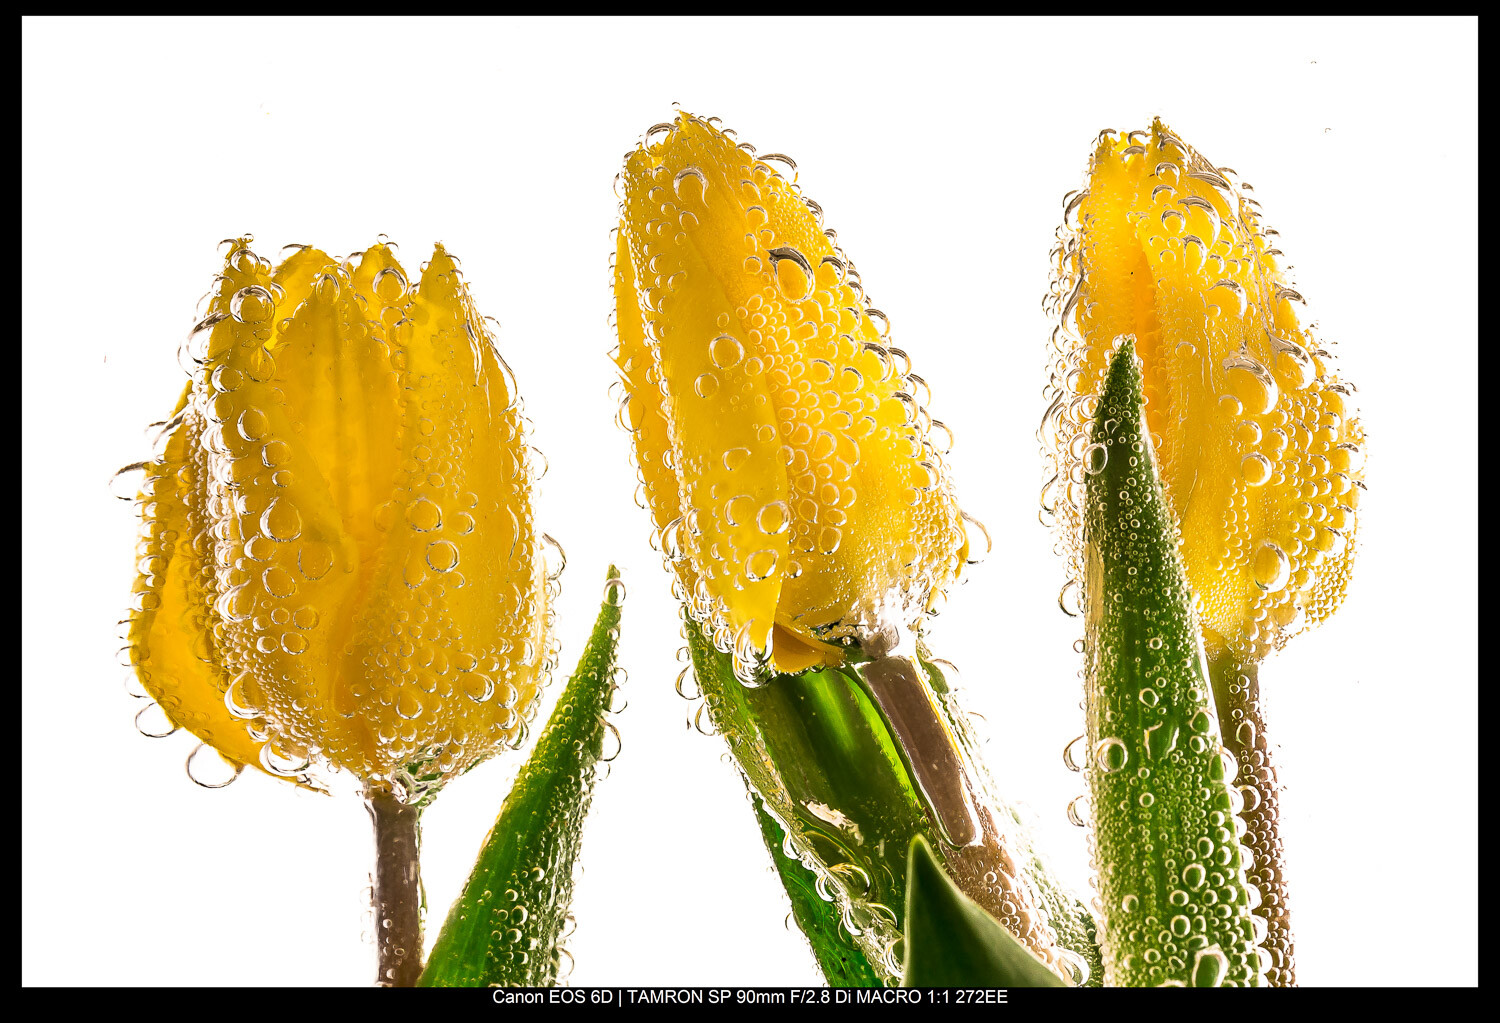
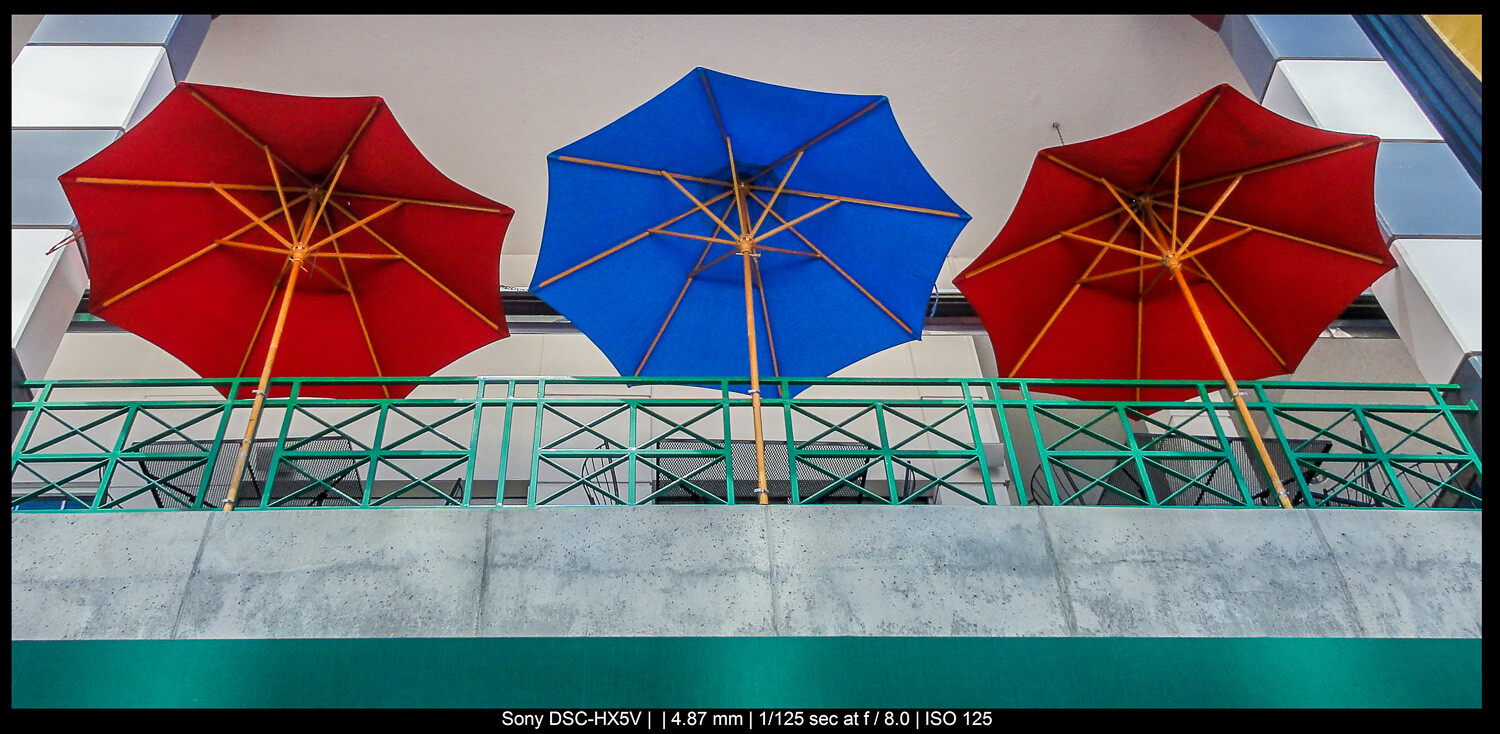
- Three main things: This was the sweet spot for the “odds” rule. I grabbed three different colored cups. I told my kid, “Okay, let’s not put them in a straight soldier line. Try making a little triangle with them, or put one a bit forward and two a bit back.” We’d move them around, looking through the phone camera. I’d say, “See how your eye kind of dances between them? It’s more interesting than if there were just two, or four all lined up.”
- The “why”: I tried to explain it like this: when you have an odd number, your brain doesn’t pair them up neatly. It makes the picture feel a bit more natural, a bit more dynamic. If there are two things, your eye just goes back and forth. If there are three, your eye kind of wanders around, which is more fun.
We didn’t always use a literal grid. Sometimes I’d just point and say, “Try putting one main thing here, another there, and the third one maybe a little over yonder.” The idea was to make it feel less rigid and more like playing.
What Happened?
You know what? It actually started to click! The photos my kid took with, say, three distinct objects often looked more balanced and, well, just more interesting. They weren’t always perfect, of course – we’re talking about kids here! But there was a noticeable shift. They started thinking a bit more about where to place things, not just what to point the camera at.
The biggest win was seeing them experiment. They’d try one object, then three, then maybe even five small pebbles. They’d arrange them, look, rearrange, and shoot. It became a bit of a game.
My Two Cents on This Whole Thing
So, this “rule of odds grid photography definition for kids” doesn’t have to be some scary, complex beast. For me, it boiled down to: try using an odd number of main subjects (like 1, 3, or 5) and think a little about not clumping them all together or lining them up too perfectly. Spread them out a bit, so the picture feels more alive.
It’s not a hard and fast rule you MUST follow, but it’s a neat little trick to have up your sleeve, especially when you’re trying to help little ones take photos that have a bit more oomph. Give it a go – grab some toys, some fruit, whatever you’ve got, and just play around with it. You might be surprised!
")


")
")


