Alright folks, let’s dive into my recent adventure: capturing the stars! I’ve been wanting to get some decent astrophotography shots for ages, and I finally spent a night out trying to nail down the camera settings. Let me walk you through what I did, what worked, and what totally flopped.
The Gear:
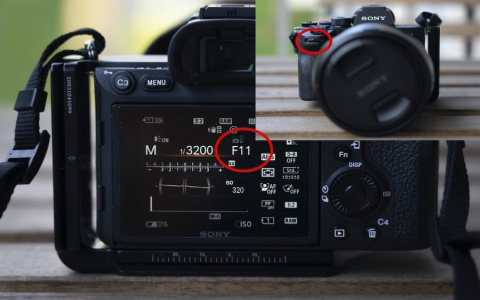
- My trusty Sony a6000 (nothing fancy, but it gets the job done)
- A Rokinon 12mm f/2.0 lens (wide and fast, perfect for stars!)
- A sturdy tripod (absolutely essential, unless you have superhuman stillness)
- A remote shutter release (to avoid camera shake)
First, the Plan (which quickly fell apart):
I had read a bunch of articles about the “500 rule” (500 / focal length = longest exposure time before star trailing). So, with my 12mm lens, that meant I could theoretically shoot for around 41 seconds (500 / 12 = 41.66). I also figured I’d start with a high ISO to gather as much light as possible and then adjust aperture to get a good exposure. Sounded great on paper.
Then, Reality Hit:
I drove out to a spot I thought would be dark enough (turns out light pollution is a real pain!). Set up my tripod, attached the camera, and started fiddling with the settings. Here’s how it went down:
The Initial Attempts
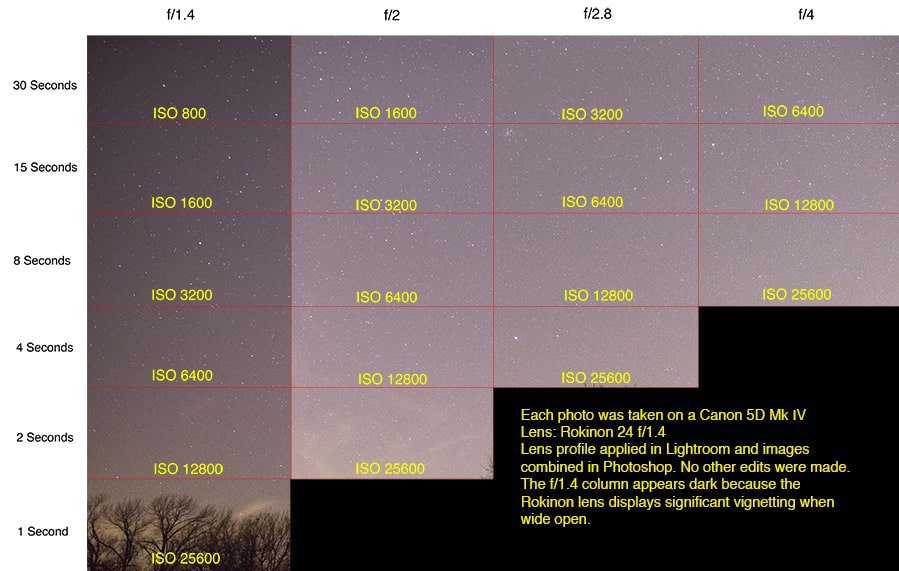
I cranked the ISO up to 6400, set the aperture to f/2.0, and tried a 30-second exposure. The result? A blurry mess! The stars were definitely trailing. The 500 rule, it seemed, was more of a guideline than a hard-and-fast rule. Maybe my tripod wasn’t as stable as I thought, or perhaps the wind was playing tricks on me. Whatever the reason, it was back to the drawing board.
Tweaking and Testing:
Okay, Plan B. I started shortening the exposure time. I tried 20 seconds, then 15, then 10. Even at 10 seconds, there was still a little bit of trailing. Frustrating!
Next, I messed around with the ISO. 6400 was way too noisy, so I started dropping it down. 3200 was better, and 1600 seemed like a good compromise between brightness and noise.
The aperture was the last thing I adjusted. I stopped down to f/2.8 to sharpen things up a bit. It helped, but also meant I needed to compensate with a longer exposure or higher ISO.
The “Sweet Spot” (for that Night, Anyway)
After a lot of trial and error, I finally landed on settings that gave me reasonably sharp stars and a decent amount of light:
- ISO: 1600
- Aperture: f/2.8
- Shutter Speed: 6 seconds
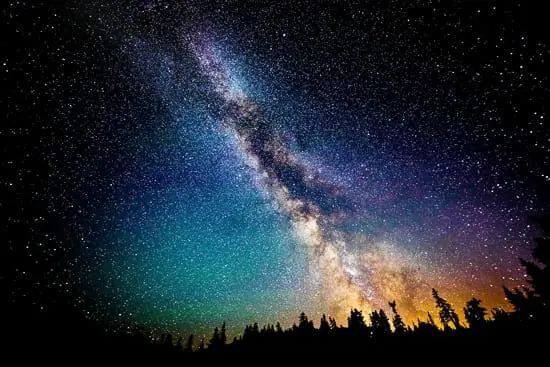
Yeah, 6 seconds. Way shorter than the 41 seconds the “500 rule” suggested. But hey, it worked! I snapped a bunch of photos with these settings and was actually pretty happy with the results.
Lessons Learned:
- The 500 rule is a starting point, not gospel. Experiment to find what works best for your gear and conditions.
- Light pollution is a killer. The darker the sky, the better. I need to find a truly dark location for my next attempt.
- A good tripod is worth its weight in gold. Seriously, don’t skimp on this.
- Patience is key. Astrophotography is all about trial and error. Don’t get discouraged if your first few shots are awful.
Next Steps:
I’m definitely not done with astrophotography. I’m already planning my next outing. I want to try stacking multiple images to reduce noise and bring out more detail. I’m also looking into getting a star tracker to allow for longer exposures.
So, that’s my stargazing adventure so far. It was a lot of fun, and I learned a ton. Hope this helps you on your own astrophotography journey! Happy shooting!

