
Alright, so today I wanted to mess around with some photo touch-ups in Gimp. I’ve used it a bit before, but it’s definitely not my go-to like Photoshop is for some folks. Anyway, I figured I’d document my little adventure here.
First things first, I opened up Gimp. It took a second to load up – maybe my computer’s just slow today. Once it was up, I went to “File” and then “Open” to grab the picture I wanted to edit. It’s just an old photo of my cat, nothing fancy.
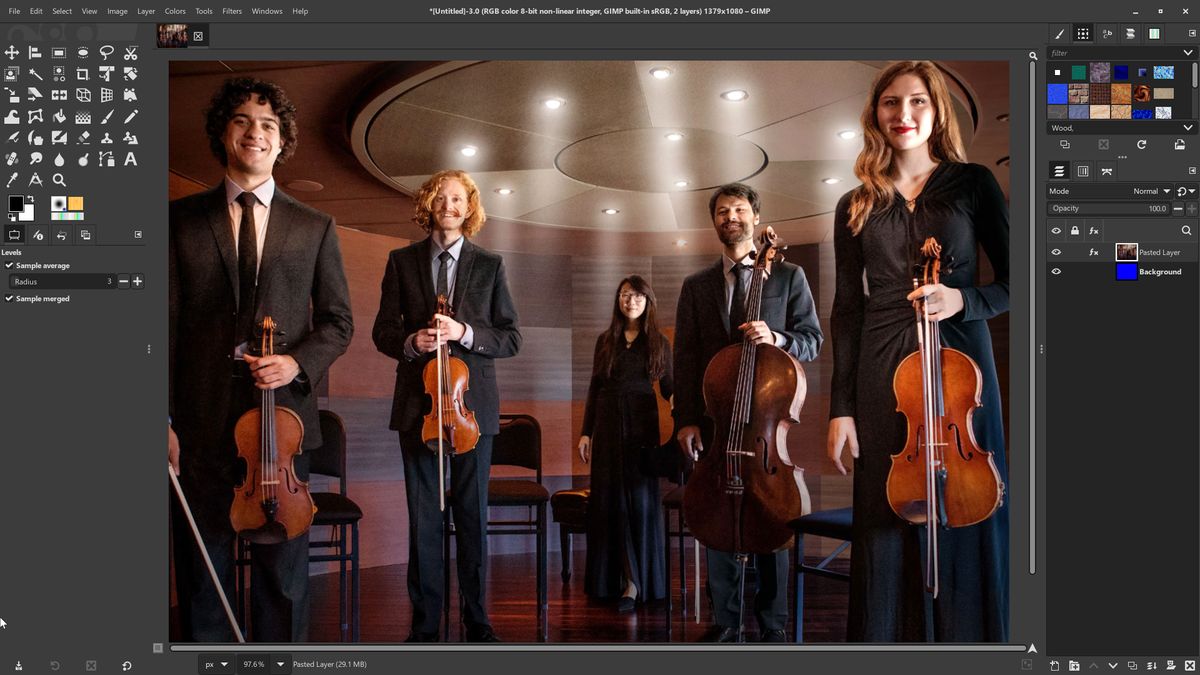
Playing with Tools
I started with the basics. Used the “Crop” tool to cut out some of the extra background that was just kinda messy. Then, I played around with the “Brightness-Contrast” tool. The picture was a bit dark, so I bumped up the brightness a bit, and messed with the contrast until it looked a bit better.
- Crop: Just clicked and dragged to get the part of the image I wanted. Easy peasy.
- Brightness-Contrast: Found it under “Colors”. Sliders are pretty self-explanatory.
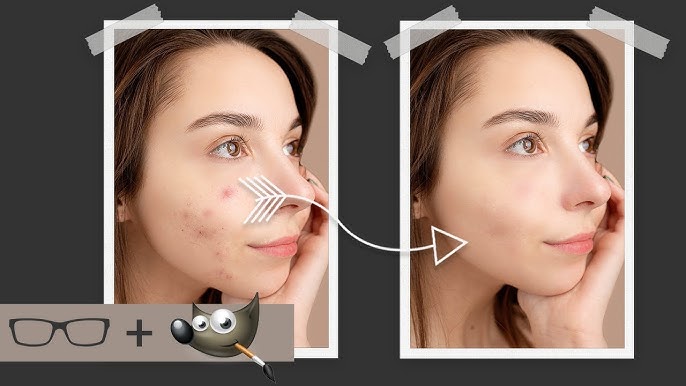
Spot Healing
My cat, bless her heart, had a little bit of gunk in the corner of her eye in the picture. So, I zoomed in real close – you can do that with the “+” and “-” keys, by the way. Then I found this tool called the “Healing” tool. It looks like two band-aids crossing each other.
I clicked on the little eye gunk, and it actually did a pretty decent job of blending it away. This tool is pretty neat – you click on the spot you want to fix, and it looks at the area surrounding it, and uses that to make it disappear.
For that, used healing tool, I selected a small brush size, clicked on the spot I wanted to fix and Gimp did its magic and the cat’s eyes were sparkling clean.
Experimenting with Filters
After that, I just kinda goofed around. I checked out some of the filters – they’re under the “Filters” menu, duh. I added a little bit of a “Gaussian Blur” to the background to make my cat stand out more. There’s tons of other filters in there, too, but I didn’t really mess with them too much today.
Finally, I saved my work. Went to “File,” then “Export As” because I wanted to save it as a JPEG. Named it something clever like “cat_edit” and called it a day.
So yeah, that was my little Gimp editing session. Nothing groundbreaking, but it was fun to tinker around. Maybe I’ll try something more advanced next time. Like, I don’t know, make my cat look like she’s wearing a hat or something.
")


")


