
Okay, so last night I tried to get some cool night trail shots. I grabbed my camera and headed out to the local park, you know, the one with that winding path through the woods.
Setting Up
First, I needed to figure out the right settings. I’ve read a bit online, but it’s always different when you’re actually out there. It was pretty dark, so I knew I needed a long exposure.
Experimenting with Intervals
I started by setting a recommended interval. I wanted to capture the movement, but not have the camera clicking away nonstop.
- First attempt: I set the interval to 5 seconds. It will give 5 seconds time after each click.
- Second attempt: Then i thought, let’s make the interval to 10 seconds!
- Third attempt:Finally, i increased the interval to 15 seconds.
Experimenting with Shutter Speed
- First try: I set the shutter speed to 10 * photos were ok.
- Second try: Then, I cranked it up to 20 *,better, the lights were brighter.
- Third try:I pushed it to 30 seconds. Wow! This made a big difference. The trails were way more visible, and the light streaks looked awesome.
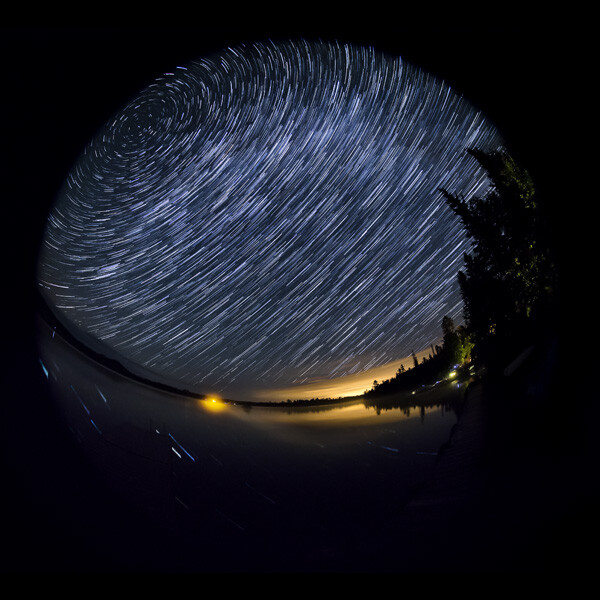
The Results
After messing around for about an hour, I think I got some pretty decent shots. The longer shutter speed, like 30 seconds, definitely worked best for capturing those light trails. And the 15-second interval seemed to give enough time between shots to get different positions without missing too much of the action.
It’s all about playing around, I guess. I’m no expert, but it was fun experimenting, and I’m happy with how the photos turned out. Might try a different location next time, maybe somewhere with even less light pollution to see how that changes things.
")


")


