
Alright, so yesterday I messed up and took a bunch of blurry photos with my camera. Total waste of space on my SD card, right? So, I figured I’d clear them out. Here’s how I did it, step-by-step.
Getting Started
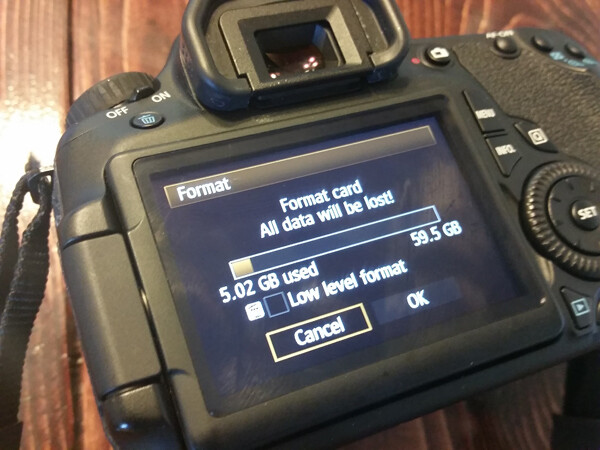
First things first, I grabbed my camera and ejected the SD card. Pretty straightforward, just popped it out of the slot.
Connecting to My Computer
Next, I needed to get that SD card connected to my computer. I have this handy little card reader that plugs right into a USB port. So I slid the SD card into the reader and then plugged the reader into my laptop.
- Pop SD card out of camera.
- Slide SD card into a card reader.
- Plug card reader into the computer.
Finding the Photos
Once everything was connected, my computer recognized the SD card like a regular external drive. I opened up the file explorer (you know, the thing that shows all your folders and files) and clicked on the SD card. It usually has a name like “SD Card” or “Removable Disk” or something like that.
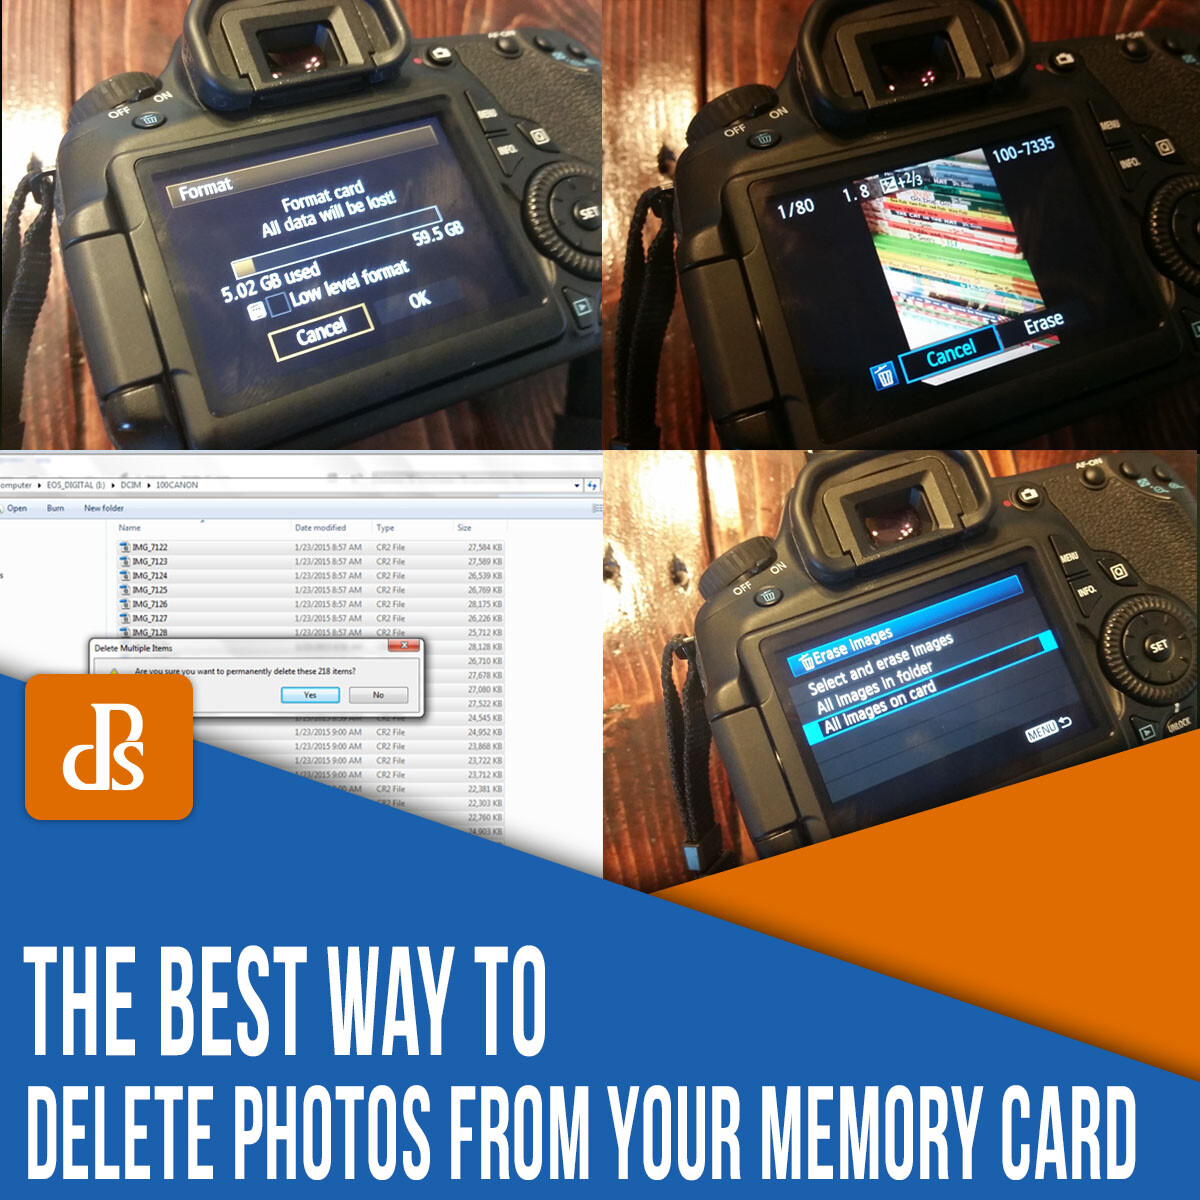
Deleting the Blurry Mess
Inside the SD card, I found the folder where my camera stores the photos. It’s often called “DCIM” or something similar. I opened that up, and bam! There were all my photos, the good, the bad, and the blurry.
I went through the photos, and for each one I wanted to delete, I simply right-clicked on it and selected “Delete”. Poof! Gone. You can also usually just select a photo and hit the “Delete” key on your keyboard. Does the same thing.
For the large number of bad photos, I use the “Ctrl” and choose them, then I right-clicked on it and selected“Delete”.
Making Sure They’re Really Gone (Optional)
Now, if you’re like me and want to be extra sure everything’s cleared out, you can empty the “Recycle Bin” or “Trash” on your computer. This permanently deletes the files. But honestly, once you delete them from the SD card, they’re pretty much gone anyway.
Safely Removing the Card
Finally, before I unplugged the card reader, I made sure to “safely remove” it. There’s usually a little icon in the taskbar (the bottom of your computer screen) that you can click to do this. It just makes sure everything’s properly disconnected before you yank it out.
And that’s it! SD card cleaned, blurry photos gone, and ready for more (hopefully better) pictures. It’s not rocket science, just a few simple steps.
")


")


