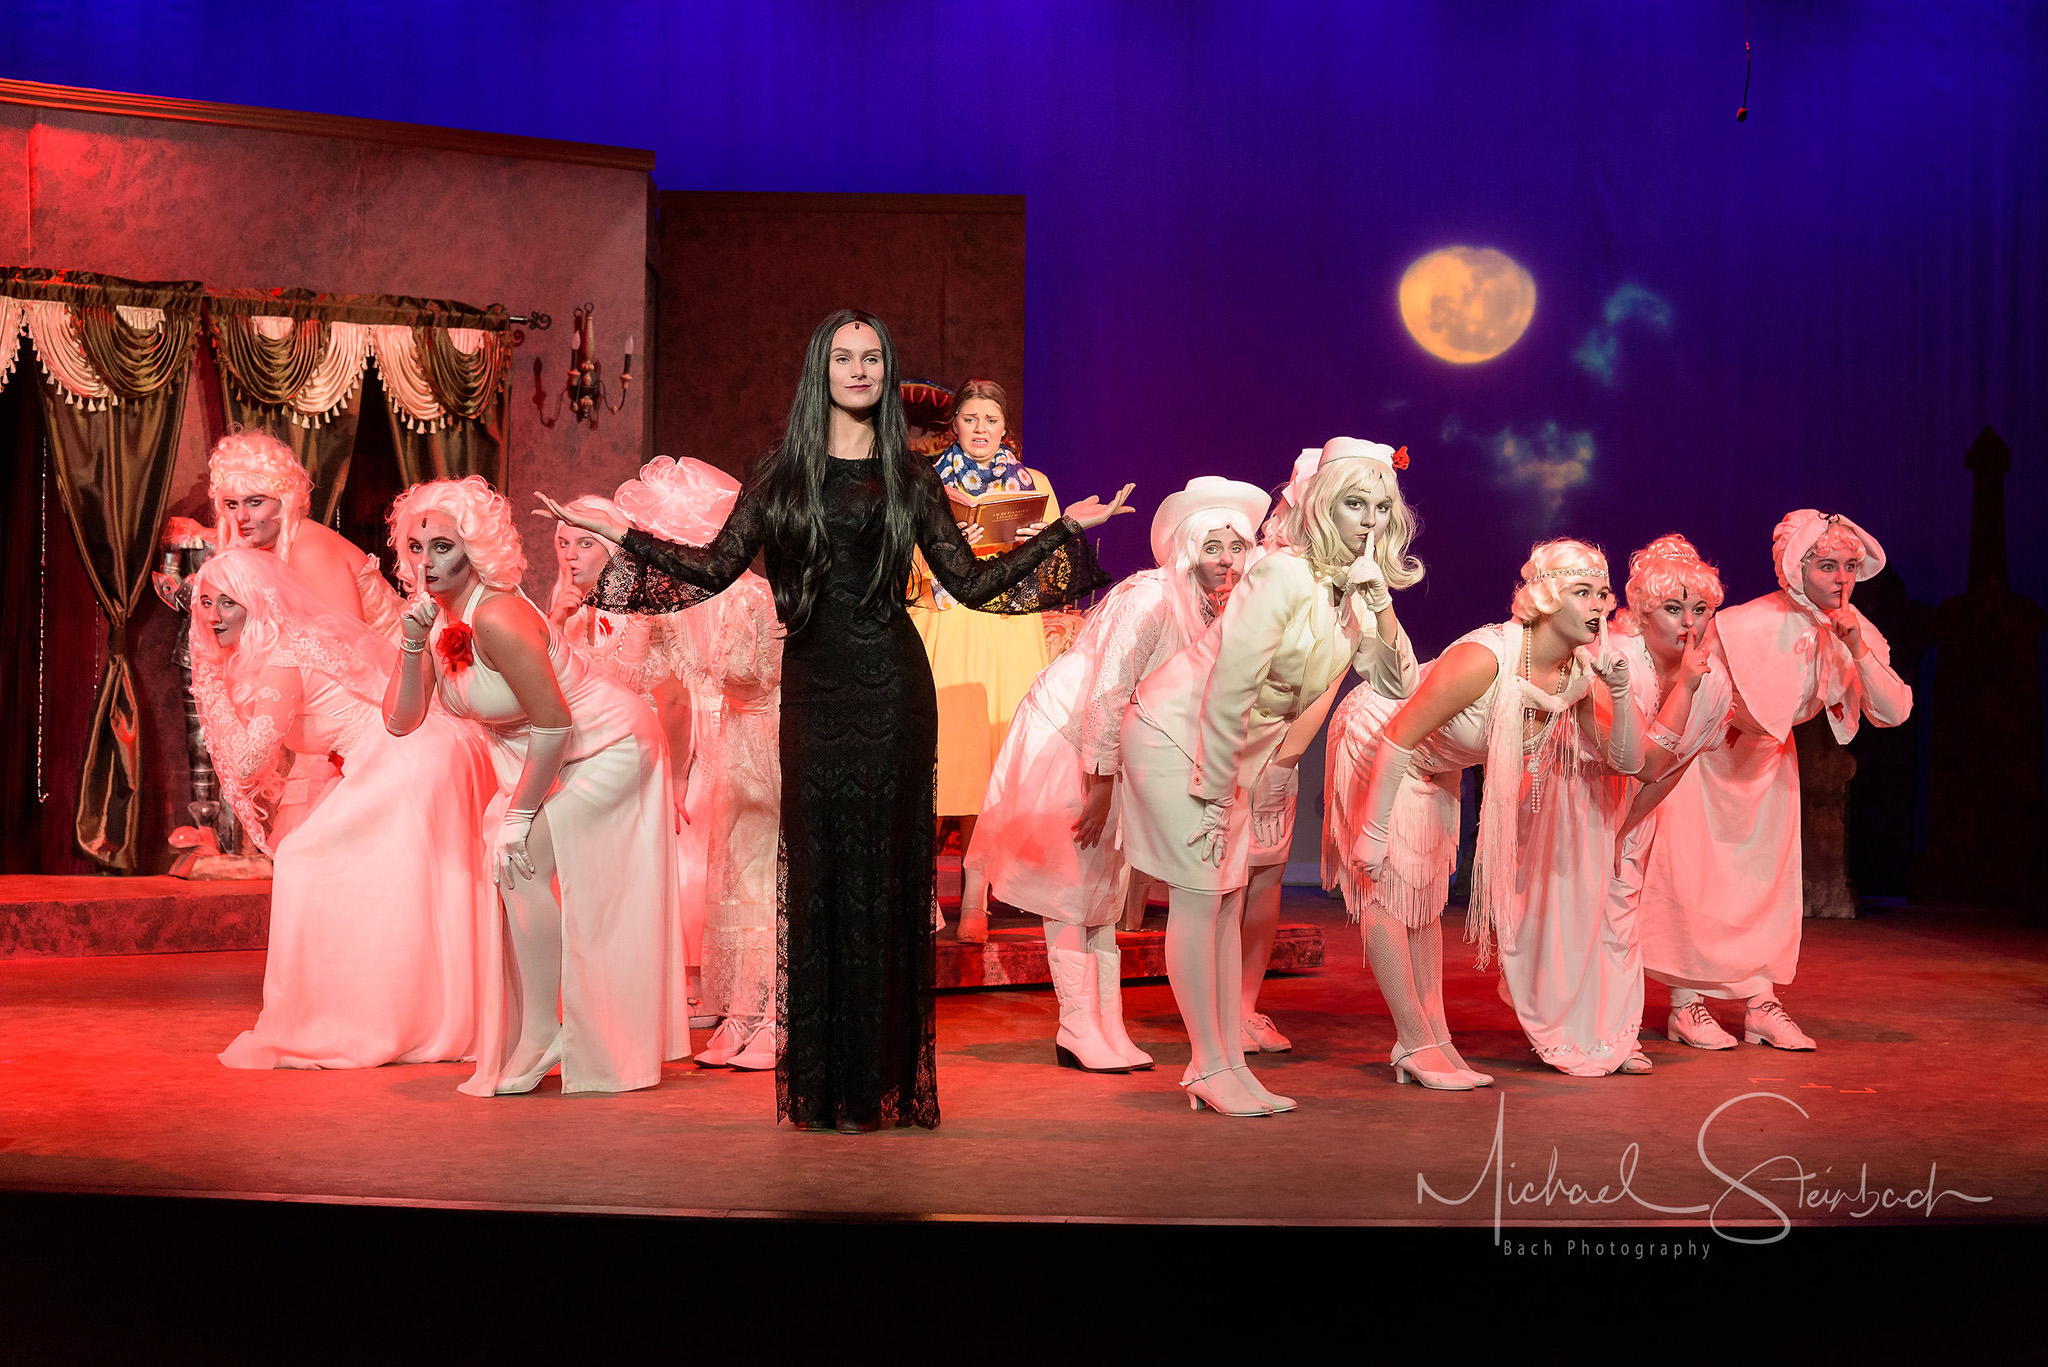
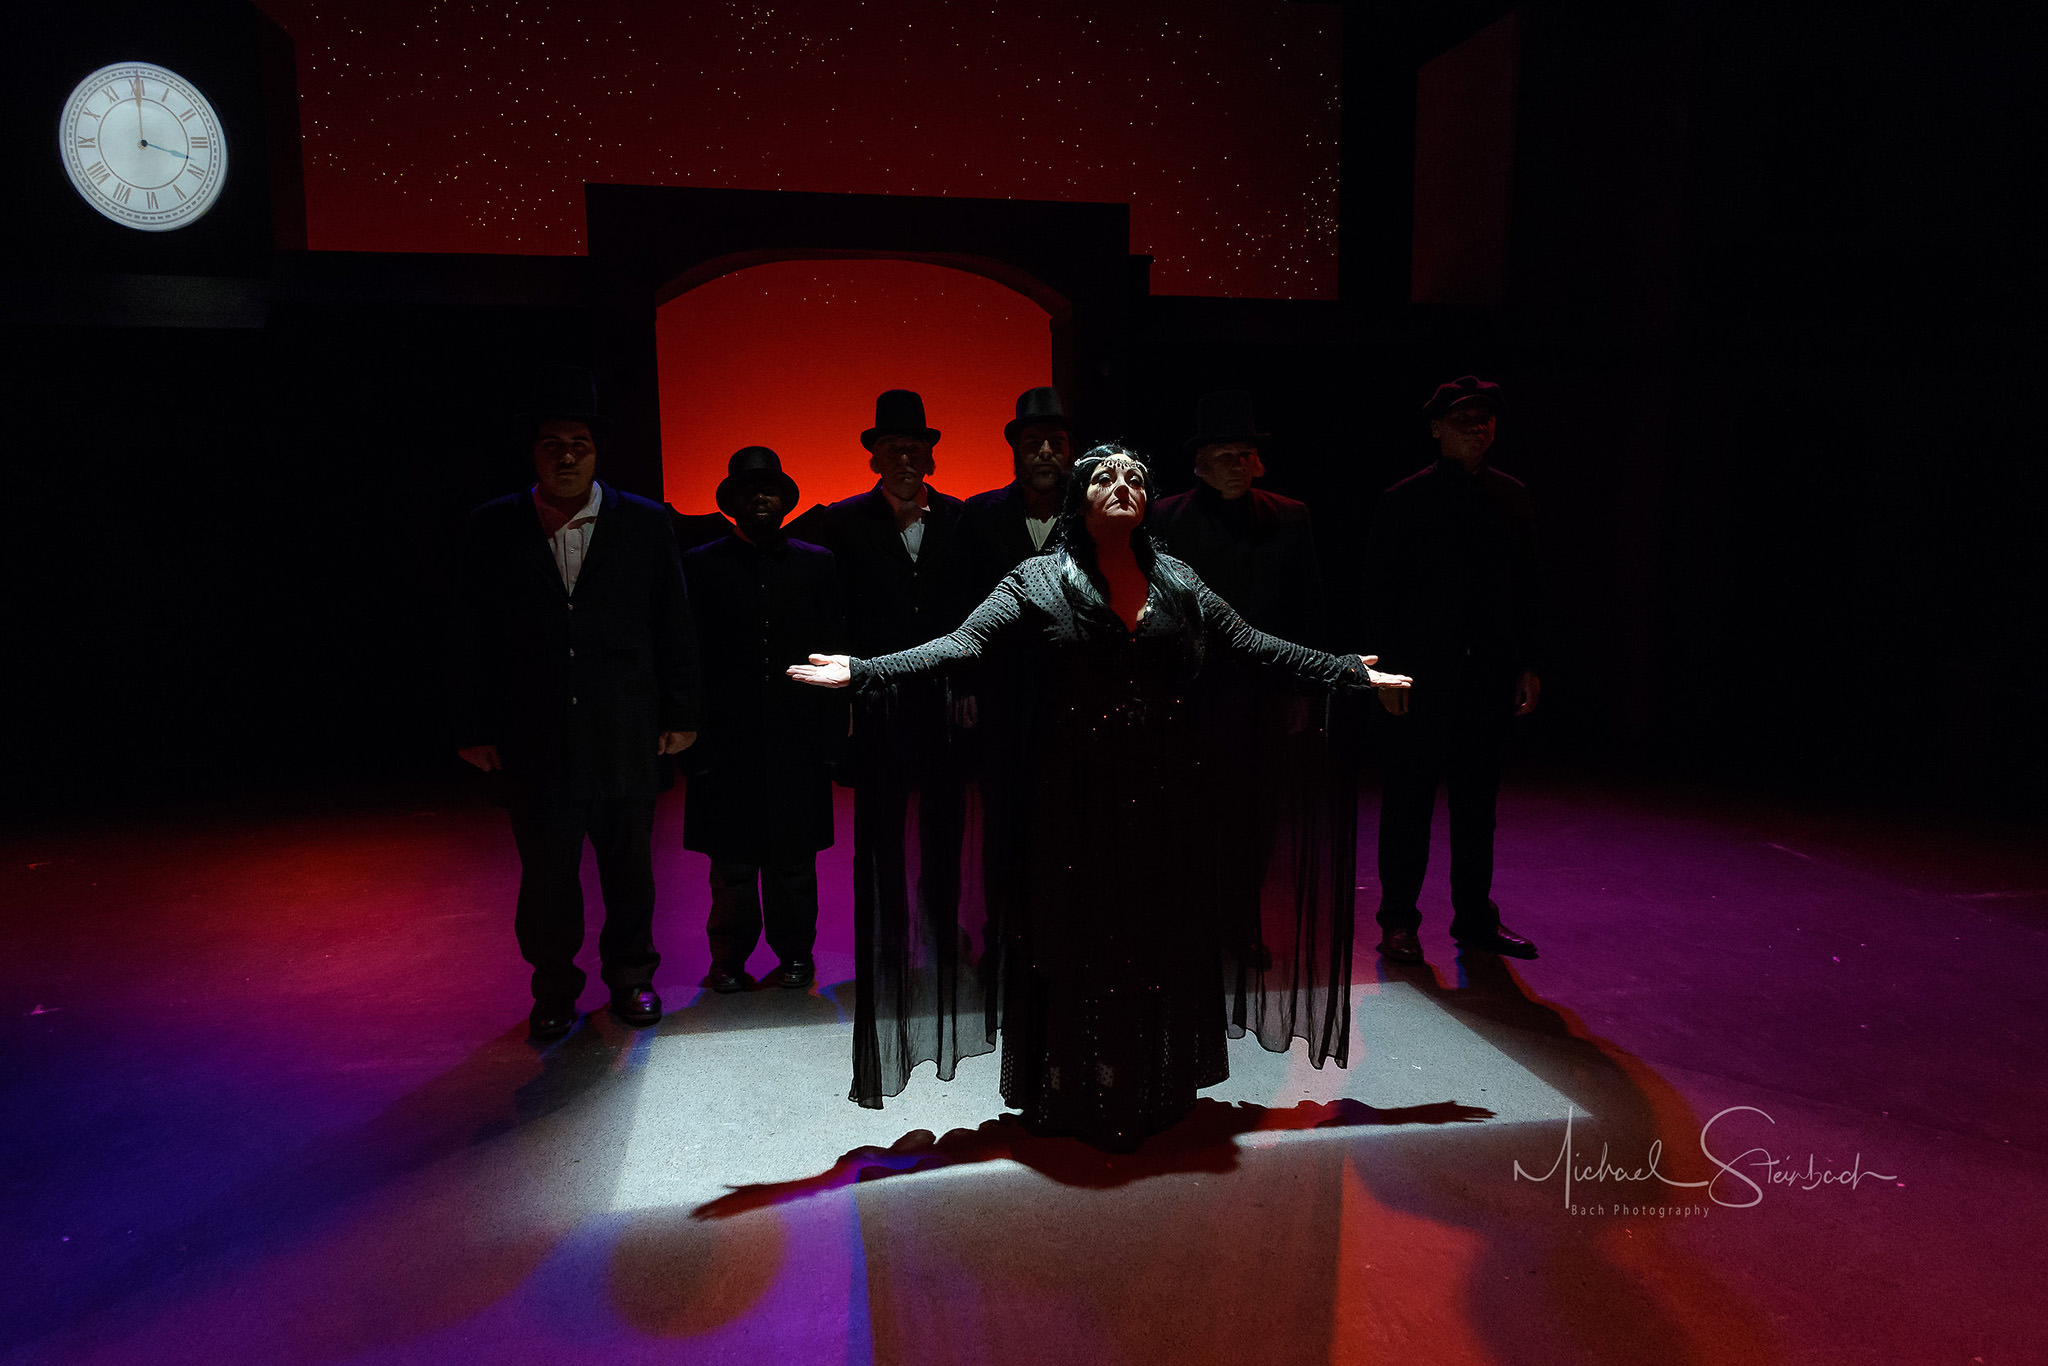
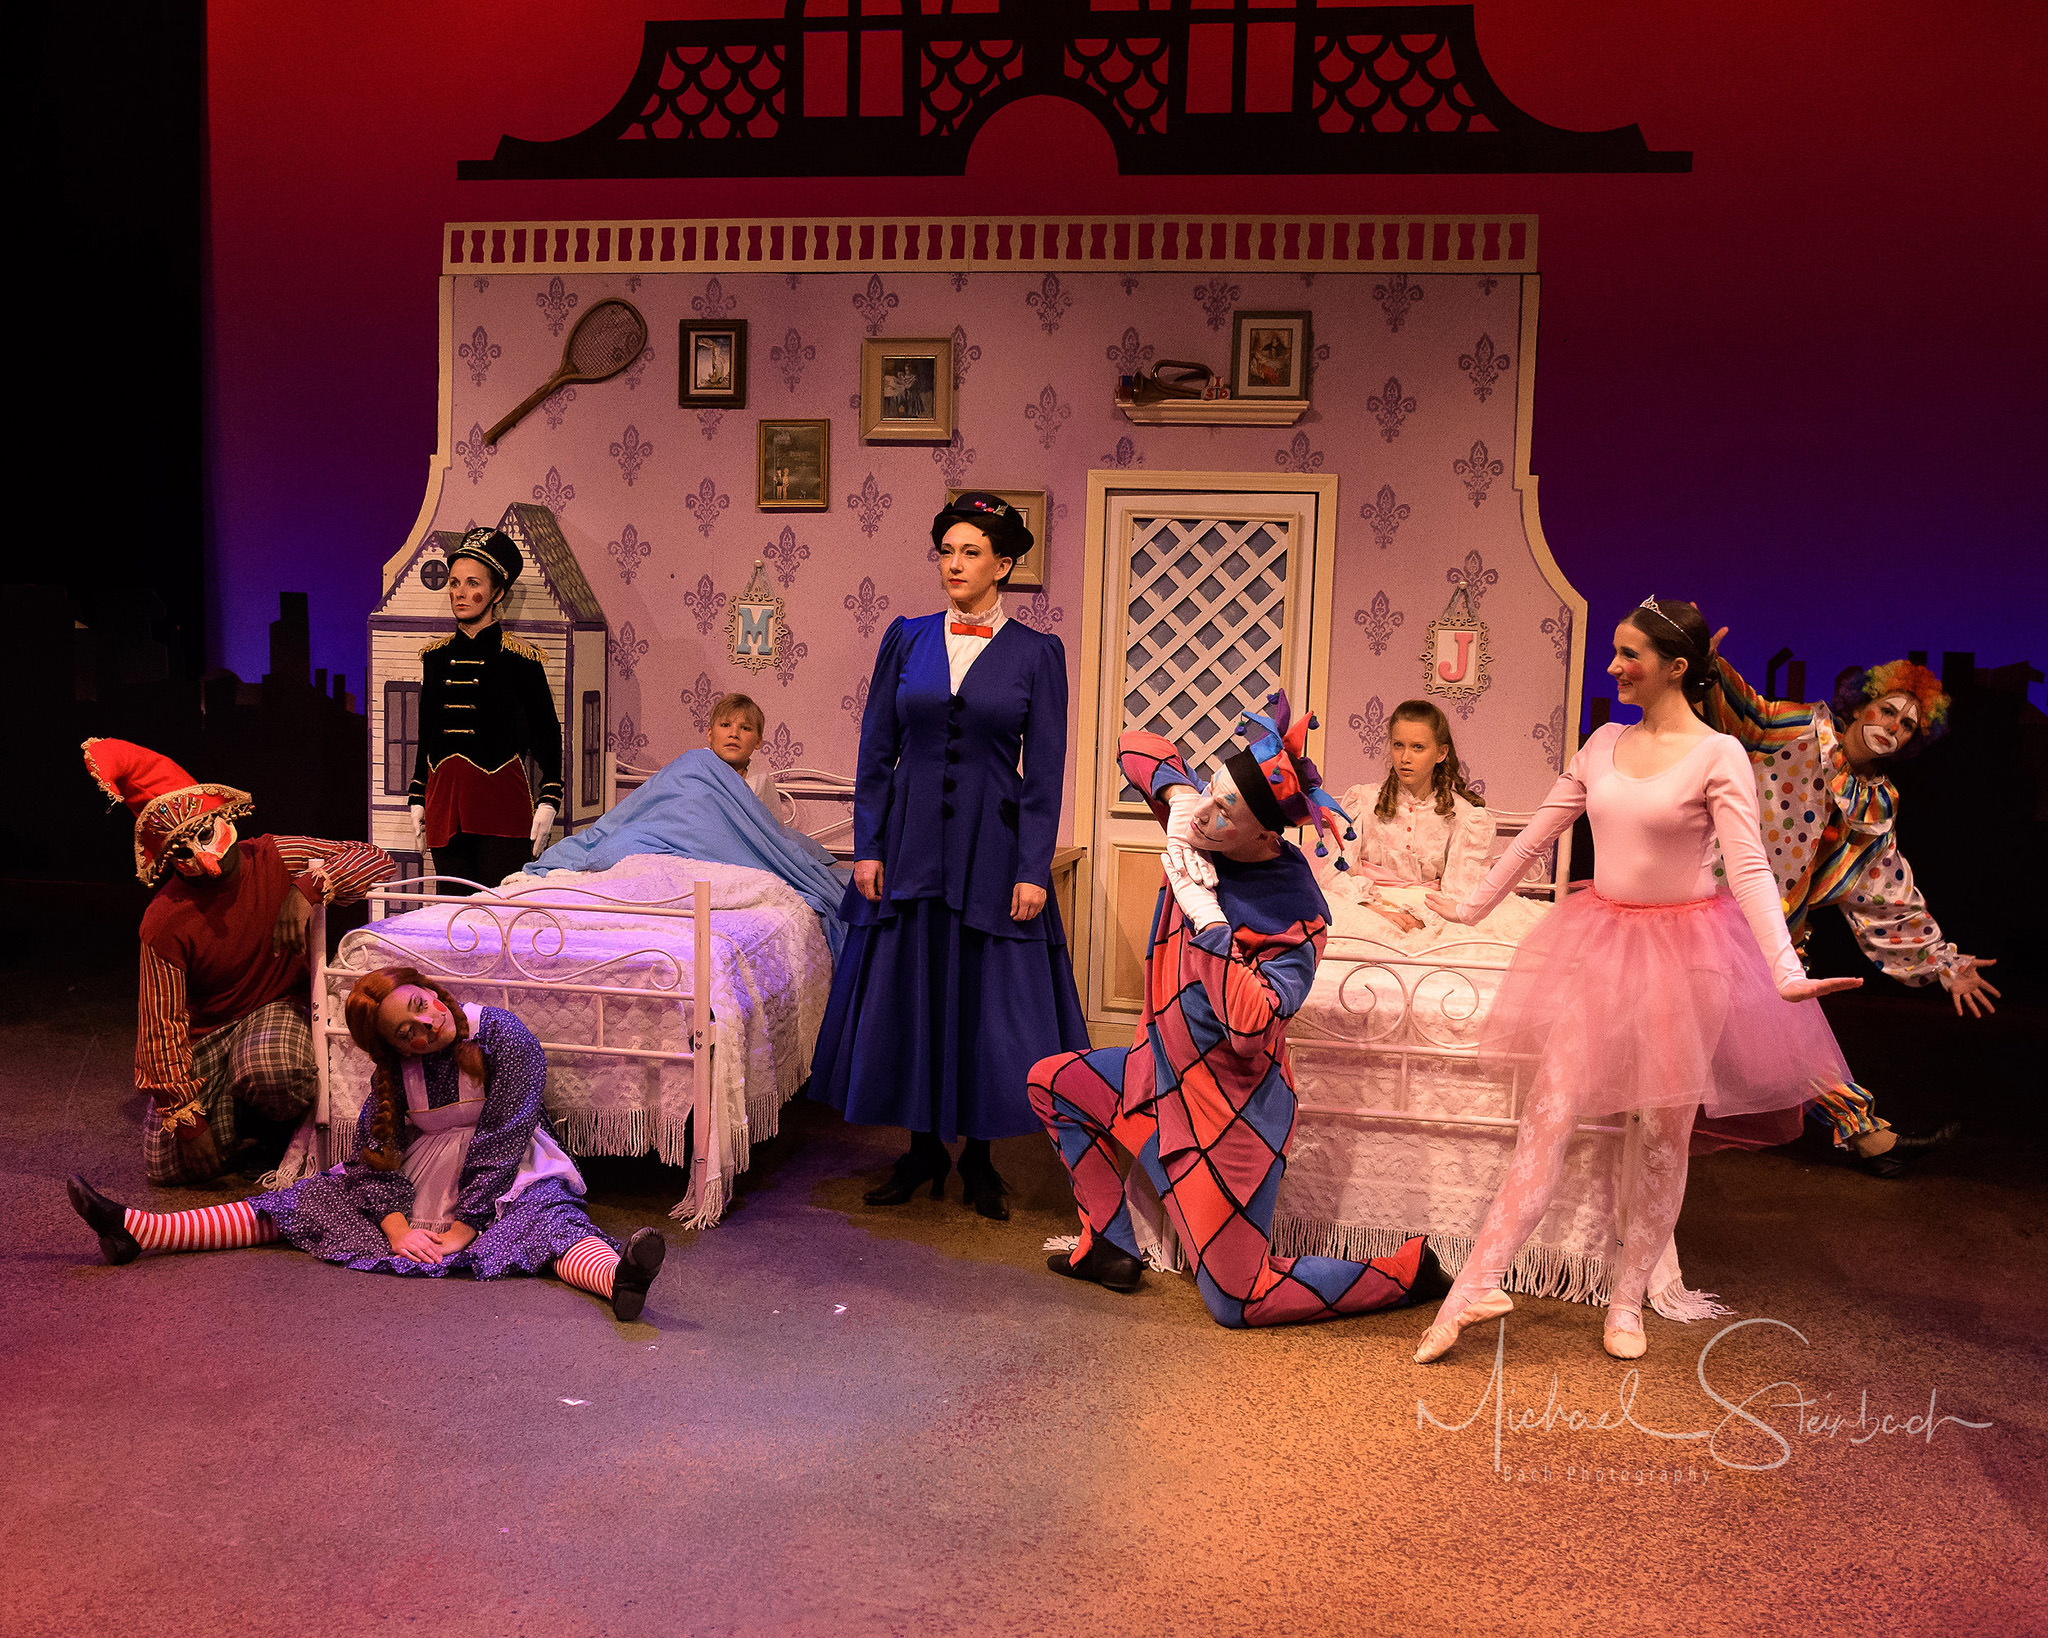
Alright, let’s talk about trying to grab some pictures during a play. It’s trickier than it looks, definitely learned that the hard way myself a few times. First off, you gotta be mindful you’re in a theater, not your backyard. People are there to watch the show, not your camera flashing or clicking away.

My first real attempt was, well, not great. I went to see a local production, got my camera ready, and thought, “Okay, low light, fast action… maybe Aperture Priority?” So I opened up my lens as wide as it would go, set the ISO kind of high, maybe 1600 or 3200, I forget exactly, and let the camera pick the shutter speed. Bad move. Everything was blurry. The actors looked like ghosts streaking across the stage. The camera was picking shutter speeds way too slow, like 1/30s or even slower, trying to get enough light. Plus, the autofocus kept hunting back and forth in the dim light. Frustrating.
Figuring Things Out
So, back to the drawing board. Next time, I decided I needed control over the shutter speed more than anything. Blurry pictures are useless, right? Grainy you can sometimes live with, blurry you can’t.
Shutter Speed is King (Mostly): I switched over to Shutter Priority mode (Tv or S on most cameras). I started experimenting. Found that for people just talking or moving slowly, 1/100s or 1/125s was okay, but still got some motion blur sometimes. I felt safer around 1/160s or even 1/200s if there was more action. Faster is better for freezing motion, but remember, faster shutter speed means less light gets in.
Opening Up the Lens: Since I was forcing a faster shutter speed, I needed to compensate for the lack of light. So, aperture had to be wide open. Whatever your lens can do. f/4? Okay, but f/2.8 is better. f/1.8? Even better! This meant ditching my standard zoom lens and grabbing my 50mm f/1.8 prime. Primes are usually faster (let in more light) and sharper anyway.
Dealing with ISO: With a fast shutter and a wide aperture set, the camera (in Shutter Priority) needed to bump the ISO up to get a decent exposure. This is where the grain comes in. I set Auto ISO, but, and this is important, I set an upper limit. I didn’t want the camera going totally nuts and pushing it to like 25600 automatically. Depending on your camera, maybe set the max to 6400 or 12800. You gotta test what looks acceptable to you on your gear. Some noise is often unavoidable.

Focusing Battles: Autofocus is still tough. Stage lights change, actors move in and out of shadows. I switched my AF mode to single point (so I choose where the camera focuses, not the camera guessing) and aimed for the face or eyes. Sometimes I used continuous AF (AF-C) if they were moving predictably. And honestly? Sometimes manual focus was the way to go, especially if the actor stayed in one spot for a moment. Using focus peaking on my mirrorless camera helped a ton with that.
White Balance Weirdness: Stage lighting is all over the place. Deep reds, blues, yellows. Auto White Balance freaks out. Setting a custom one is hard ’cause the lights change constantly. My solution? Shoot in RAW format. Always. Forget JPEG for this. RAW files keep all the data, so you can adjust the white balance properly later on your computer without messing up the image quality. It’s more work, yes, but it saves so many shots.
Being Invisible: Seriously, this is huge. Turn on silent shutter mode if your camera has it. That click-clack is incredibly annoying in a quiet theater. Turn OFF the AF assist light (that little red or orange light that helps the camera focus in the dark). Turn OFF the camera’s beep confirmation. Dim your LCD screen brightness way, way down. Don’t be a distraction.
What I Ended Up Using Last Time
So, for the last play I shot, after all that trial and error, my setup looked something like this:
- Camera Mode: Shutter Priority (S/Tv)
- Shutter Speed: Usually around 1/160s, sometimes faster (1/250s) if lots of movement.
- Aperture: Wide open (f/1.8 on my 50mm lens)
- ISO: Auto ISO, with a max limit set to 6400 (I decided I could live with that noise level).
- Focus: Single Point AF, aiming for faces.
- White Balance: Auto (because I was shooting RAW).
- Drive Mode: Silent Shutter enabled.
- Format: RAW. Non-negotiable for me here.
It’s not perfect, you know? Every theater, every play, every lighting setup is different. You still miss shots. Focus might miss, exposure might be slightly off as lights change dramatically. But this gave me a much better starting point and way more usable shots than my first disaster. The key is controlling that shutter speed to stop the blur, getting as much light in as possible with the aperture, accepting some necessary ISO noise, and fixing colors later from the RAW file. And being quiet! Don’t forget that part.


