
Okay, so I wanted to book some flights recently, and I figured I’d share how I managed to snag some pretty sweet deals using advanced search engine filters. It’s not rocket science, but it does take a little bit of playing around. Let’s dive in.

Step 1: Picking My Search Engine
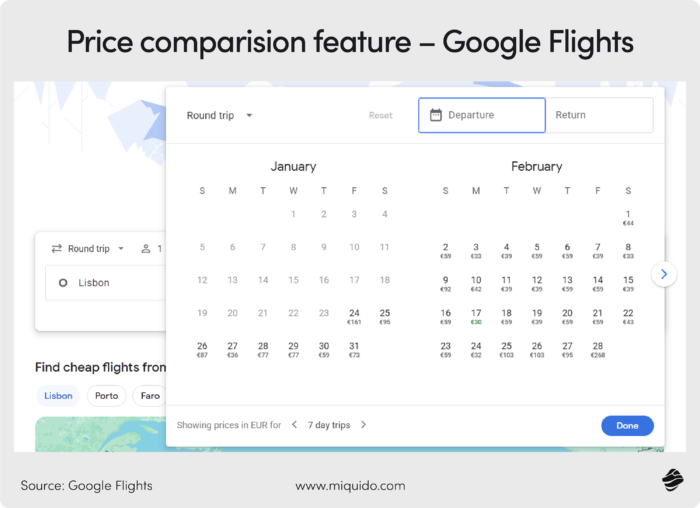
First things first, I had to pick my weapon of choice. I usually bounce between Google Flights, Skyscanner, and Kayak. This time, I went with Skyscanner because I like how flexible it is with dates and destinations. Plus, their “Everywhere” search can be a real game-changer.
Step 2: The “Everywhere” Trick
This is where things get interesting. I knew I wanted to travel sometime in October, but I wasn’t dead-set on a specific location. So, I plugged in my departure airport, selected “Everywhere” as my destination, and chose “October” as my travel month. I set it to “flexible dates” to see the cheapest options.
Step 3: Diving into Filters
Once the results started popping up, it was time to get serious with the filters. This is where the magic happens.
- Duration: I knew I wanted a trip lasting around 5-7 days, so I adjusted the duration filter accordingly. No point in looking at flights that don’t fit my timeframe.
- Stops: I’m not a huge fan of layovers, so I usually prefer direct flights. I selected “Direct flights only” to cut out the hassle.
- Airlines: I’ve had good and bad experiences with different airlines. This time, I wanted to try out a specific airline known for its comfort, so I filtered to see only flights from that airline.
- Time of Day: This is a big one for me. I hate early morning flights. They completely ruin my day. So, I adjusted the departure time to be after 10 AM.
Step 4: Playing with Dates
Even though I picked “October,” Skyscanner still showed me a range of prices for different days. I noticed that flying out on a Tuesday and returning on a Thursday was significantly cheaper than flying out on a Friday or Saturday. So, I tweaked my dates based on these price fluctuations.
Step 5: Checking Nearby Airports
Sometimes, flying out of a different airport – even if it’s a bit further away – can save you a ton of money. I checked nearby airports using the “Add nearby airports” option. Turns out, flying out of an airport about an hour away was almost $100 cheaper. Totally worth the extra drive.
Step 6: Setting Price Alerts
I wasn’t quite ready to book just yet. I wanted to see if the price would drop further. So, I set up a price alert for my chosen itinerary. Skyscanner will then send me an email if the price goes up or down.
Step 7: Booking at the Right Time
A few days later, I got an email notification that the price had dropped by $30. That was my cue. I booked the flight immediately. I’ve heard Tuesdays and Wednesdays are usually the best days to book flights, but honestly, any price drop is a good sign to pounce.
The Result
In the end, I managed to book a round-trip flight to a cool destination I hadn’t even considered before, all thanks to advanced search engine filters. It took a little bit of time and patience, but the savings were definitely worth it. So, next time you’re booking flights, don’t just settle for the first thing you see. Get in there, play with those filters, and see what kind of deals you can find!


")


