
So, you’re asking about my adventures with gobo portrait photography? Let me tell you, it wasn’t like I just flipped a switch and suddenly, bam, amazing artistic shadows everywhere. Not even close.
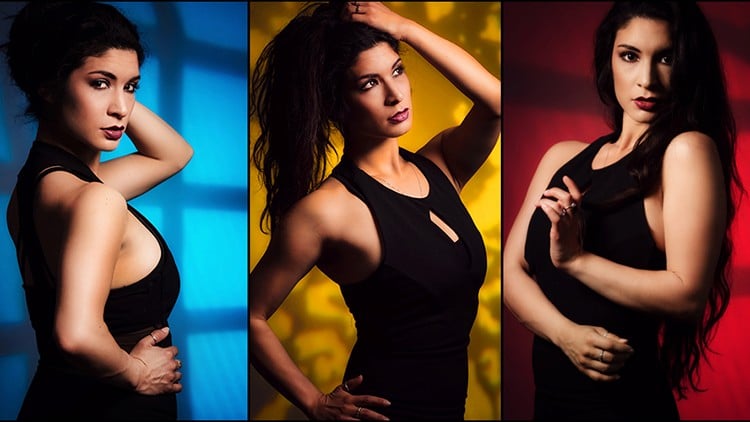
I’d seen all these incredible images, you know? Patterns like light through Venetian blinds, or abstract shapes, making portraits look super dramatic. I thought, “Cool, I want to do that! How hard can it be?” Yeah, famous last words, as usual.
My First Brilliant Idea: DIY Gobos
First off, I figured I’d be clever and save some cash. Make my own gobos! Sounds easy, right? Grabbed some black cardboard, a sharp knife, and got to work. My plan was to cut out some nice, clean lines, maybe a few leafy patterns. What I ended up with looked like something my cat would make if you gave her scissors and a bad attitude. Seriously, the edges were all fuzzy, the shapes were wonky. When I tried to shine a light through them, the “patterns” were just sad, blurry blobs. My kid walked in, took one look, and asked if I was making decorations for Halloween, and not in a good way. Total disaster.
Okay, Let’s Buy Some ‘Real’ Ones Then
Alright, DIY was a bust. So, I thought, “Okay, maybe I need the actual, professionally made gobos.” I went online, found some that weren’t ridiculously expensive. Little metal discs with patterns cut into them. They arrived, I was all excited. “This is it,” I thought. “Now the magic happens.”
Wrong again. Or at least, not immediately. You can’t just slap a gobo into a light and expect perfection. Oh no. That was a whole new level of fiddling I wasn’t prepared for.
You’ve got the gobo, the gobo holder, the light itself – usually some kind of spotlight or a strobe with a special attachment. And then you start the dance:
- Is the gobo in focus?
- Is the light source focused enough? Too much?
- How far is the light from the subject?
- How far is the gobo from the light’s lens?
- Is the pattern hitting where I want it? Is it stretched? Squashed?
I spent hours, I kid you not, just nudging the light stand a millimeter here, twisting the gobo holder a tiny bit there. It felt less like photography and more like trying to solve one of those impossible metal puzzles. My studio looked like a mad scientist’s lab, wires everywhere, stands at weird angles. And the test shots? Some were okay-ish, many were just… meh. The pattern would be half on the model’s face, half on the backdrop, looking like a mistake.
That One Shoot… Oh Boy
I remember this one session specifically. I was determined to get that classic “light through the blinds” effect on a portrait. Seemed straightforward. I had the gobo, I had the light, I had a very patient model. But for the life of me, I couldn’t get the lines sharp and even. They were either blurry, or one side was sharp and the other wasn’t, or the light spilled everywhere, ruining the mood.
I was sweating. Thinking, “Maybe I’m just not cut out for this fancy lighting stuff. Maybe I should just stick to a softbox and call it a day.” It’s frustrating when you see all these perfect examples online, and then you try it, and it’s just a mess. You start to wonder if they’re even real or just a bunch of Photoshop.
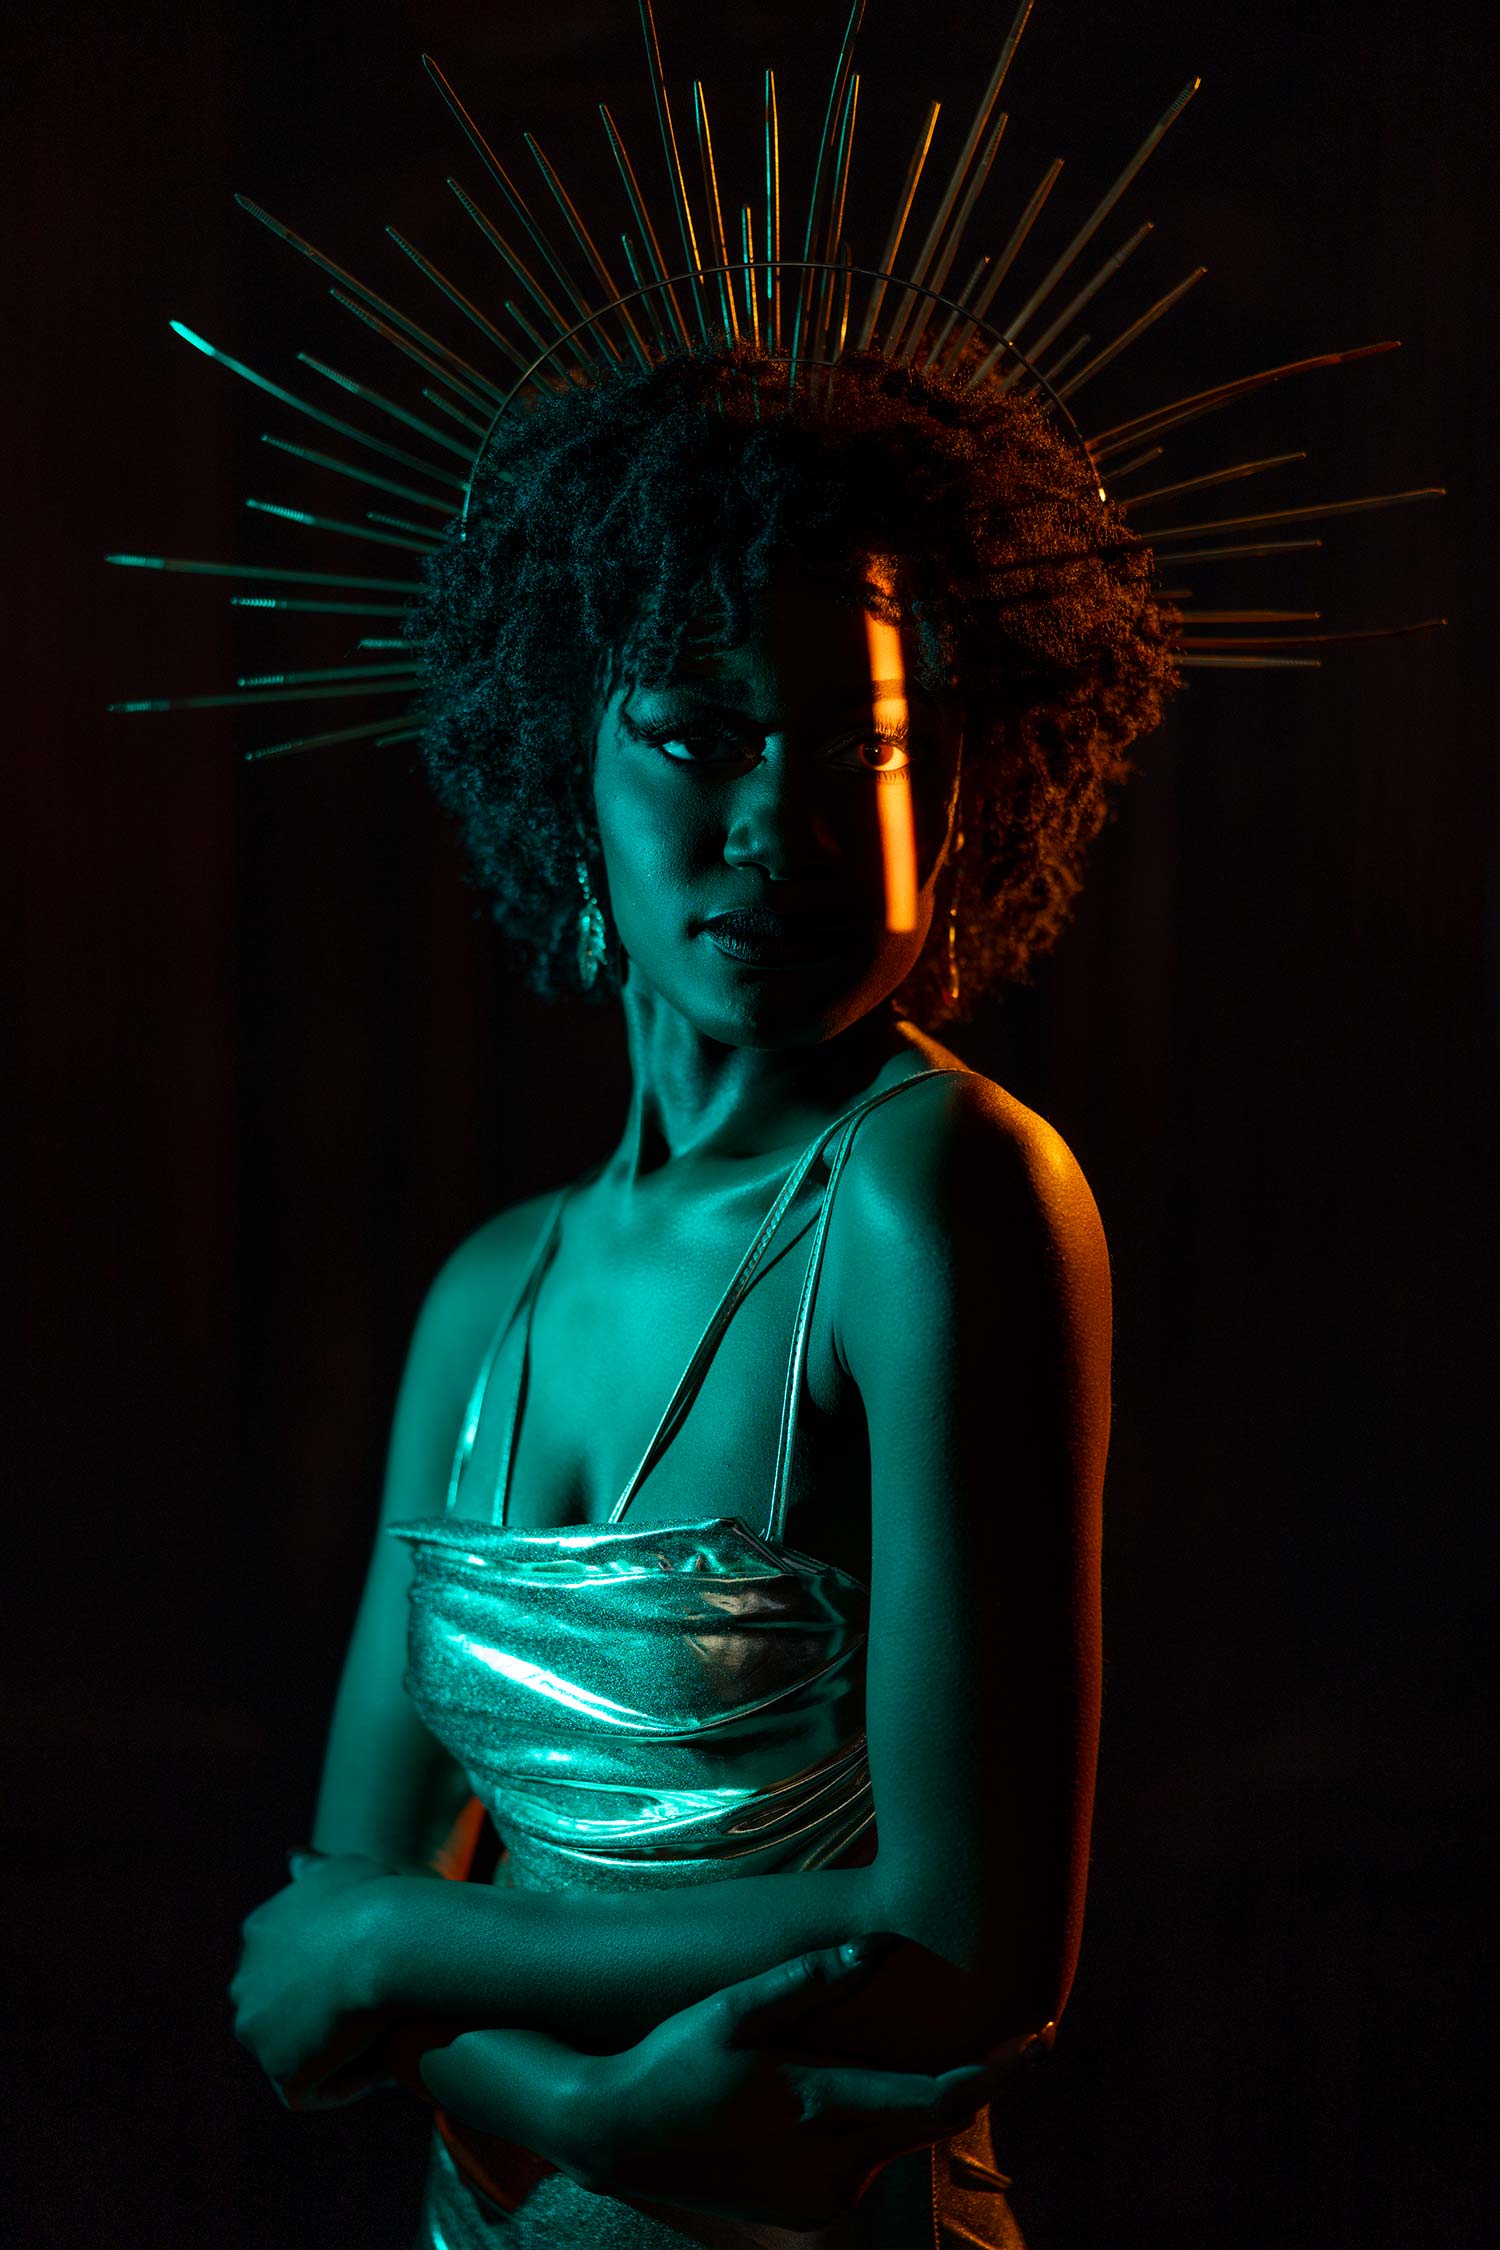
But then, after what felt like an age of tiny adjustments – moving the light back a bit, focusing the beam tighter, angling the gobo just so – something clicked. The lines sharpened up. They fell across the model’s face in a way that actually looked intentional, dramatic even. It wasn’t a perfect magazine cover shot straight out of camera, not by a long shot, but it was working. That little moment of “Aha! So that’s how it’s supposed to look!” was pretty sweet, I gotta admit.

So, What’s the Deal with Gobos?
So yeah, gobo portrait photography. It’s a thing. It can look amazing. But don’t believe anyone who tells you it’s easy. It’s a lot of trial and error. A lot. It’s not just about having the gear; it’s about wrestling with that gear, understanding how light behaves, and having a ton of patience.
Even now, after doing it a fair few times, there are still days I set everything up, and it just doesn’t look right. Back to the drawing board. Fiddle, adjust, test. Fiddle, adjust, test. It’s a process. And honestly, sometimes the “happy accidents” turn out better than what I originally planned. It’s definitely a way to get creative, but it demands your time and attention. It’s not a quick setup, that’s for sure. So if you’re thinking of diving in, just be prepared for a bit of a learning curve. A steep one, maybe. But when it works, yeah, it’s pretty cool.
")


")


