
Okay, folks, let’s dive into how I managed to snag a long-term student visa for the good ol’ US of A. It was a bit of a journey, so buckle up!
Figuring Out My Game Plan
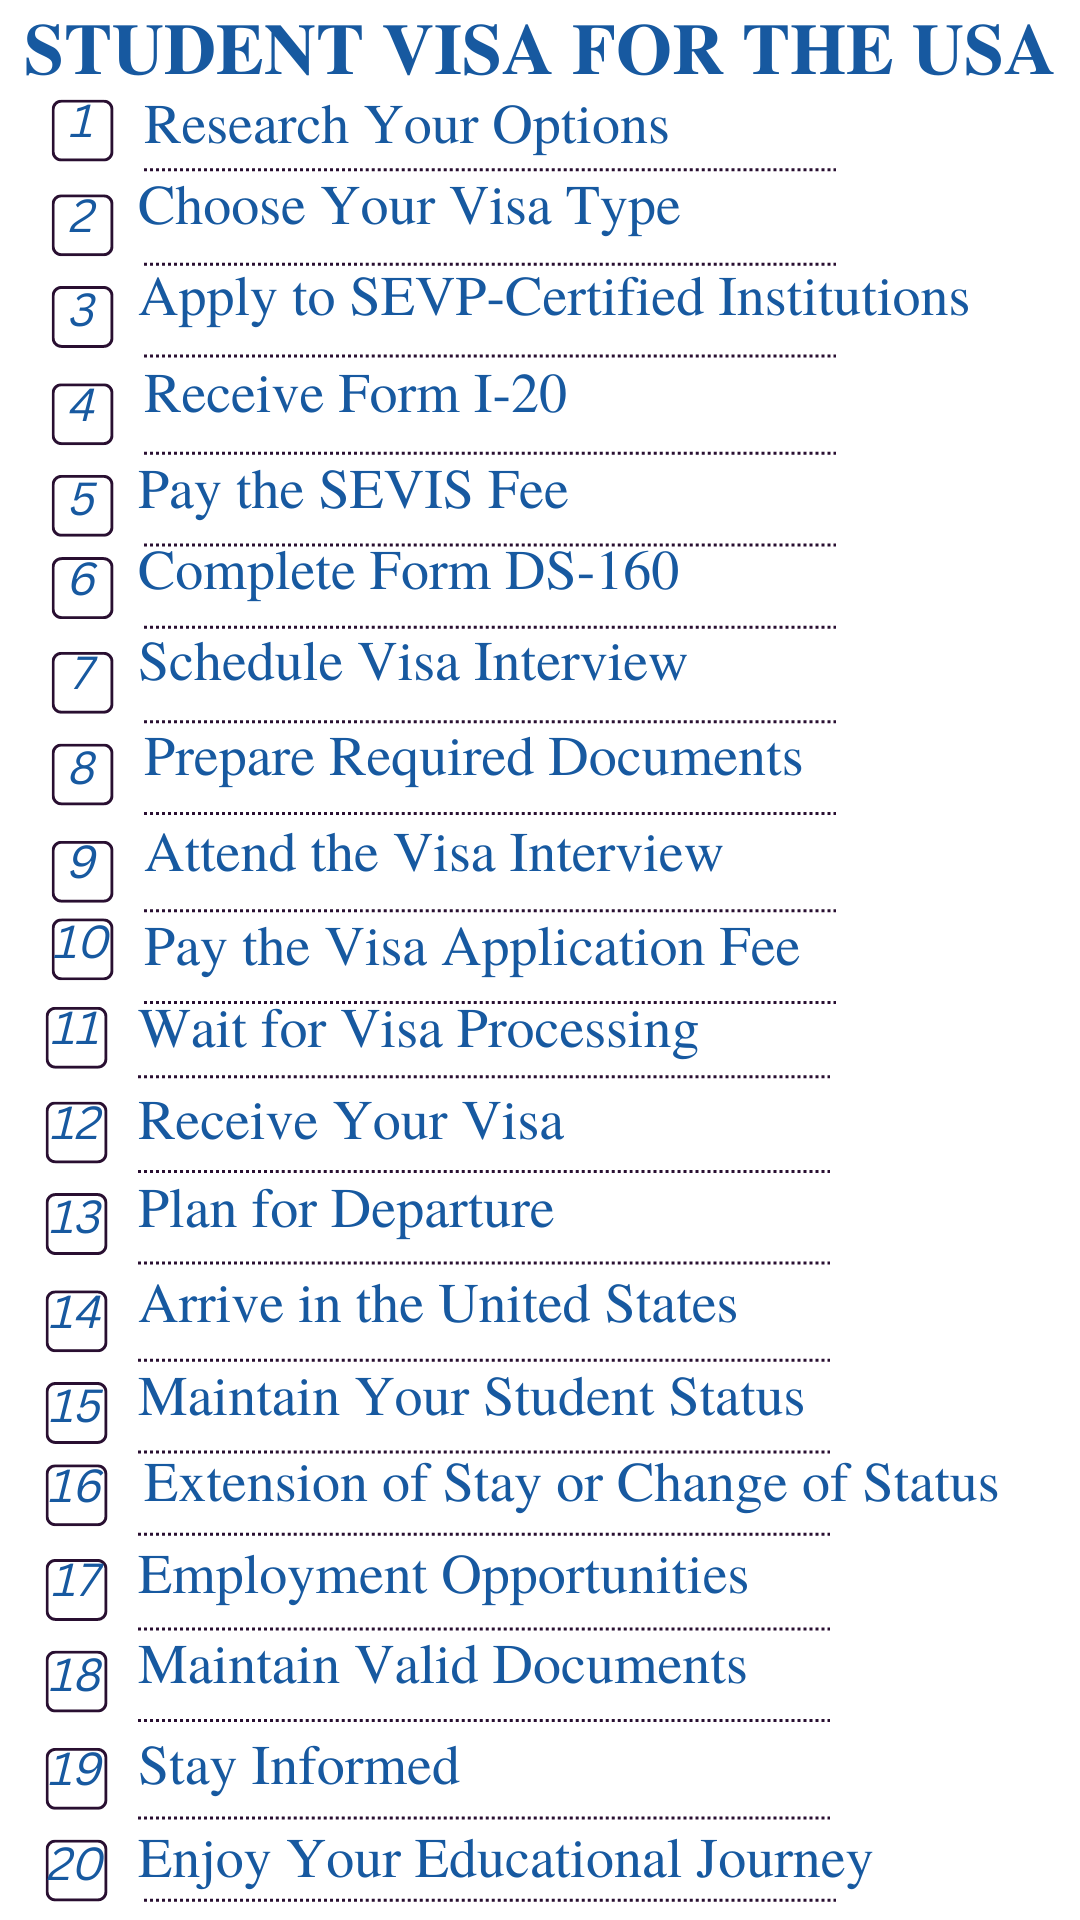
First things first, I had to figure out what kind of visa I even needed. Turns out, for most long-term study programs, you’re looking at an F-1 visa. There’s also the M-1 visa for vocational studies, but that wasn’t my path. I needed that F-1.
Getting Accepted (The Big Step!)
You can’t just apply for a student visa out of the blue. You need to be accepted into a Student and Exchange Visitor Program (SEVP)-certified school. So, that meant going through the whole college application process: tests, essays, recommendations – the works! I spent months prepping for the TOEFL, and Let me tell you, those applications were a beast, but I conquered them!
The I-20 Form: My Golden Ticket
Once I got accepted (woohoo!), the school sent me this super important document called the I-20 form. This form is basically proof that you’re legitimately enrolled and have the financial means to support yourself during your studies. Seriously, guard this form with your life! You’ll need it for everything.
Paying the SEVIS Fee
Next up, another fee! Before you even go near the visa application, you have to pay the Student and Exchange Visitor Information System (SEVIS) fee. It’s a separate fee, and you pay it online. I remember triple-checking the website to make sure I was on the official government one. Don’t want to get scammed! I printed out the receipt immediately – proof of payment is key.
Filling Out the DS-160 Form (Online Application)
This is where things got real. The DS-160 is the official online application for a nonimmigrant visa. It’s long. It’s detailed. It asks you about everything from your past travel history to your family. I took my sweet time with this one, making sure every single detail was accurate. I even had my mom double-check some of the dates and addresses. Don’t rush this form! I saved my application progress constantly. No way was I losing all that work.

Scheduling the Visa Interview
After submitting the DS-160, I had to schedule an interview at the US embassy in my country. The waiting time for an interview can vary wildly, so plan ahead. I learned to do it as soon as possible. The website was a little confusing to navigate at first, but I eventually figured it out. Once scheduled, I got a confirmation with all the details and instructions.
Gathering All My Documents
The embassy provided a list of required documents, and I made sure I had everything (and then some). This included:
- Passport: Obviously! Make sure it’s valid for at least six months beyond your intended stay.
- DS-160 Confirmation Page: Printed out, of course.
- I-20 Form: My precious I-20!
- SEVIS Fee Receipt: Proof that I paid the fee.
- Financial Documents: Bank statements, scholarship letters, anything to show I could afford to study and live in the US.
- Acceptance Letter: From the university.
- Academic Transcripts: High school, any previous college, etc.
- Photos: Specific size and format – check the embassy’s guidelines.
- Anything relate to my previous study and work.
I organized everything in a neat folder, with tabs for each document type. Overkill? Maybe. But it made me feel more prepared.
The Visa Interview: The Moment of Truth
I was nervous, I won’t lie. I dressed professionally (business casual), arrived early, and tried to stay calm. The interview itself was surprisingly short. The consular officer asked me a few questions about my study plans, my financial situation, and my ties to my home country (to make sure I intended to return after my studies). I answered honestly and directly. I think being prepared and having all my documents organized really helped.
Waiting for the Decision
After the interview, it was a waiting game. Some people get their visa approved on the spot, but mine took a few days. The suspense was killer! I checked the online status tracker obsessively. Finally, I got the email – approved!

Getting the Visa and Preparing to Travel
I had to go back to the embassy to pick up my passport with the visa stamped inside. And that was it! I was officially cleared to study in the US. Then came the whirlwind of packing, booking flights, and saying goodbye to family and friends. It was a long process, but totally worth it. I am studying now, and I have already achieved a big step!


")


