
Okay, so I finally decided to take the plunge and apply for a long-term tourist visa for Italy. I’ve always dreamed of spending a significant amount of time there, soaking up the culture, the food, the everything! Here’s how I went about it, step by step, from start to finish.
Figuring Out Which Visa I Needed
First, I needed to make absolutely sure I was applying for the correct type of visa. There are a bunch of different options, so I spent a good chunk of time on the official websites. It turned out, that I needed a “long-stay” or “national” visa (Type D), specifically for tourism. This one allows you to stay for longer than 90 days.
Gathering All the Documents
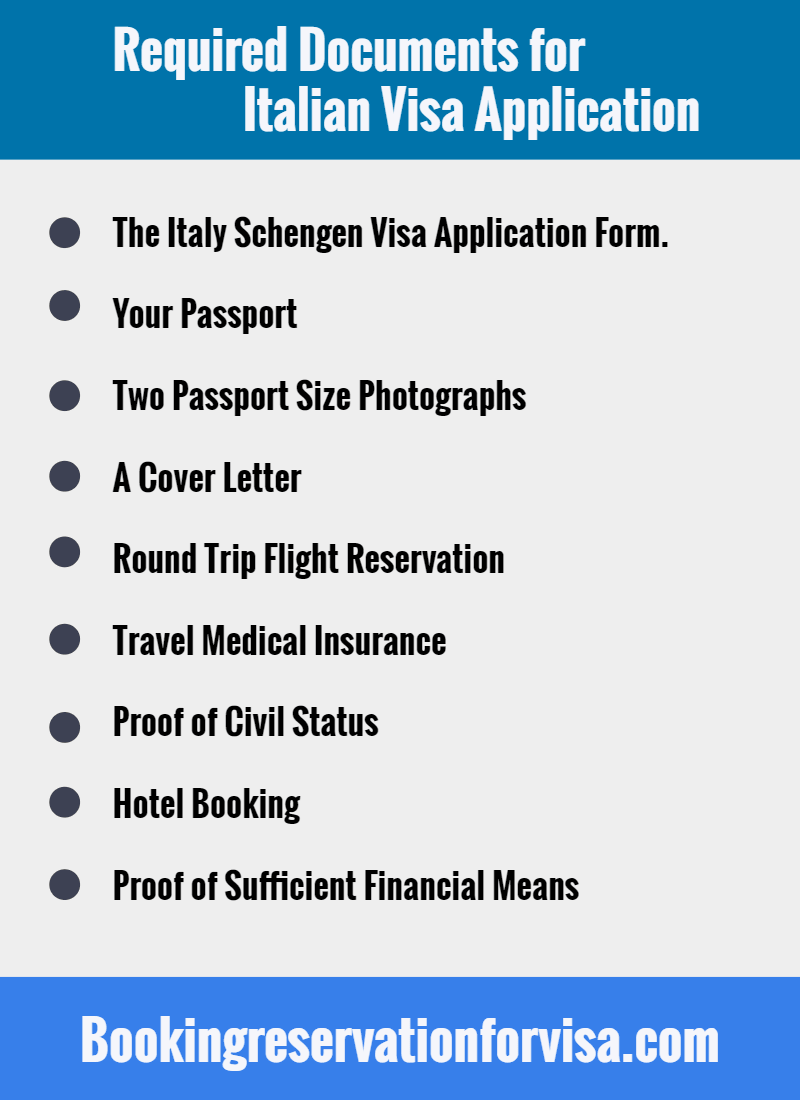
This part was the biggest pain, honestly. The checklist of required documents felt endless! Here’s what I pulled together:
- My passport: I Double, triple-checked to see, that it was valid for at least three months beyond my planned stay in Italy.
- Passport-sized photos: Got those snapped at a local drugstore.
- Visa application form: Filled this out online, printed it, and signed it.
- Proof of accommodation: Since I booked a long term stay, I printed it and got my itinerary from the host.
- Proof of funds: This was tricky. I gathered bank statements from the last six months, plus a letter from my bank confirming my account details. I wanted to show I could support myself throughout the entire stay.
- Travel insurance: I bought it online.
- Flight itinerary: I booked a round-trip flight.
- Letter of intent: This was my chance to explain why I wanted to stay in Italy for so long. I wrote about my passion for Italian culture, my desire to travel to different regions, and learn the language.
Scheduling the Appointment
I booked an appointment online. The process was pretty straightforward, but the wait time for an available slot was long. I ended up scheduling it about two months in advance.
The Appointment Itself
I arrived early, dressed neatly, and with all my documents organized in a folder. The appointment involved a brief interview, where they asked me a few basic questions about my trip. I was nervous, but tried to stay calm and answer clearly. They took my fingerprints and all my documents.
The Waiting Game
After the appointment, it was just a waiting game. It took several weeks to hear back. They sent a notification when a decision had been made,and I was approved!
Picking Up My Passport and Visa
Finally, it was time to receive my passport with the visa. The visa was neatly stuck inside! So that is all.
It was a long process, but completely worth it. My advice, be prepared, be patient, and be thorough with your paperwork.


")


