
Okay, so I’ve been seeing these dreamy photos with that cool, swirly background blur – you know, the “swirly bokeh” thing? I decided I had to figure out how to do it myself. It looked complicated, but I was up for the challenge!
The Hunt for the Right Lens
First things first, I needed the right gear. I did some digging, and it turns out this effect is mostly about the lens, not some fancy camera setting. Apparently, vintage lenses are the secret weapon here. I’m talking about those old-school, manual focus ones.
I rummaged through my dad’s old photography stuff, no luck. Then I hit up some online marketplaces. I spotted a few Helios lenses – they seemed to be the popular choice for this swirly bokeh look. I snagged a Helios 44-2, crossing my fingers it would work.
Setting Everything Up
The lens arrived, and it was definitely…vintage. All manual! I attached it to my camera (with an adapter, of course – these old lenses don’t fit modern cameras directly). Now, I’m no pro at manual focus, so this was going to be interesting.
I headed to a local park. The key, I read, is to have a background with lots of small light sources, like light filtering through leaves. I found a spot with some trees and the sun shining through.
Trial and Error (Lots of Error!)
Okay, time for the fun part. I set the aperture wide open – that’s the f-number, I made it as low as it could go. This is supposed to help with the blur. Then, I started messing with the focus ring. It was tricky! I took a bunch of shots, most of them blurry in the wrong way.
- First attempt: Totally out of focus.
- Second attempt: Still blurry, but I saw a hint of swirl.
- Third, fourth, fifth attempts: More of the same.
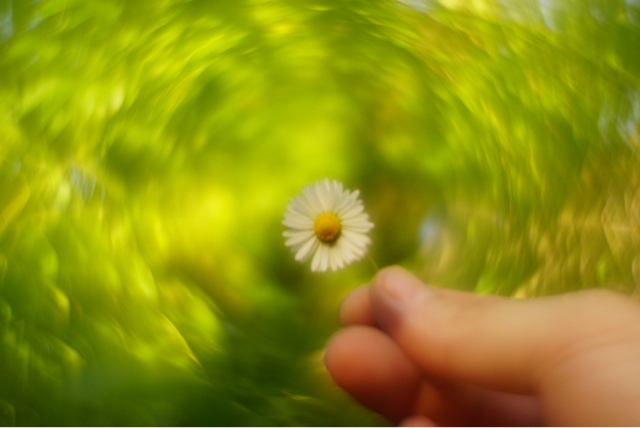
I realized I needed to be really precise with the focus. I slowed down, took a deep breath, and tried again. I focused on a flower in the foreground, making tiny adjustments to the focus ring.
The “Aha!” Moment
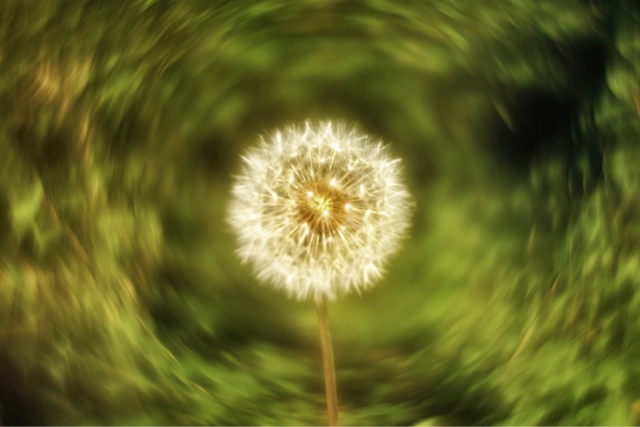
Finally! I took a shot and looked at the preview on my camera. There it was! The background was this beautiful, dreamy swirl, almost like a painting. I had done it!
I have done it,take a deep breath and enjoy my swirly bokeh!
I spent the next hour just experimenting. I moved around, tried different angles, and played with the focus. It was so much fun seeing how the background changed with each little adjustment. It’s not perfect, and I’ve got a lot more to learn, but I’m pretty stoked with my first attempt at swirly bokeh!
")


")


