
Alright, let me walk you through how I tackled shaky video filming. It was a real pain point for me early on. I’d get back, load up the footage, and ugh, it looked like I’d filmed it while riding a rollercoaster. Not the vibe I was going for, you know? So, I started experimenting to see what I could do myself, without immediately buying expensive gear.
Starting Simple: The Grip
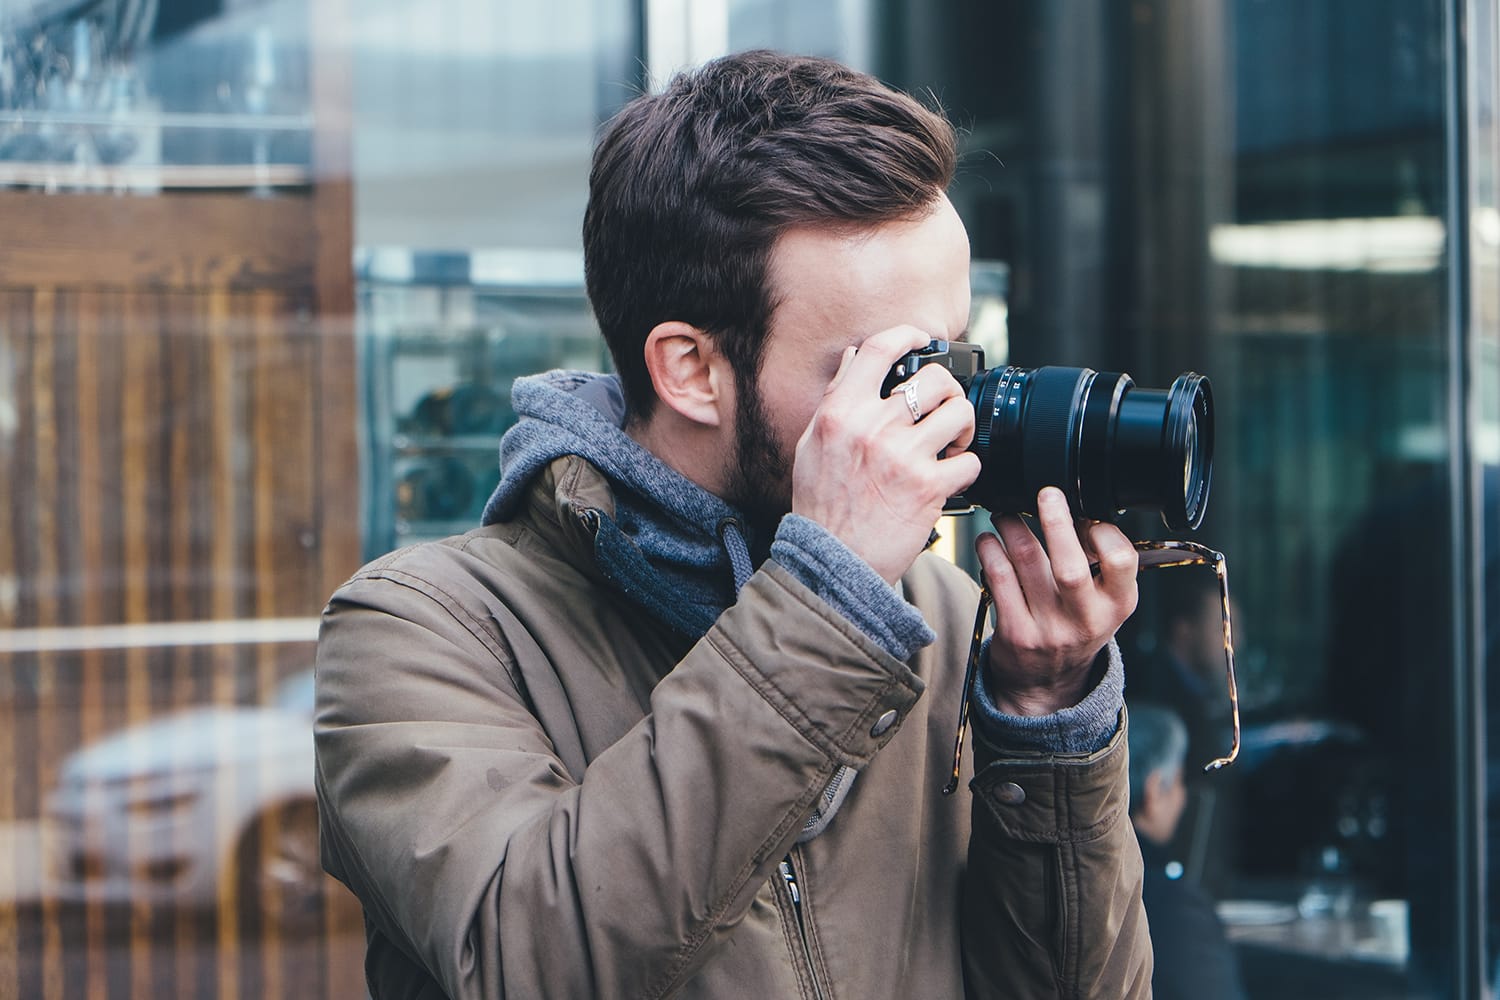
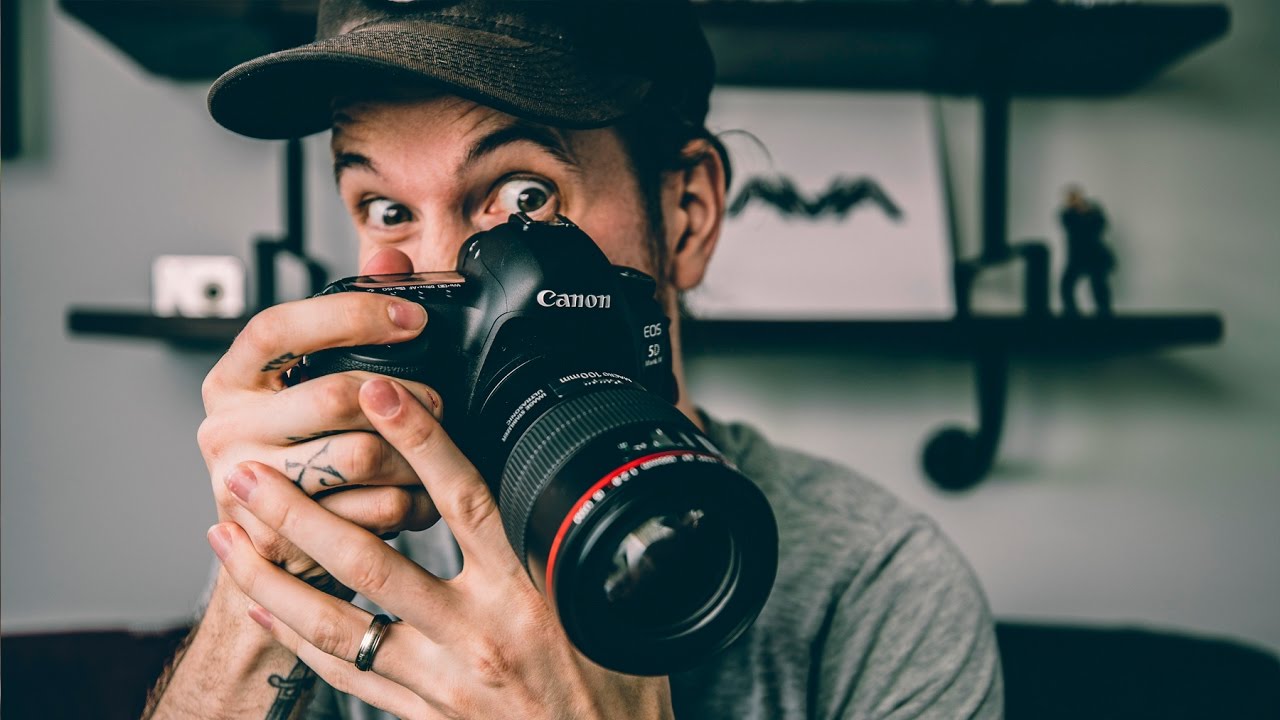
First thing’s first, I looked at how I was holding the camera. Just grabbing it wasn’t cutting it. I forced myself to always use two hands. Always. Left hand cradling the lens or under the camera body, right hand doing its thing on the controls. It felt a bit more deliberate, less like I was just pointing and shooting.
Then I thought about tension. Gripping it like my life depended on it actually made things worse sometimes, introduced tiny jitters. So, I focused on a firm but relaxed grip. Sounds weird, but it’s about being stable without being stiff.
Body Mechanics Matter
Okay, holding the camera better helped, but I realized I was the main source of the wobble. My body movement was translating straight into the camera.
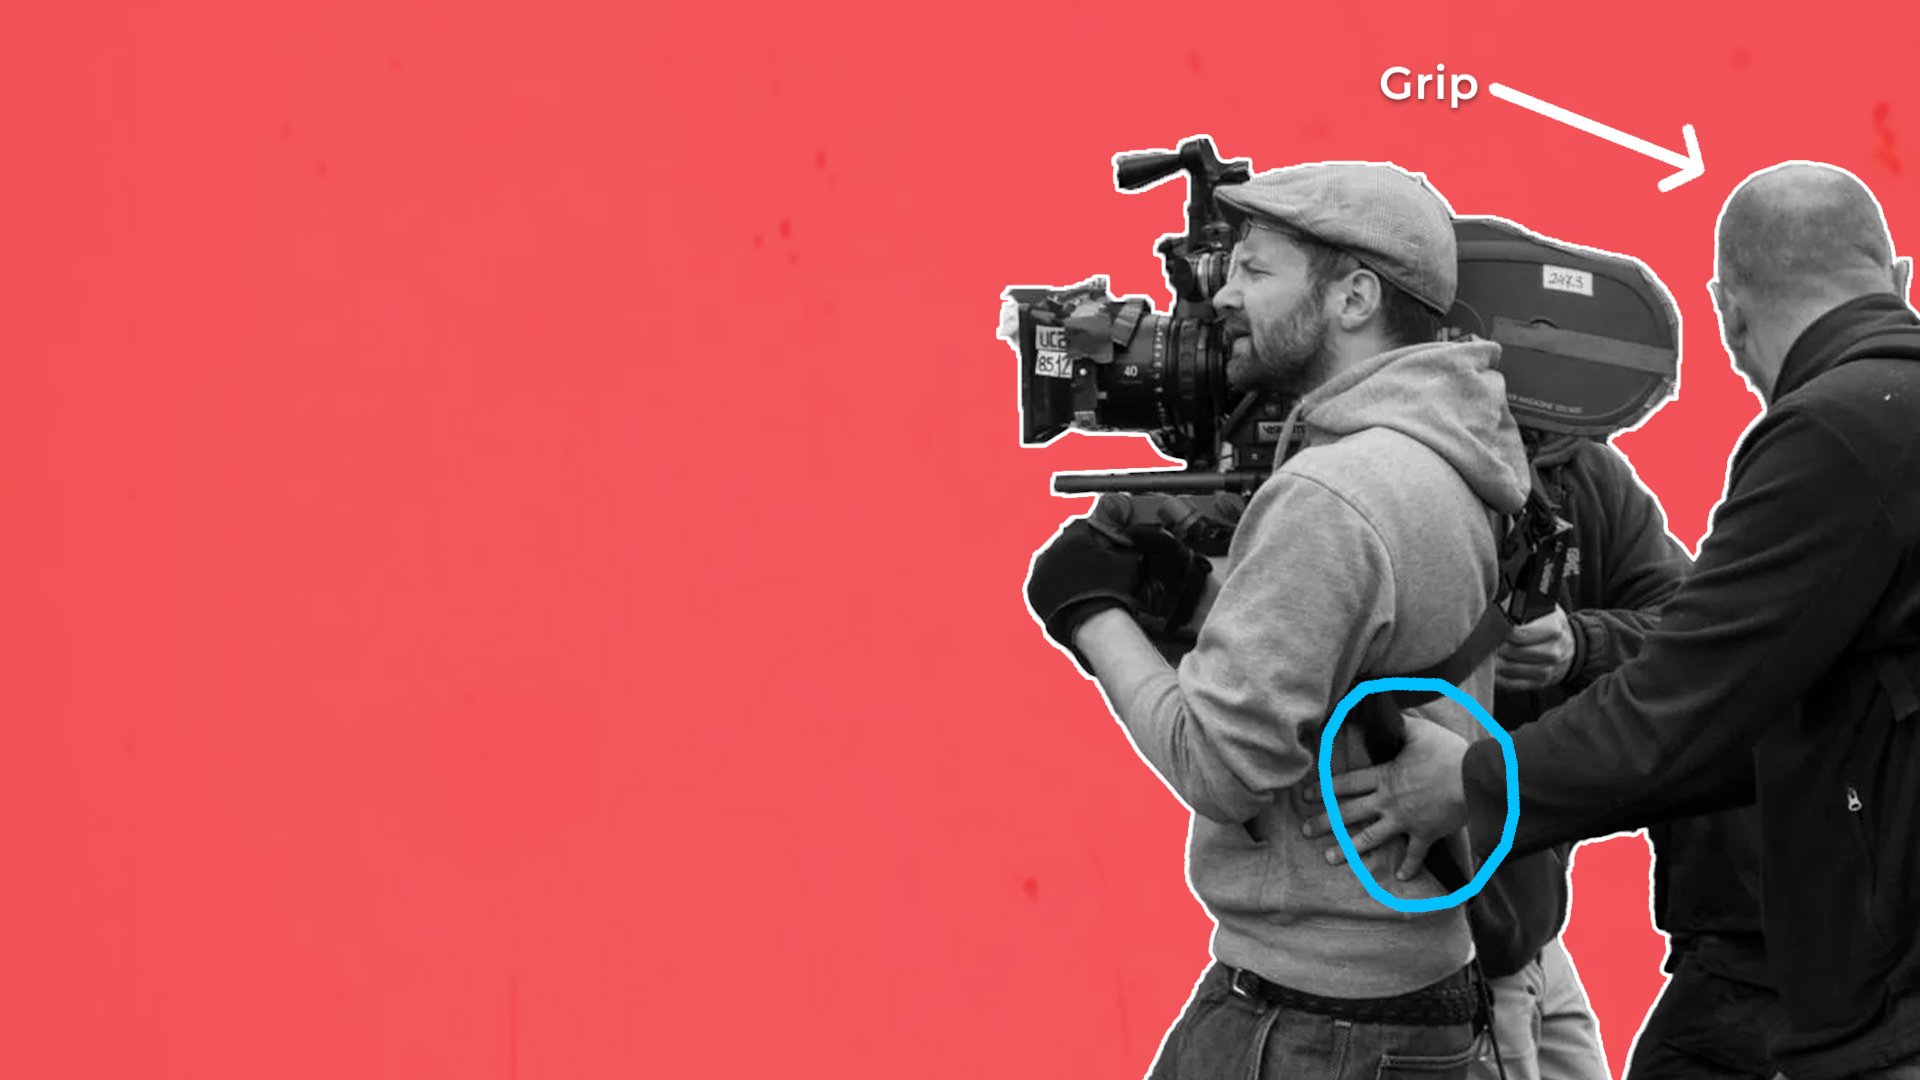
- Tuck Those Elbows: This was a game-changer. I started consciously pulling my elbows in, pressing them against my ribs or stomach. Instantly made my upper body way more stable. Felt kinda like becoming a human tripod.
- Use Your Surroundings: If there was a wall, a fence, a sturdy table, anything solid? I started leaning on it. Or placing my elbow on it. Takes a surprising amount of shake out. Don’t be afraid to look for support.
- The Stance: Standing like normal is okay for photos, but for video, I found widening my stance slightly and bending my knees just a little bit helped absorb movement. Lower center of gravity, more stable base.
Moving Shots: The Real Challenge
Walking and filming smoothly? That’s the hard part. My first attempts were awful.
So, I practiced walking differently. Instead of my normal heel-strike walk, I tried rolling through my steps more, heel-to-toe, almost like sneaking. And definitely kept my knees bent, acting like natural shock absorbers. People call it the ‘ninja walk’ sometimes. Felt silly, looked silly probably, but check the footage – it works.
Breathing control helped too. Not holding my breath, ’cause you’ll pass out or get shaky anyway, but focusing on smooth, even breaths. Avoided sharp inhales or exhales right when I needed maximum stability.
Keeping It Low Budget
I wasn’t ready to drop cash on a gimbal yet. I experimented with the camera strap trick – pulling the strap taut against my neck to create a third point of contact. It adds a bit of stability, surprisingly. Not perfect, but better than nothing in a pinch.
I also picked up a really basic handle grip that screws into the bottom. Just having that extra point to hold onto, away from the camera body, made a difference, especially for lower angle shots.
What I Do Now
So, there wasn’t one magic bullet. It was about layering all these little techniques. Two hands, elbows in, finding support, mindful walking, steady breathing. It takes conscious effort, especially at first. You gotta practice it until it becomes more natural.
My footage is so much smoother now. It’s not always perfect, especially if I’m rushed, but the difference is huge. And the best part? Most of these fixes cost nothing but a bit of practice and paying attention to what my body’s doing. Give ’em a try next time you’re filming.
")


")


