
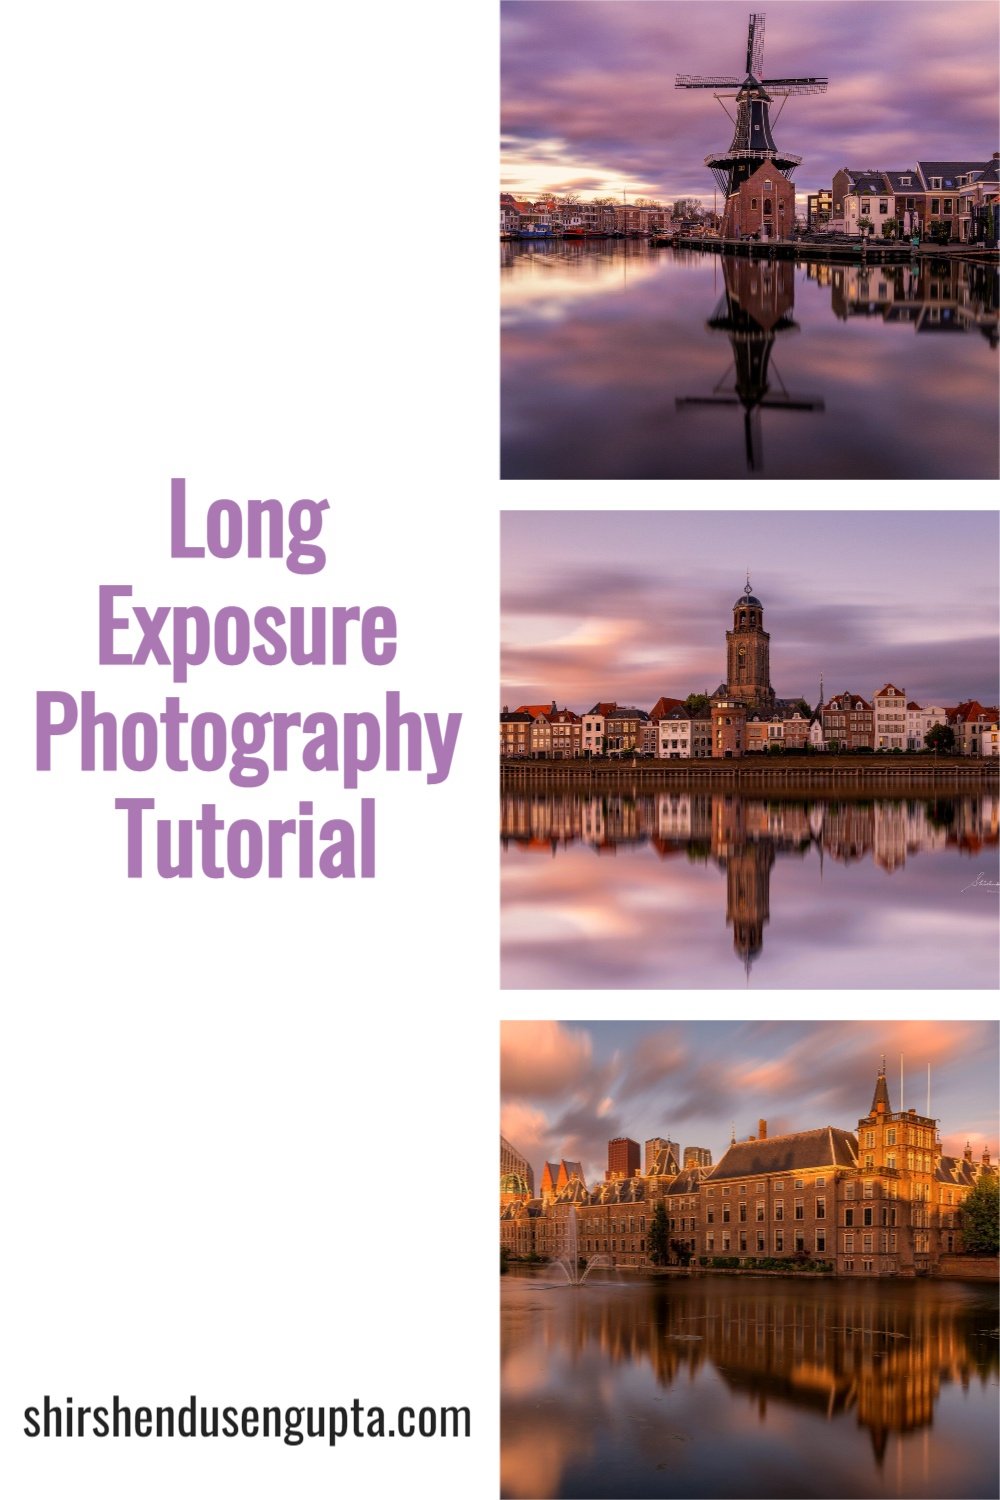
Okay, so folks have been asking me how I get those streaky light photos at night. It’s called long exposure, and honestly, when I first heard about it, I thought it was some super complicated pro-level stuff. Turns out, it’s more about patience and a bit of fiddling than anything else. Let me walk you through how I stumbled my way into it.

Getting Started: The “Why” and the “What I Had”
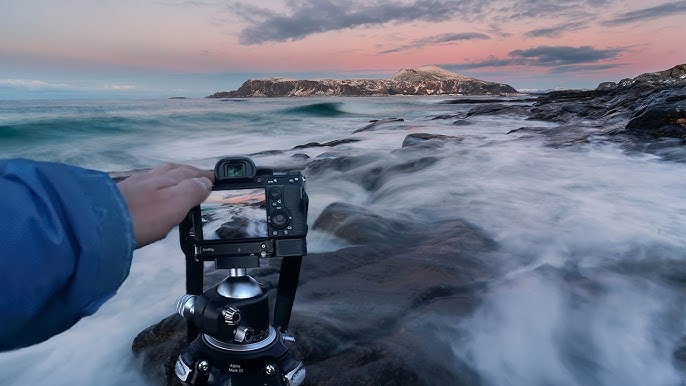
I’d seen these awesome photos online, you know, where car headlights turn into these smooth rivers of light, or water looks all misty and magical. My own night photos? A blurry, dark mess. So, I figured, why not give this long exposure thing a shot? First thing I realized, and this is super important, you absolutely need a tripod. Hand-holding is a no-go. Luckily, I had a cheap-ish one lying around from some old video project. Dusting that off was step one.
Then, the camera. I’ve got a DSLR, nothing too fancy, but it has a Manual mode (the ‘M’ on the dial). That’s pretty much key. If your camera lets you control shutter speed, you’re in business. I also grabbed my widest lens, just because I thought it might capture more of the scene.
My First Awkward Attempts: Finding a Spot and Settings
So, tripod and camera in hand, I headed out one evening. I didn’t go far, just a local street with a decent amount of traffic. I plonked my tripod down – felt a bit self-conscious, not gonna lie – and mounted the camera.
Now, the settings. This is where the trial and error really kicked in. I switched to Manual mode. Here’s roughly what I started messing with:
- Shutter Speed: This is the big one. I knew I needed it to be slow. I think I started with something like 2 seconds. Then I tried 5 seconds, then 10. The longer it is, the more light comes in and the more ‘streaky’ moving lights become.
- ISO: I read somewhere to keep this as low as possible. So, I set it to ISO 100. This helps keep the photo from getting all grainy.
- Aperture (F-stop): This was the tricky part to balance. With a long shutter speed and low ISO, if your aperture is too wide open (like f/1.8), your photo will be a blown-out white mess. I had to close it down quite a bit, maybe to f/8 or f/11, even f/16 sometimes. It’s all about letting in just the right amount of light over that long period.
Oh, and focusing! Autofocus can struggle in the dark. So, what I did was autofocus on something bright-ish in the distance (like a streetlight), and then I switched my lens to manual focus so it wouldn’t try to refocus when I pressed the shutter. And to avoid shaking the camera when I pressed the button, I used the camera’s 2-second self-timer. A remote shutter release would be even better, but the timer worked fine for me starting out.
The Messy Middle: “Why Is This So Bright/Dark/Blurry?!”
My first few shots? Hilarious. Some were so bright you couldn’t see a thing. Others were still too dark. Some were just…meh. I remember thinking, “This is harder than it looks!”
I quickly learned that you just have to take a shot, look at it, and adjust. Too bright? Either make the shutter speed a bit faster (like go from 10 seconds to 8 seconds) or close down the aperture more (go from f/8 to f/11). Too dark? Longer shutter speed or wider aperture (but be careful with that). It’s a constant balancing act. I spent a good hour just fiddling, watching cars go by, taking a pic, grumbling, adjusting, and trying again.
One thing I also noticed was that even with the tripod, if it was a bit windy or if I bumped it, the whole thing would be slightly blurry. So, making sure the tripod is rock solid is crucial. No flimsy setups on a windy night, trust me on that one.
Getting That “Aha!” Moment
After a lot of “almosts,” I finally got one. The car lights were smooth, beautiful red and white trails, the background was sharp, and the exposure was pretty decent. It wasn’t perfect, but it was mine, and it looked kinda like those photos I admired! That was a pretty cool feeling. I realized it’s not magic; it’s just about understanding how those three settings – shutter speed, aperture, and ISO – play together, plus a sturdy base for your camera.
I also tried it with some water at a local park fountain one evening. Same principle: long shutter speed (maybe 1-2 seconds for water, depending on how fast it’s moving) and a tripod. The water went from looking, well, like water, to this smooth, silky texture. Pretty neat effect for such a simple technique, once you get the hang of it.
So, What’s the Secret Sauce?
Honestly, there’s no real “secret.” It’s mostly about:
- A tripod. Can’t say this enough.
- Manual mode on your camera (or Shutter Priority ‘Tv’ or ‘S’ can work too, where you set the shutter speed and the camera picks the aperture).
- Setting a low ISO.
- Experimenting with long shutter speeds – anywhere from 1 second to 30 seconds, or even longer with a remote if your camera supports “Bulb” mode.
- Adjusting your aperture to get the right exposure.
- Using a self-timer or remote to take the picture.
- Lots of patience and practice. Don’t get discouraged if your first few (or many) shots don’t look great. Mine sure didn’t!
Since those first tries, I’ve played around a bit more. I even got an ND filter – that’s like sunglasses for your lens, letting you use even longer shutter speeds during the day without overexposing. But you don’t need that to start. Just get out there when it’s a bit dark, find some moving lights or water, and start experimenting. It’s a fun way to get creative with your camera, and I’m still learning new tricks with it. Go give it a whirl!
")


")


