Okay, let’s talk about finding a good greyscale check background. You know, the kind you need when you’re working with images, especially if they have transparency. It sounds simple, but man, getting it right took me a while.
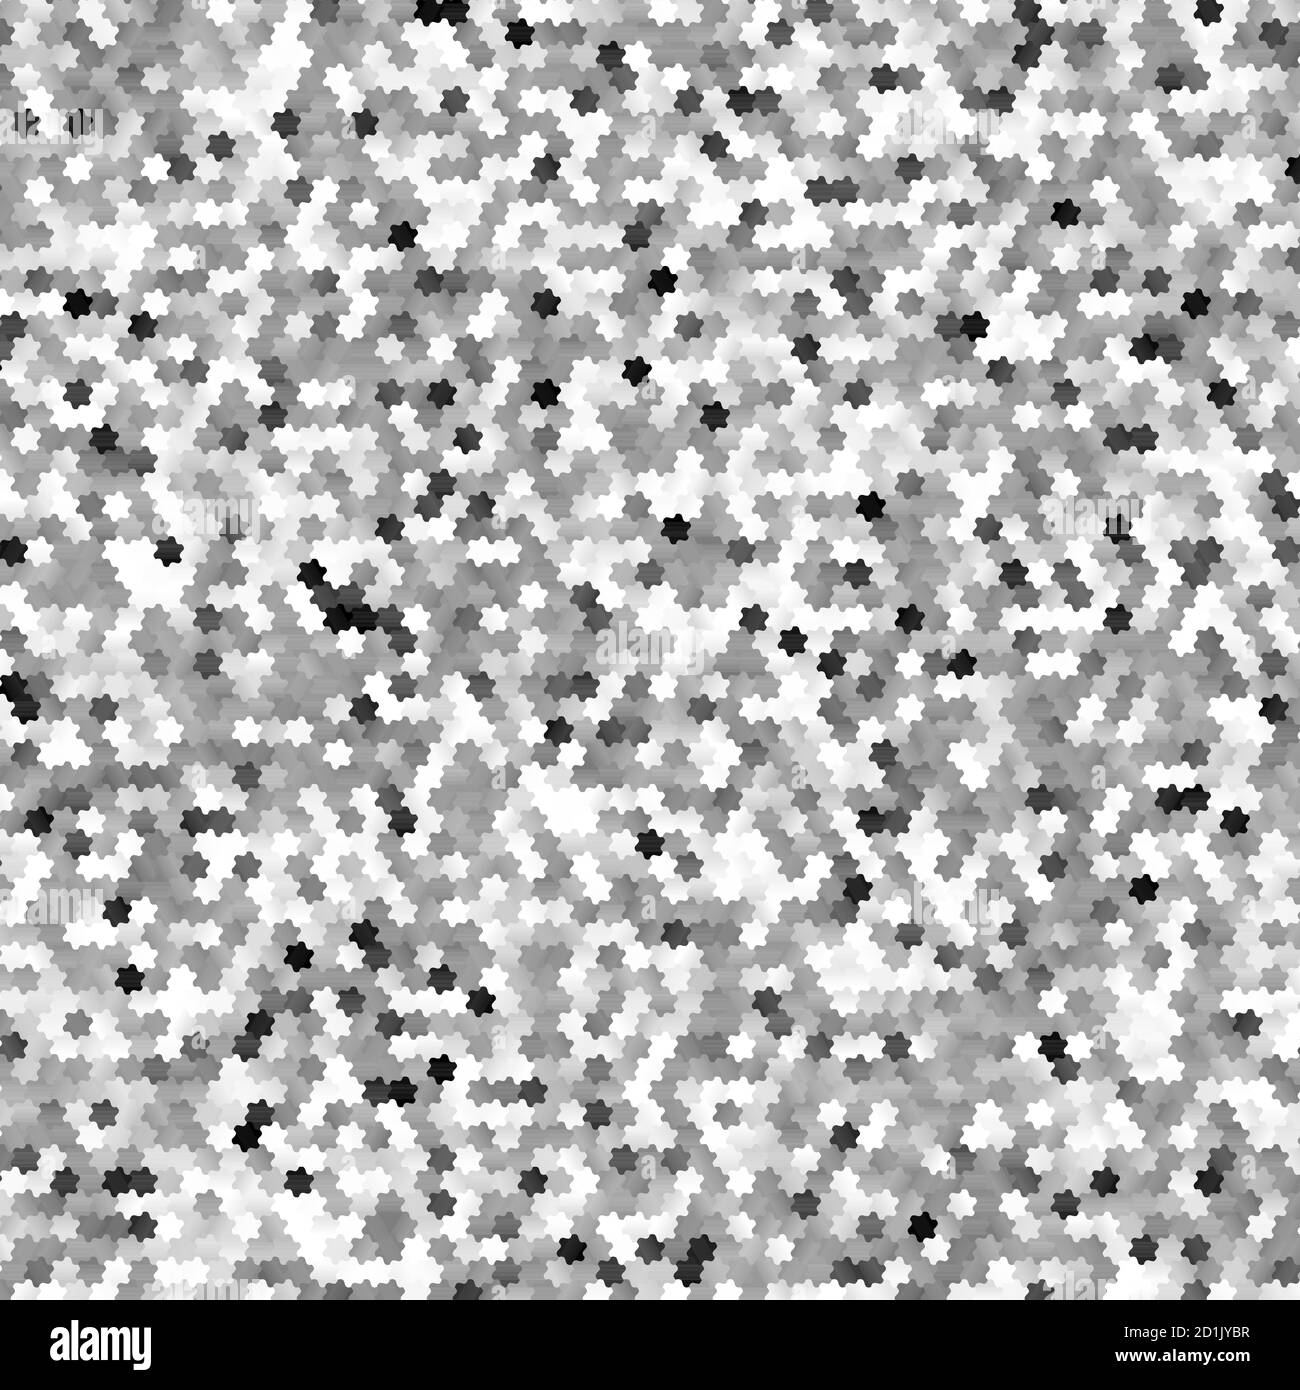
I remember starting out, just using whatever default checkerboard pattern my software had. Usually, it was this really harsh black and white, or a super contrasty grey. My eyes would just ache after staring at it for an hour, trying to see faint edges or semi-transparent bits.
So, my first step was just trying to find something better online. Searched for “checkerboard background pattern” and stuff like that. Found tons, but most had the same problem – either too jarring or the squares were tiny and distracting.
Trying to Make My Own
After getting frustrated with ready-made ones, I figured, “Okay, I’ll just make my own.” Fired up my image editor – think it was Photoshop back then, maybe GIMP, doesn’t matter much which one.
My process went something like this:
- Square Size: The tiny squares were annoying. I tried bigger ones. Like, maybe 16×16 pixels, or even 20×20. This immediately felt better, less “busy”.
- The Grey Colors: This was the main thing. That super high contrast between the two greys was the real eye-killer. I started playing with the values. Instead of near-white and near-black, I aimed for two closer mid-greys.
- Lots of Tweaking: I must have spent a good afternoon just nudging the color values. Tried a darker grey with a slightly lighter one. Then two light greys. Then maybe one light and one slightly darker mid-grey. Kept applying it as a background, putting a test image with transparency over it, and just… looking. Does it hurt? Can I see the edges easily?
What I Settled On
Eventually, I landed on a combination that just felt comfortable. For me, it was using two fairly light greys. Not white, but light enough not to feel gloomy. Think something like a very light grey (maybe like #EAEAEA) and a slightly darker, but still light, grey (like #CCCCCC). The exact codes don’t matter as much as the feel of it – low contrast, soft.
Why this worked best for me:
- Easy on the Eyes: The low contrast stopped that horrible eye strain during long work sessions.
- Good Visibility: It still provided enough difference to clearly see transparent edges, whether the foreground element was dark or light. The super high contrast ones sometimes made light transparent elements hard to spot.
- Less Distracting: The softer colors and slightly larger squares just faded into the background better, letting me focus on the actual image I was working on.
So now, I just have this pattern saved. Sometimes as a PAT file, sometimes I just draw it quick with CSS if I’m doing web stuff. Like `background-image: linear-gradient(45deg, #ccc 25%, transparent 25%), linear-gradient(-45deg, #ccc 25%, transparent 25%), linear-gradient(45deg, transparent 75%, #ccc 75%), linear-gradient(-45deg, transparent 75%, #ccc 75%); background-size: 20px 20px; background-color: #eaeaea;` – okay maybe that looks a bit technical, but point is, I found the colors and size that work, and now I reuse that idea everywhere.
It’s probably different for everyone, you know? Depends on your eyes, your monitor, the kind of work you do. But going through the process myself, trying things out instead of just grabbing the first default, that’s how I found my best greyscale check background. Took some fiddling, but worth it.
")


