
Alright, let’s talk about my little adventure today trying to nail down a Spanish baguette. It’s simpler than the French kind, I reckon, a bit more forgiving maybe, but still needs a bit of care.
Getting Started – The Dough
First things first, I grabbed my ingredients. Nothing fancy, really:
- Plain old all-purpose flour, about four cups worth.
- Warm water, maybe a cup and a half, give or take.
- A teaspoon of instant yeast.
- A good pinch of salt, maybe two teaspoons.
- Sometimes I add a tiny splash of olive oil for that Spanish feel, maybe a tablespoon today.
I just dumped the flour into my big mixing bowl. Made a little well in the middle. Sprinkled the yeast over the warm water, gave it a quick stir, let it sit for a minute just to see it bubble a bit. Then I poured that yeast water into the well, added the salt around the edges (don’t want to kill the yeast straight off!), and drizzled in the olive oil.
Then, I just started mixing it all up with my hands. Yeah, it gets messy, but that’s half the fun, right? Started off kinda shaggy and sticky. Once it mostly came together, I tipped it out onto the counter. Not much flour needed on the counter, just a tiny bit.
Kneading time! I spent about 10 minutes pushing, folding, turning. Just working the dough. You start to feel it change, getting smoother and more elastic. It’s less sticky now. You just gotta get a feel for it. When it felt nice and springy, I formed it into a rough ball.
The First Rise
I lightly greased the same bowl I mixed in, plopped the dough ball in, turned it over so the top got a bit of oil too. Covered the bowl with plastic wrap. Found a warmish spot in the kitchen, away from drafts, and just left it there. The goal was to let it double in size. Took about an hour, maybe a little more today.
Shaping the Baguettes
Once the dough looked nice and puffy, I gently tipped it out onto a lightly floured counter. Didn’t want to punch it down too hard, gotta keep some of those air bubbles. I cut the dough into two equal pieces. Gently shaped each piece into a rough rectangle.
Then I let them rest for about 15 minutes, covered with a tea towel. This helps the gluten relax, makes shaping easier.
Okay, final shaping. Took one piece, gently stretched it out a bit more into a longer rectangle. Then, starting from the long edge, I folded it over like a letter, pressing down the seam with my fingers. Folded it again, pressing the seam. Then I kinda rolled it back and forth gently, stretching it out into that long baguette shape. Aiming for about 12-15 inches long, maybe? Did the same with the second piece. Getting them even is the tricky part! Mine always end up a bit wonky, but hey, homemade charm!
The Second Rise (Proofing)
I laid the shaped loaves onto a baking sheet lined with parchment paper. You could use a fancy baker’s couche if you have one, but parchment works fine. Sprinkled them with a little flour. Covered them loosely again with the tea towel or plastic wrap. Let them sit and puff up again, maybe for another 45 minutes to an hour. They won’t double this time, but they should look noticeably puffier.
Baking Time!
While the loaves were proofing, I cranked up my oven. Super hot! Like 450°F (around 230°C). And I put an old metal pan on the bottom rack. This is for steam.
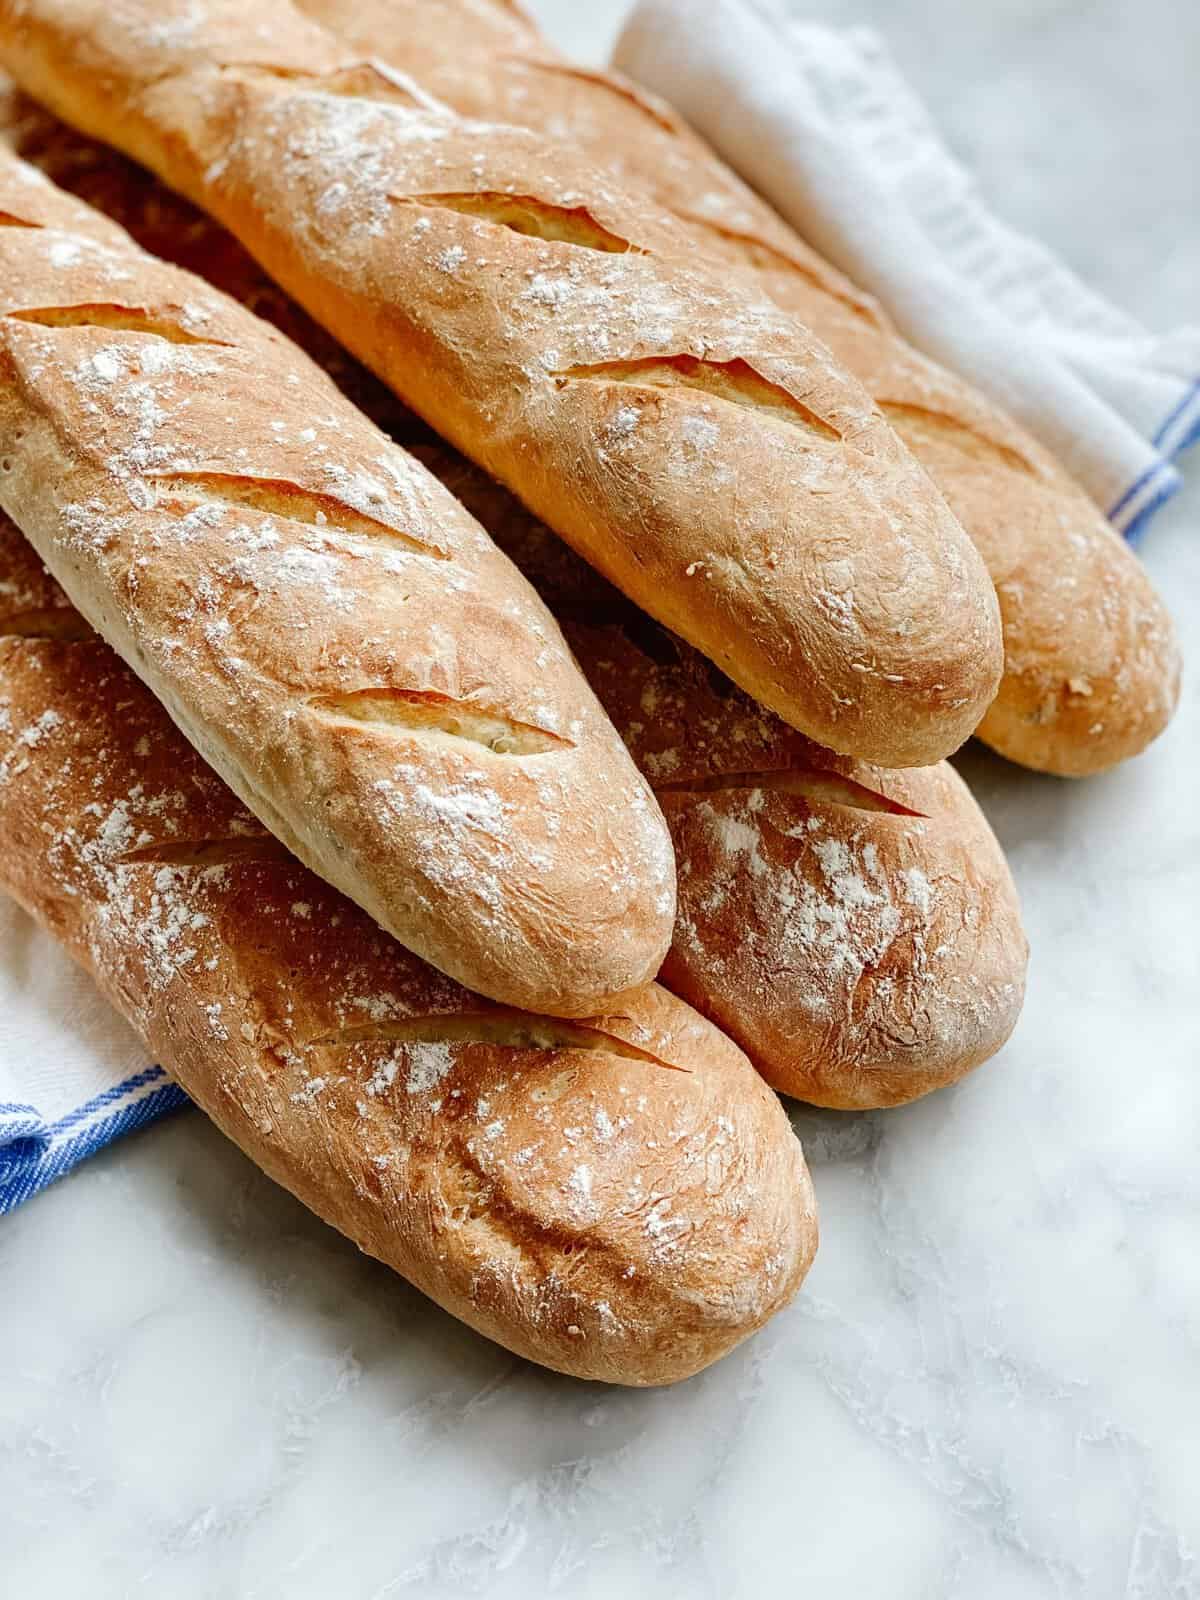
When the loaves looked ready, I needed to score them. Took a very sharp knife (or a razor blade/lame if you have one). Made about 3 or 4 quick diagonal slashes across the top of each loaf. Not too deep, just enough to help them expand nicely.
Okay, time to bake. Opened the oven, quickly slid the baking sheet with the baguettes onto the middle rack. Poured about a cup of hot water into that pan on the bottom rack – careful, it’ll steam up fast! Shut the oven door quickly to trap the steam.
Baked them for about 20-25 minutes. Kept an eye on them. Halfway through, I sometimes rotate the pan if one side is browning faster. You’re looking for a deep golden-brown color.
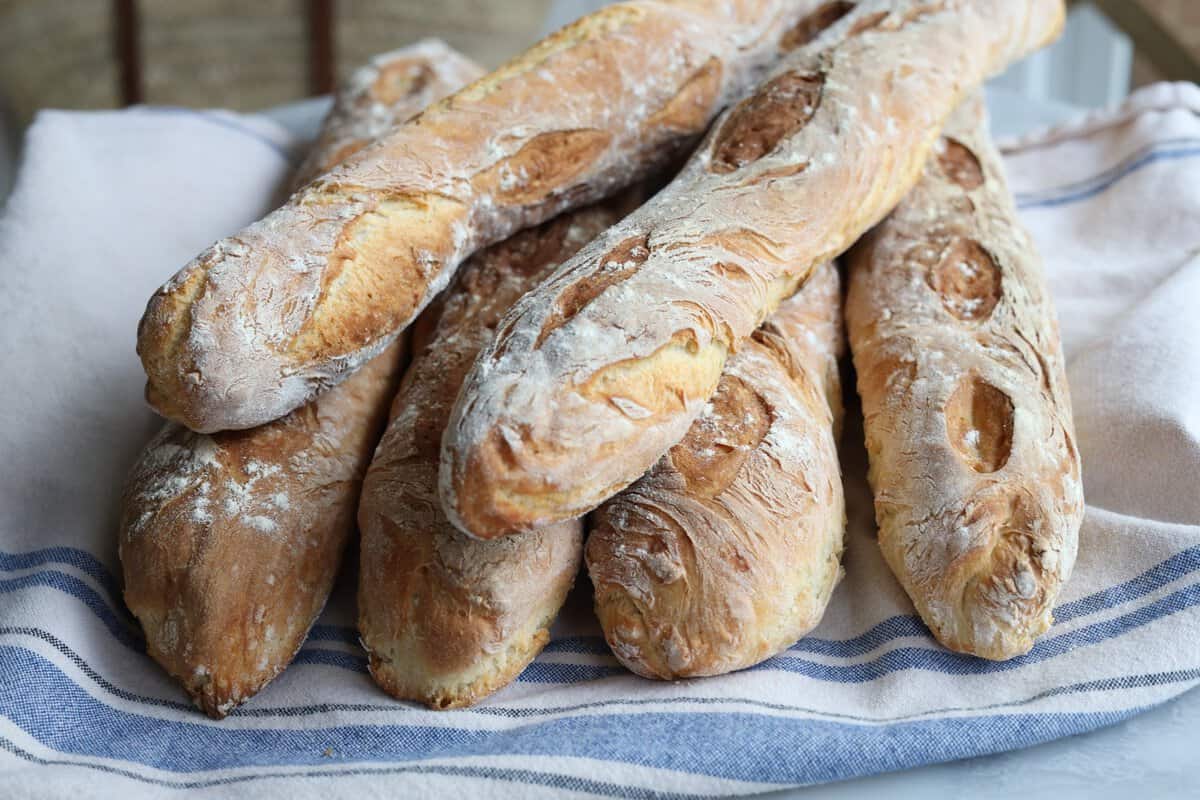
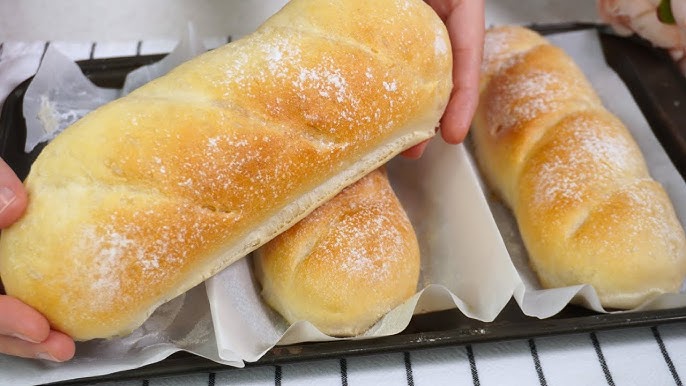
The Finished Product
Pulled them out of the oven – oh, that smell! Placed them on a wire rack immediately. You gotta let them cool. Seriously, resist the urge to cut into them right away! Letting them cool properly sets the crust and finishes the inside. You might even hear the crust crackling as it cools – best sound ever.
After about 30 minutes (agony, I know!), I finally cut a piece. The crust was nice and crisp, not rock hard, and the inside was soft and chewy. Perfect for some butter, or dipping in soup, or just eating plain. They weren’t perfectly shaped, one was a bit fatter than the other, but taste-wise? Pretty darn good for a home bake. Success!

So yeah, that was my Spanish baguette making session. Worth the effort, definitely. Nothing quite like fresh bread you made yourself.


")


