
Okay, so I wanted to figure out the best way to export photos from Lightroom specifically for Facebook, keeping the file size down but the quality up. Here’s what I did:
First, I opened up Lightroom and selected the photo I wanted to work with. You know, just a regular picture I took the other day.
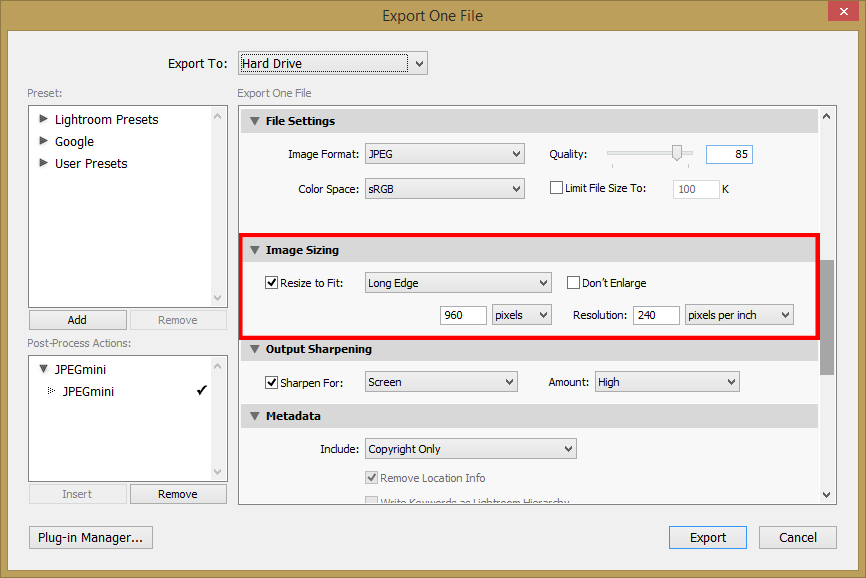
Export Settings
Then, I went to the “Export” option. This is where all the magic happens, right?
- File Settings:
- I picked “JPEG” as the Image Format. That’s pretty standard.
- For Quality, I played around a bit and settled on something between 60-70. Seems to be a good balance.
- Image Sizing:
- I checked the “Resize to Fit” box.
- Then I chose “Long Edge” and typed in “2048 pixels”. I heard that’s a good size for Facebook.
- I made sure the resolution was set to “72 pixels per inch”. Web stuff, you know.
- Output Sharpening:
- I ticked the “Sharpen for Screen” box.
- And I usually set the Amount to “Standard”. Sometimes I go “Low”, depends on the photo.
- Watermark:
- I selected the choice not to put “watermark” on it.
- Post-Processing:
- I choose “Do nothing” after export.
After setting all that, I hit “Export”.
Finally, I uploaded the exported photo to Facebook and… it looked pretty good! Not blurry, not too big. Just right. I think these settings worked out well.
")


")


