")
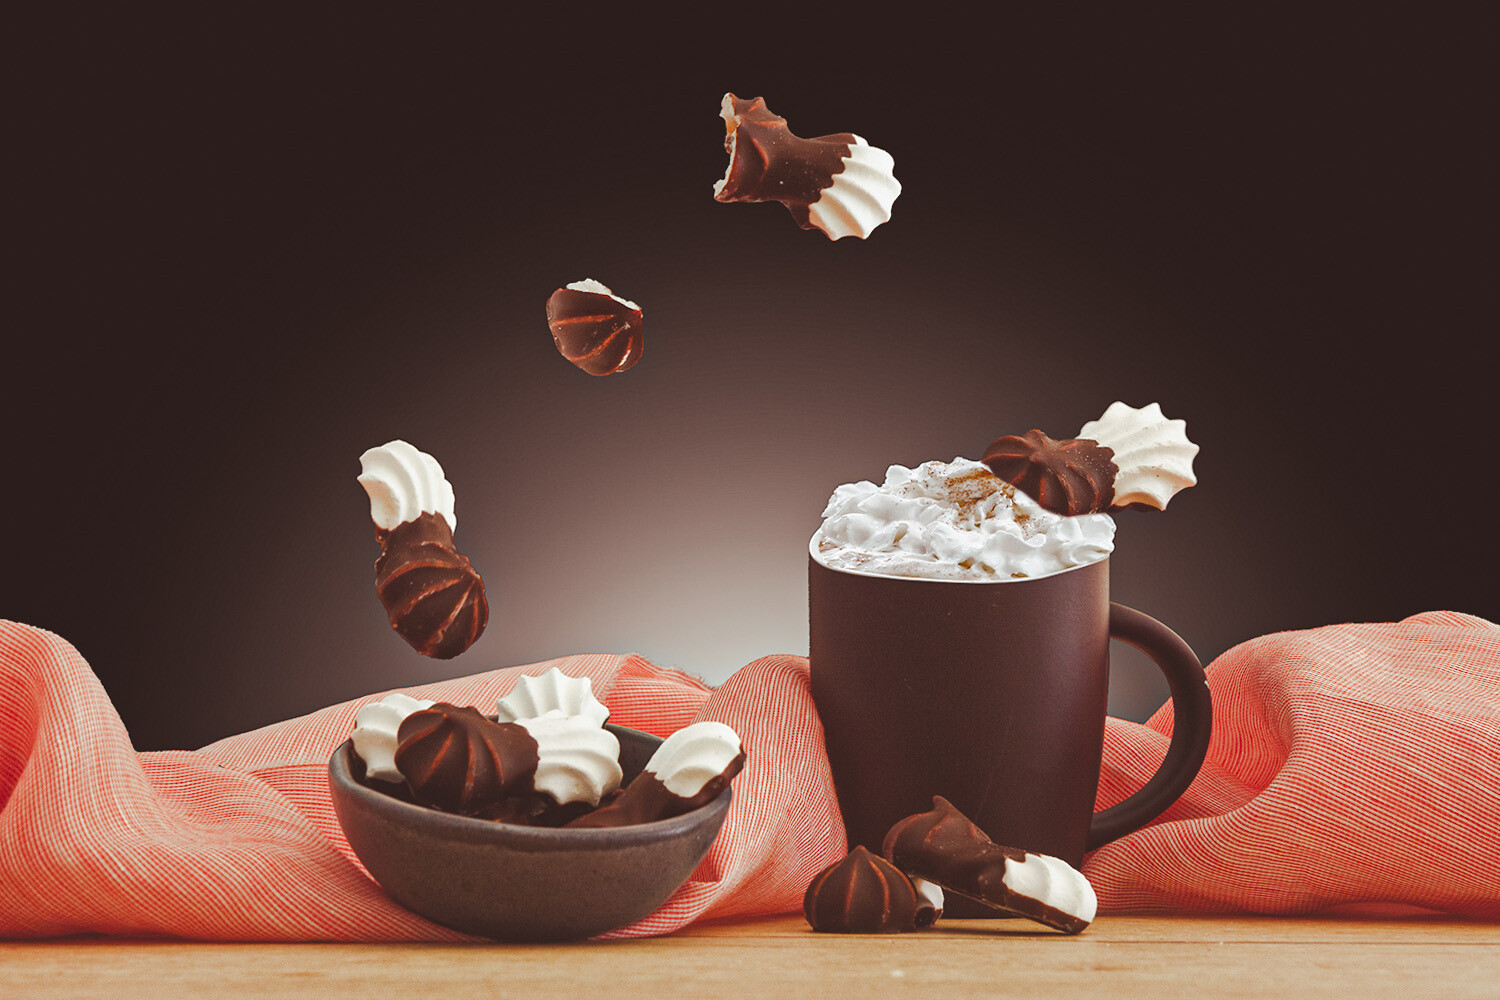
Alright, so I’ve been wanting to mess around with this whole levitating food photography thing for a while. Kept seeing these super cool shots online where ingredients are just floating, and I thought, “How hard can it really be?” Well, let me tell you, it’s a bit of a process, but I finally got some decent results, and I figured I’d share how I went about it.
Setting the Scene
First off, I cleared out a space in my kitchen. Didn’t need anything too fancy. I grabbed a plain backdrop – actually just a big piece of white card I had lying around. Light is key, everyone says that, right? So I set up near a big window for that nice, soft, natural light. Tried to avoid direct sun though, ’cause that can be harsh.
Then, the food. I started simple. Some berries, a few nuts, a cookie I was planning to eat later. Figured smaller items would be easier to manage, or at least less messy if things went south.
The “Levitation” Part – My First Attempts
Okay, this is where the fun, and frustration, began. How do you actually make stuff float? My first thought was, like, super thin fishing line. I tried stringing up a berry. Looked okay through the viewfinder, but I knew editing that line out later would be a pain. I wanted to see if I could get it more “in the moment.”
I remembered reading somewhere that a fast shutter speed can freeze motion. Like, really fast. So, I dug into my camera settings. I usually shoot in Aperture Priority, but for this, I switched to Manual mode to get full control. I started cranking up the shutter speed. We’re talking 1/250th of a second, then 1/400th, even faster when I could get enough light.
Getting the Shot (and a lot of misses)
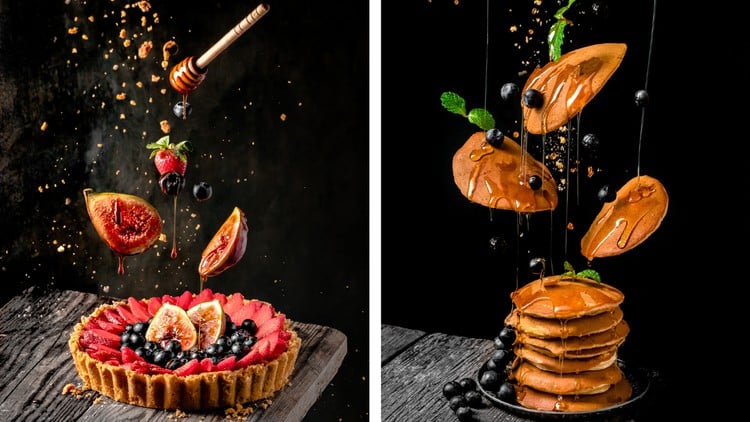
So, my grand idea was to basically drop the food from a short height and try to snap the picture just as it was in mid-air, looking like it was floating. Easier said than done!
- My setup: Camera on a tripod – super important because I needed my hands free to drop the food and trigger the shutter (I used a remote shutter release, but the self-timer could work too, just trickier to time).
- The drop: I held the food item just above where I wanted it in the frame, maybe a few inches over a plate or a bowl.
- The click: Then it was just drop and click, drop and click. Lots of clicks.
Honestly, my first hundred shots were probably garbage. Blurry, food half out of frame, or just sitting on the plate because I was too slow. It was a real test of patience. My floor got pretty messy with dropped berries. Good thing I started with stuff that wouldn’t make a huge splat.
Because you’re often shooting food pretty close up to get those nice details, it’s a bit like macro photography. You really see every little crumb and texture, which is cool when it’s sharp and floating, but not so cool when it’s a blurry mess.
Figuring It Out
After a ton of trial and error, I started to get the hang of the timing. The key really was that fast shutter speed. If it was too slow, even 1/100th of a second, I’d just get a motion blur. Pushing it to 1/250s and above was where the magic started to happen, freezing that little berry perfectly in mid-air.
Light was the other big factor. With such a fast shutter, you need a lot of light to get a good exposure without cranking your ISO to the moon and getting a noisy picture. That window light was working overtime. On a cloudier day, I reckon I’d need to bring in some artificial lights.
I also learned to pre-focus on the spot where I expected the food to be. I’d place an object there, focus, then switch my lens to manual focus so the camera wouldn’t try to hunt for focus while the food was falling. Then, remove the placeholder, and start dropping.
The Results and What I Learned
So, did I nail it perfectly every time? Nope. Still got plenty of duds. But I did manage to get a few shots that looked pretty awesome, with ingredients genuinely looking like they were suspended in space. No wires, no complicated Photoshop to remove supports (though for more complex scenes, I can see how that would be necessary).
It’s definitely a technique that takes practice. And a willingness to clean up a bit of a mess. But seeing that cookie or berry frozen mid-air, looking all dynamic and cool? Totally worth it. It’s a fun way to make your food photos a bit more interesting than just a static plate.
So yeah, that was my adventure into levitating food photography. Just a camera, some food, a fast shutter, and a lot of patience (and a willingness to pick stuff up off the floor).
")


")


