Okay, so I wanted to try writing “sky zone” in cursive. I’ve seen some cool lettering art online and thought, why not give it a shot? I’m no expert, but it seemed like a fun little project.
Getting Started
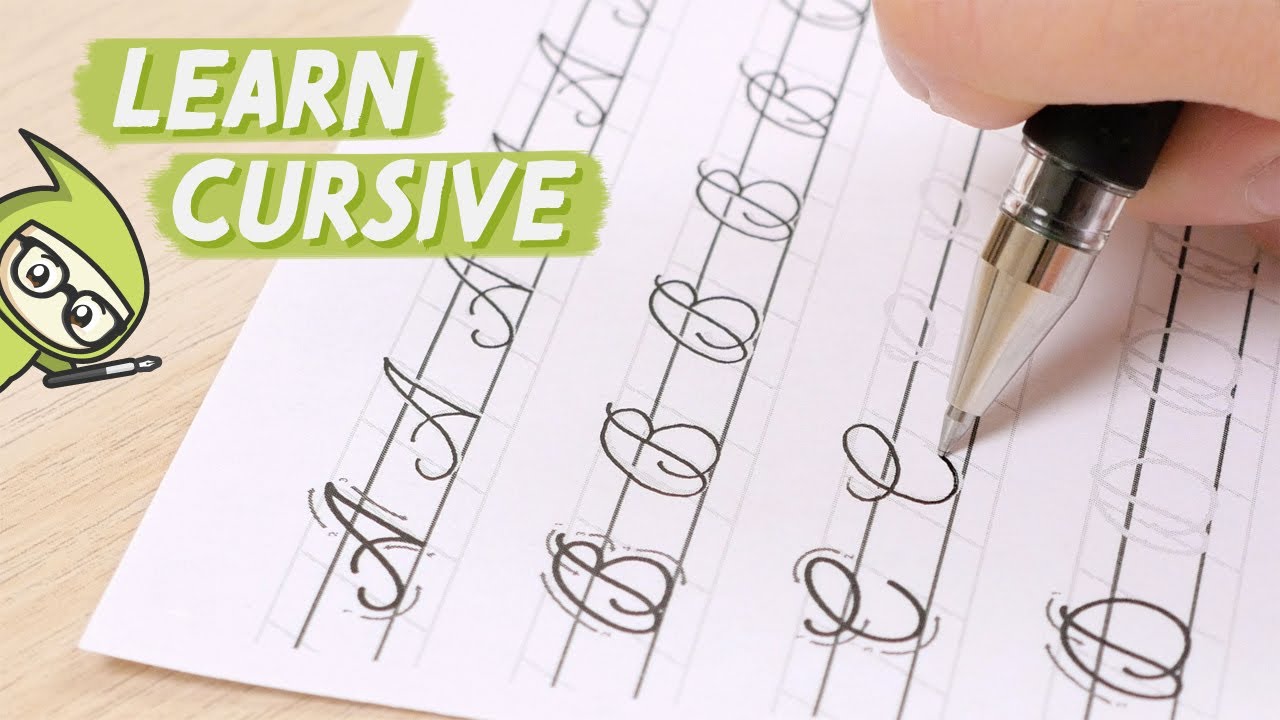
First, I grabbed a regular pen and a piece of lined paper. Nothing fancy, just stuff I had lying around. I figured it’s best to start simple, right?
Practice Makes Perfect (Sort Of)
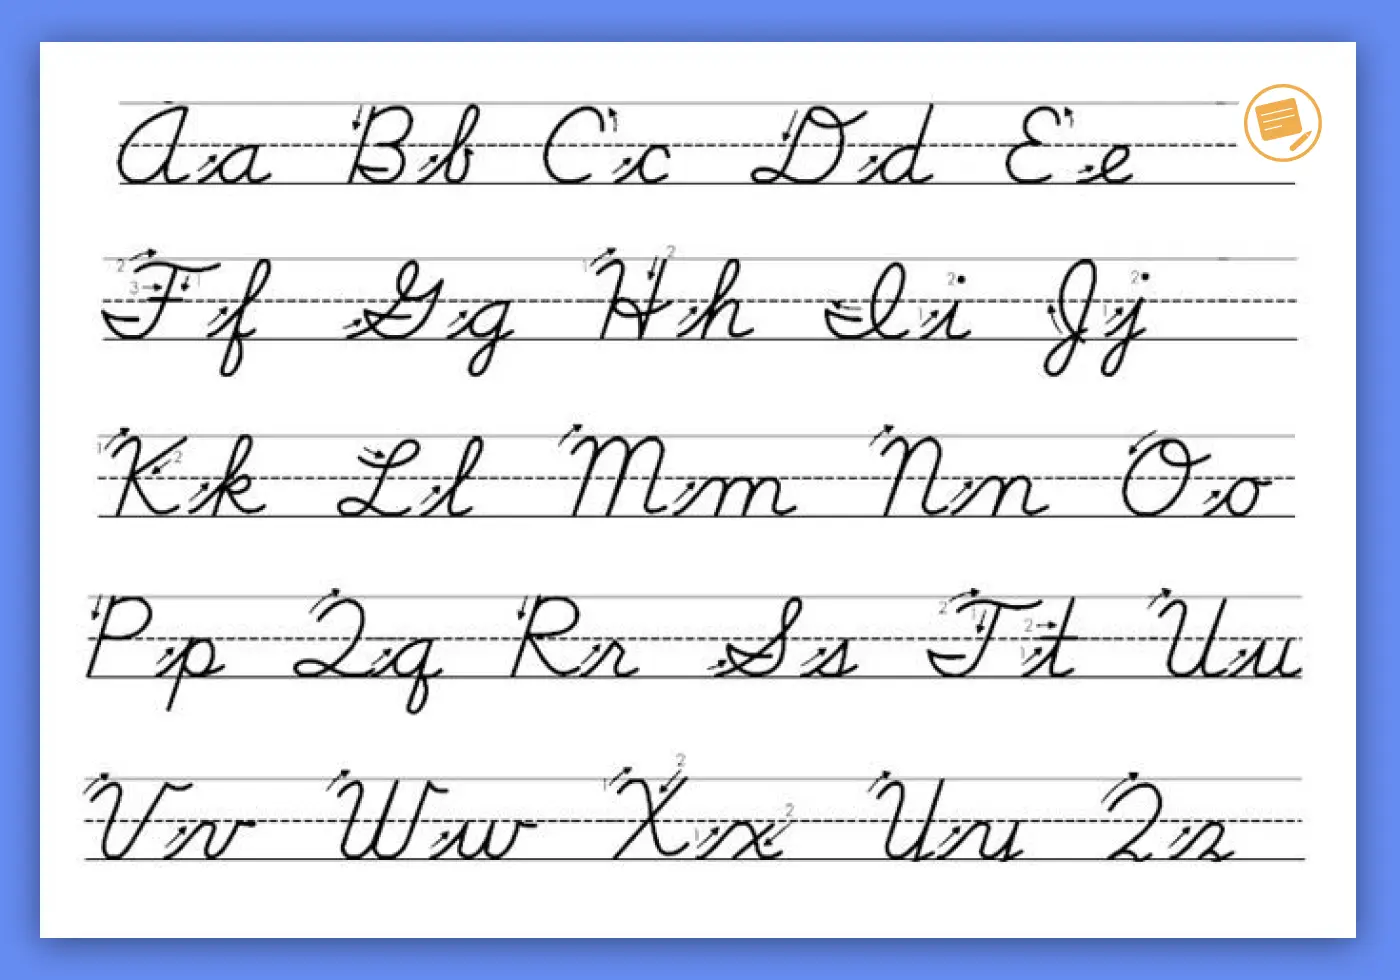
I started by just writing the words “sky zone” in print, you know, normal handwriting. Just to get a feel for the spacing and the shapes of the letters. Then, I looked at the letters and thought about the connecting lines. I started practicing each word on its own.
- sky:
-
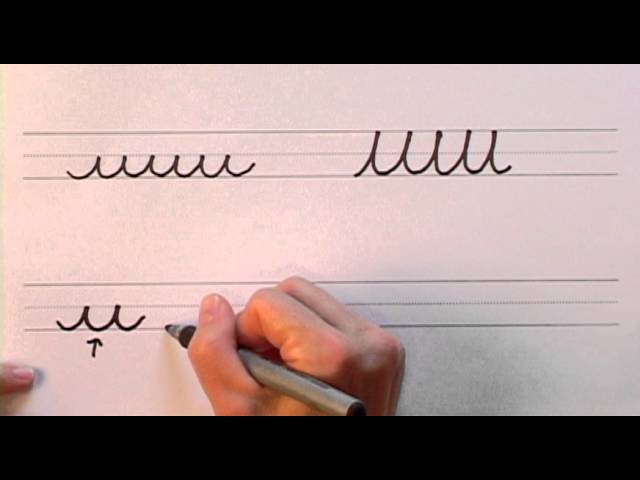
I started with “s”. I made sure the “s” had a nice curve, and then tried to smoothly transition into the “k”. I practiced a bunch of times, just the “sk” connection.
-
The “y” was a bit easier and I connect it by extend the tail of the ‘k’ into a downward loop for the ‘y’.
-
- zone
-
Now on to “zone”.The “z” I did the little loop at the top, kind of like a tiny flag.
-
Made sure the “o” was nice and round, connected it to the “n”, and from “n” continued with “e”.
-
Putting It All Together
After practicing each word separately, I started joining them. This was the trickiest part! To make it work I connect the tail of the “y” from “sky” to the top of “z”. I had to lift my pen between the two words, but I tried to make it look as natural as possible.
My Results
Honestly, my first few attempts were a mess. The letters were wobbly, the connections were awkward, and it didn’t look very “cursive” at all. But, I kept at it. After a while, I started to get the hang of the flow and the curves. It’s still not perfect, but I can definitely see improvement! I think with more practice, I could actually get pretty good at this.
It’s kind of relaxing, actually. Just focusing on the shapes and the lines, it’s a nice break from staring at a screen all day. I might even try some other words and phrases later on. Who knows, maybe I’ll even get into calligraphy someday!


")


")


