My Cuy Frito Adventure
Alright, so I finally did it. I tackled cuy frito. Been meaning to for ages, ever since that trip I took way back when. You see it everywhere there, and I thought, “How hard can it really be?” Famous last words, right? It’s not like whipping up some scrambled eggs, that’s for sure.
First off, getting the main ingredient. That was an adventure in itself. Not exactly something you find in your average supermarket next to the chicken. I had to go to this little specialty market, the kind of place where you know they have the real deal. Found a good one, already cleaned, which saved me a whole lot of work I wasn’t looking forward to, if I’m being honest. Took it home, gave it another rinse, just to be sure.
Then came the seasoning part. This is where you can make or break it, I reckon. I remembered the flavors pretty well – lots of garlic, cumin, salt, pepper. Some folks use other stuff, like achiote for color, but I decided to keep it fairly simple for my first proper go. Made a paste, really worked it into the cuy, every nook and cranny. You can’t be shy with the seasoning. Let it sit for a bit, to let those flavors really get in there. Some people say overnight, but I was impatient. Gave it a good hour or two.
- Garlic, minced up real fine.
- Cumin, a generous amount.
- Salt, don’t skimp.
- Black pepper, freshly ground.
Now, the frying. This is where things got interesting. I’d read you need a good amount of oil, and it needs to be hot but not smoking hot. I used my big cast iron skillet. It’s seen a lot of action, that pan. Got the oil shimmering, then carefully laid the cuy in, skin-side down first for a bit, then flipped it. Some recipes say to press it down with another pan or a brick wrapped in foil to get it all crispy and flat. I tried that with a smaller saucepan. It was a bit of a juggling act, to be honest. Oil was splattering a bit, so safety glasses wouldn’t have been a bad idea. My stove top looked like a warzone afterwards.
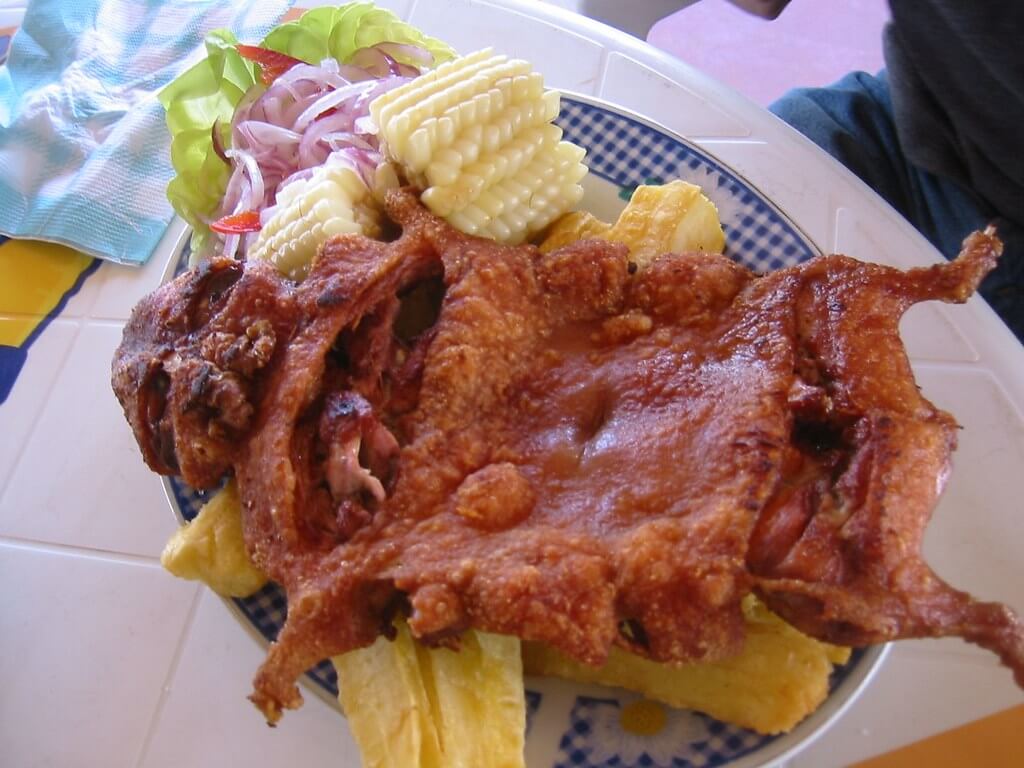
You gotta keep an eye on it, moving it around so it cooks evenly. The goal is that deep golden brown, crispy skin. That’s the hallmark of a good cuy frito. It took a while. This isn’t a quick fry. You need patience. And good ventilation, because your house will definitely smell like a fry shack, but in a good way, mostly.
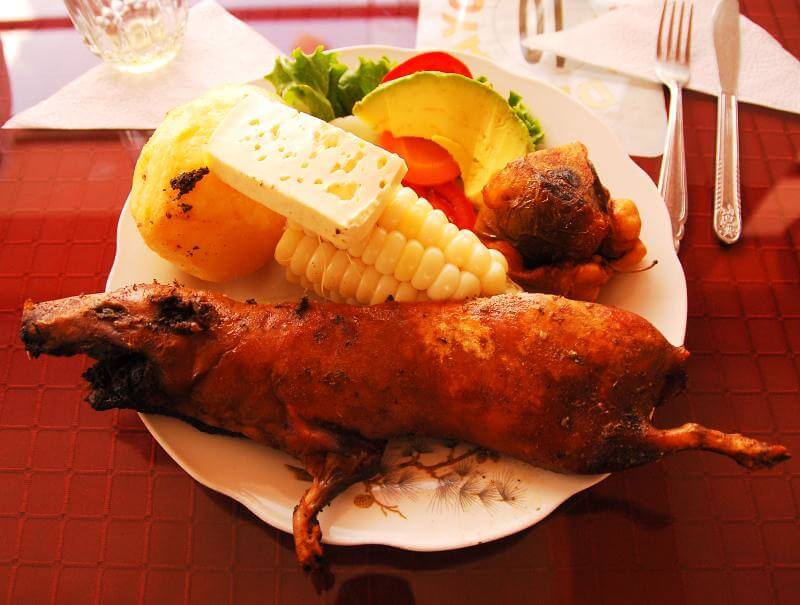
The result? Well, it looked pretty darn good, if I do say so myself. Crispy skin, juicy meat. I served it up with some boiled potatoes and a bit of aji sauce I had. It wasn’t quite like the ones I had on my trip – those old ladies at the market stalls have magic hands, I swear. But for a home attempt, I was pretty pleased. It’s definitely a project, not something you’d make on a whim. The cleanup alone is a deterrent.
Why am I telling you all this? Well, a buddy of mine was asking if it was easy. He saw some pictures online and got all inspired. I told him, “Easy? No. Worth it? Yeah, at least once to say you’ve done it.” It’s like a lot of these traditional dishes, isn’t it? Simple ingredients, but the technique and the patience, that’s where the real work is. It’s not like your quick stir-fry where you just toss everything in a wok. This thing demands respect. And a lot of paper towels for the grease.
I remember when I first tried it years ago, I was a bit hesitant. But man, once you get past the “it’s a whole animal” thing, it’s actually really tasty. Rich, a bit like dark meat chicken or rabbit, but unique. Making it myself, it definitely gave me a new appreciation for the folks who cook this regularly. It’s a labor of love, or at least a labor of serious frying commitment.


