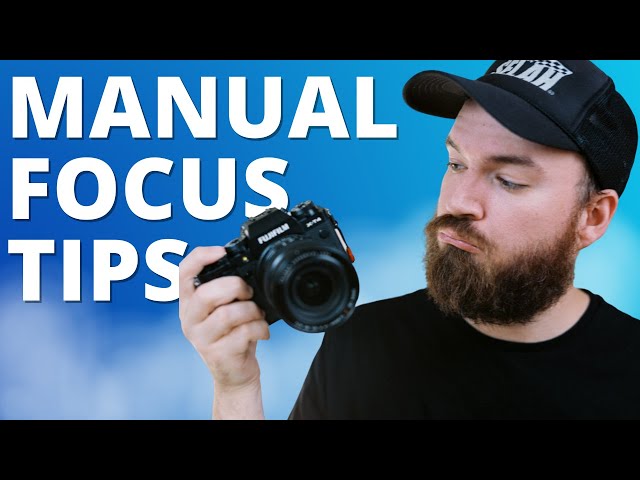
Okay, so today I’m gonna chat about something I was messing around with recently: manual focus mode for taking pictures. It’s a bit old-school, but trust me, it can be a lifesaver and give you way more control over your shots.

First off, let’s rewind a bit. I was shooting some close-ups of these little figurines I collect, and the auto-focus was just going bonkers. Hunting back and forth, locking onto the background instead of the eyes… you name it. Super frustrating! That’s when I was like, “Alright, time to go manual.”
The first thing I did was find that little switch on my lens – the one that says “AF/MF”. I flipped it to “MF”. Bam! Auto-focus disabled. Now, I was in charge.
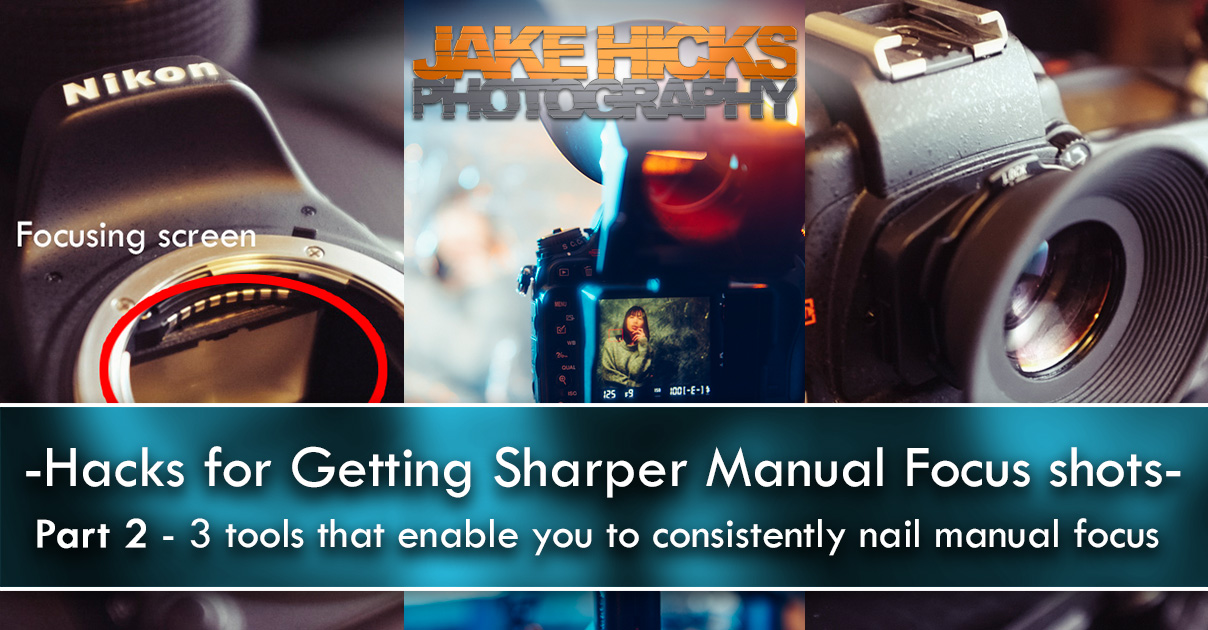
Next up, I switched to Live View on my camera. This is crucial. Looking through the viewfinder is tough when you’re doing manual focus, especially for close-ups. Live View lets you see exactly what’s in focus on the LCD screen.
Then came the fiddly part: twisting that focus ring on the lens. Slowly, slowly, watching the image on the screen get sharper, then softer, then sharper again. It’s all about finding that sweet spot. I used the zoom function in Live View like crazy, punching in to like 5x or 10x to really nail the focus on the eyes.
It took a few tries, I’m not gonna lie. My fingers were getting a little shaky, and breathing was messing me up! So I took some deep breaths, stabilized myself, and kept tweaking the focus ring until I had what I wanted.

I also tried a trick I’d read about: pre-focusing. I wasn’t shooting moving objects this time, but I figured it was good practice. If you know your subject is going to be in a certain spot, you can pre-focus on that spot and then just wait for them to move into the frame. Makes things much faster.
Honestly, the results were way better than what I was getting with auto-focus. Sharper details, exactly where I wanted them. It’s slower, sure, but the control is worth it.
So, that’s my little manual focus adventure. Give it a shot sometime – you might be surprised at how much you like it!


