
Alright, guys, let’s dive into how I tackled taking photos with a pure white background. It’s something I’ve been experimenting with, and I think I’ve finally cracked it, so I wanted to share my process.
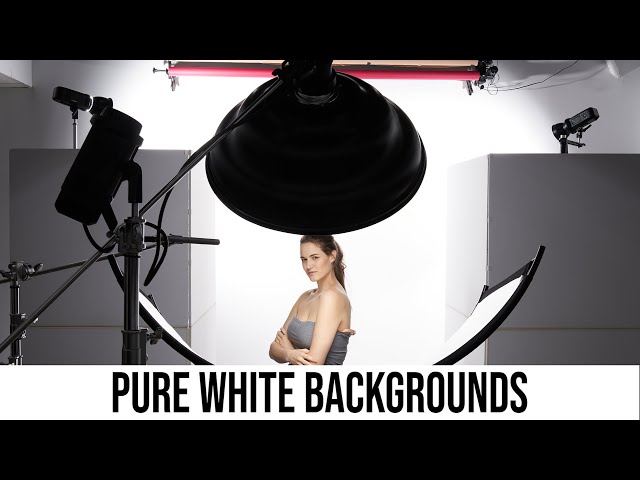
Setting Up
First things first, I grabbed a large sheet of white poster board. You can get these at any craft store, they’re super cheap. I taped it to a wall, making sure it curved down onto the floor – this creates a seamless backdrop, no lines or creases.
Next, I set up my lighting. Now, I don’t have fancy studio lights, so I just used what I had: two desk lamps with daylight bulbs. I positioned one on each side of the subject, slightly angled towards the backdrop to bounce the light and eliminate shadows.
- Poster board: Big, white, and cheap.
- Lamps: Two is better than one, with daylight bulbs.
- Position: Angle the lights for even coverage.
Taking the Shots
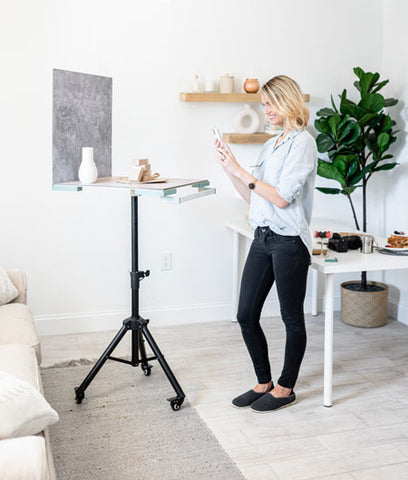
I placed my subject (a cute little succulent, in my case) on the curved part of the poster board. I made sure it was far enough from the back wall to avoid any harsh shadows.
Then, I grabbed my camera. I don’t have anything pro, just a regular point-and-shoot. If you have a DSLR, that’s great too.
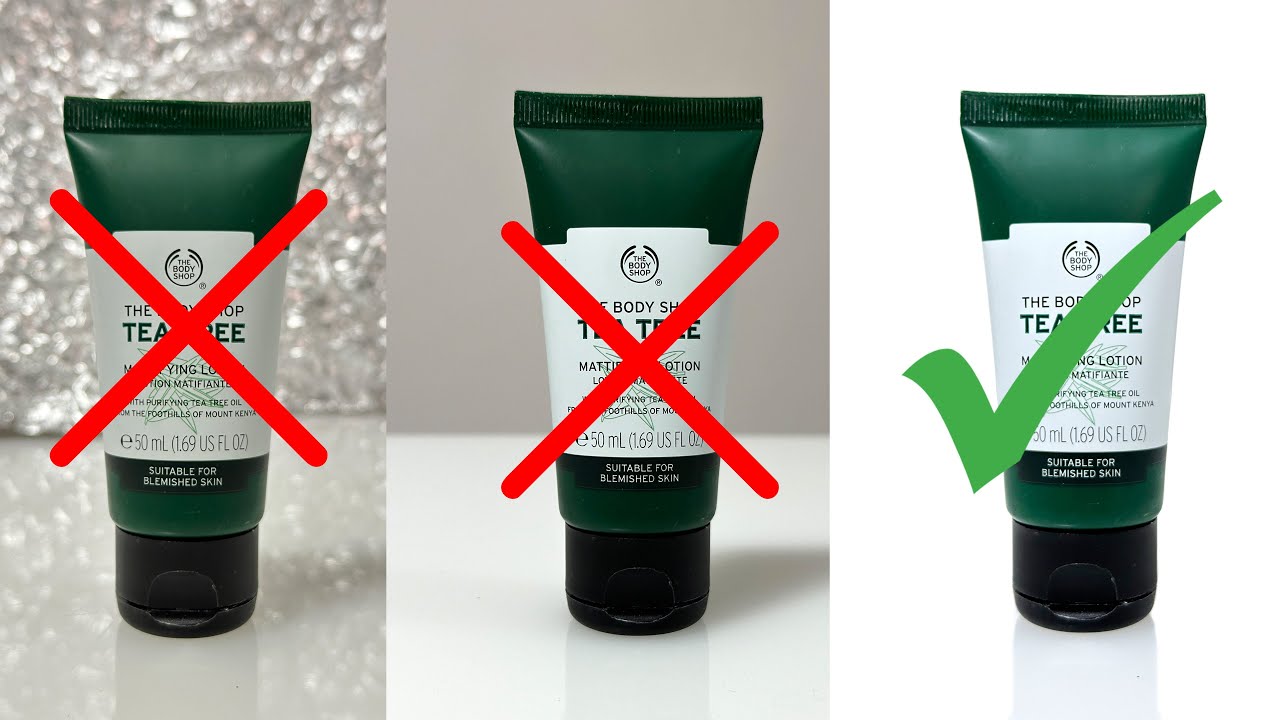
The trick is you have to set a bigger exposure compensation.
I first tested a +1 exposure compensation.
And then I tried a +2 exposure compensation, and I found the effect is much better!
I took a bunch of shots, moving the subject and the lights around slightly to see what worked best. It’s all about experimenting, really. Don’t be afraid to try different angles and positions.
Editing (Just a Touch)
After I uploaded the photos to my computer, I opened them up in a basic photo editor. I only did a few minor tweaks:
- Brightness/Contrast: I bumped up the brightness a bit more to make the white background truly pop.
- Cropping: I cropped out any unnecessary edges to keep the focus on the subject.
And that’s it! Honestly, the setup is the most important part. If you get the lighting and backdrop right, you won’t need to do much editing at all. I was pretty stoked with how clean and professional the photos turned out, even with my basic gear. Give it a try, and let me know how it goes!
")


")


