")
Alright, let’s talk about long exposure photos. I remember seeing these really cool shots online, you know, the ones with silky smooth water or car headlights streaking through the night. Looked complicated, but I figured I’d give it a shot myself.
Getting Started – What I Grabbed
First thing I realized pretty quick was that holding the camera steady for, like, 10 or 30 seconds just wasn’t gonna happen. My hands aren’t that steady. So, the absolute must-have piece of gear? A tripod. Seriously, don’t even bother trying without one. Your photos will just be a blurry mess.
I grabbed:
- My usual camera (it was a DSLR back then, but any camera with manual controls works).
- A sturdy tripod. Seriously, make sure it’s solid. Wind is not your friend here.
- A remote shutter release. This little thing helps stop you shaking the camera when you press the button. You can use the camera’s built-in timer too, like the 2-second delay, that works fine.
That was pretty much it for gear. Didn’t need fancy filters at first, just wanted to get the basics down.
Finding a Spot and Setting Up
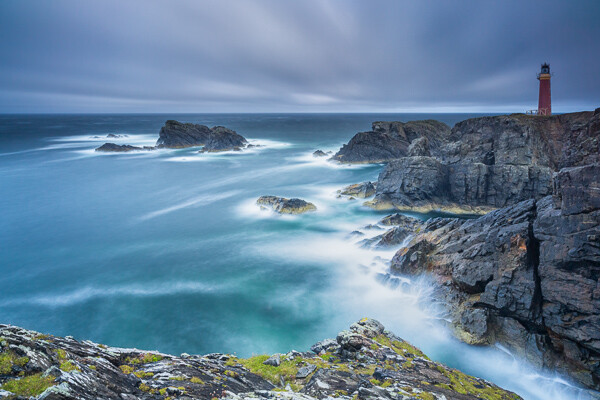
I decided to try shooting some water first, went down to a local river with a small waterfall. Found a spot where I could set up my tripod firmly on some rocks. Getting the tripod level and stable took a minute, you don’t want it tipping over mid-shot!
Then I mounted the camera. Switched the lens to manual focus, because autofocus can get confused in low light or with moving water. I focused on a specific rock or point that wasn’t moving.
Fiddling with Settings – The Trial and Error Part
Okay, this is where the real fun, and sometimes frustration, begins. You gotta take control away from the camera’s automatic brain.
Here’s what I did:
- Put the camera in Manual mode (M). This gives you full control over everything.
- Set the ISO really low. Like ISO 100 or 200. Low ISO means less noise (that grainy look) and lets you use a slower shutter speed without the picture getting totally washed out white.
- Chose an aperture (f-stop). I usually started somewhere in the middle, maybe f/8 or f/11. A smaller opening (higher f-number) means more of the scene is in focus, and it also helps force a longer shutter speed.
- Now, the main event: Shutter Speed. This is what you play with the most. I started by guessing, maybe 5 seconds. Took a test shot using my remote shutter release.
My first few tries? All over the place. One was way too dark, couldn’t see much. Another was too bright, the water was just a white blob. This is normal! You just have to adjust.
If it’s too dark, you need a longer shutter speed (let more light in). Try 10 seconds, then 15, maybe 30. If it’s too bright, you need a shorter shutter speed, or you could make the aperture even smaller (like f/16 or f/22), or maybe add a special dark filter called an ND filter if you have one (I didn’t at first).
Getting the Shot
I just kept taking pictures, checking the screen, and adjusting the shutter speed. Okay, 10 seconds was better, but still a bit dark. Let’s try 15 seconds. Ah, that’s looking good! The water had that nice smooth, misty look I wanted. The rocks were sharp because the camera was dead still on the tripod.
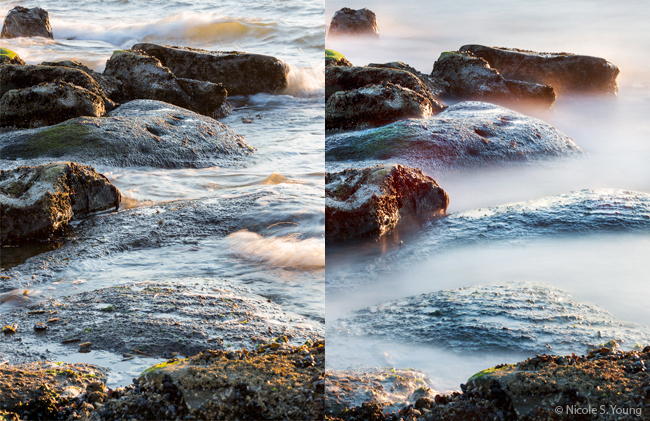
I tried a few different compositions, moving the tripod slightly. Tried different shutter speeds too, just to see the effect. A 5-second exposure looked different from a 30-second one. It’s all about experimenting to see what you like.
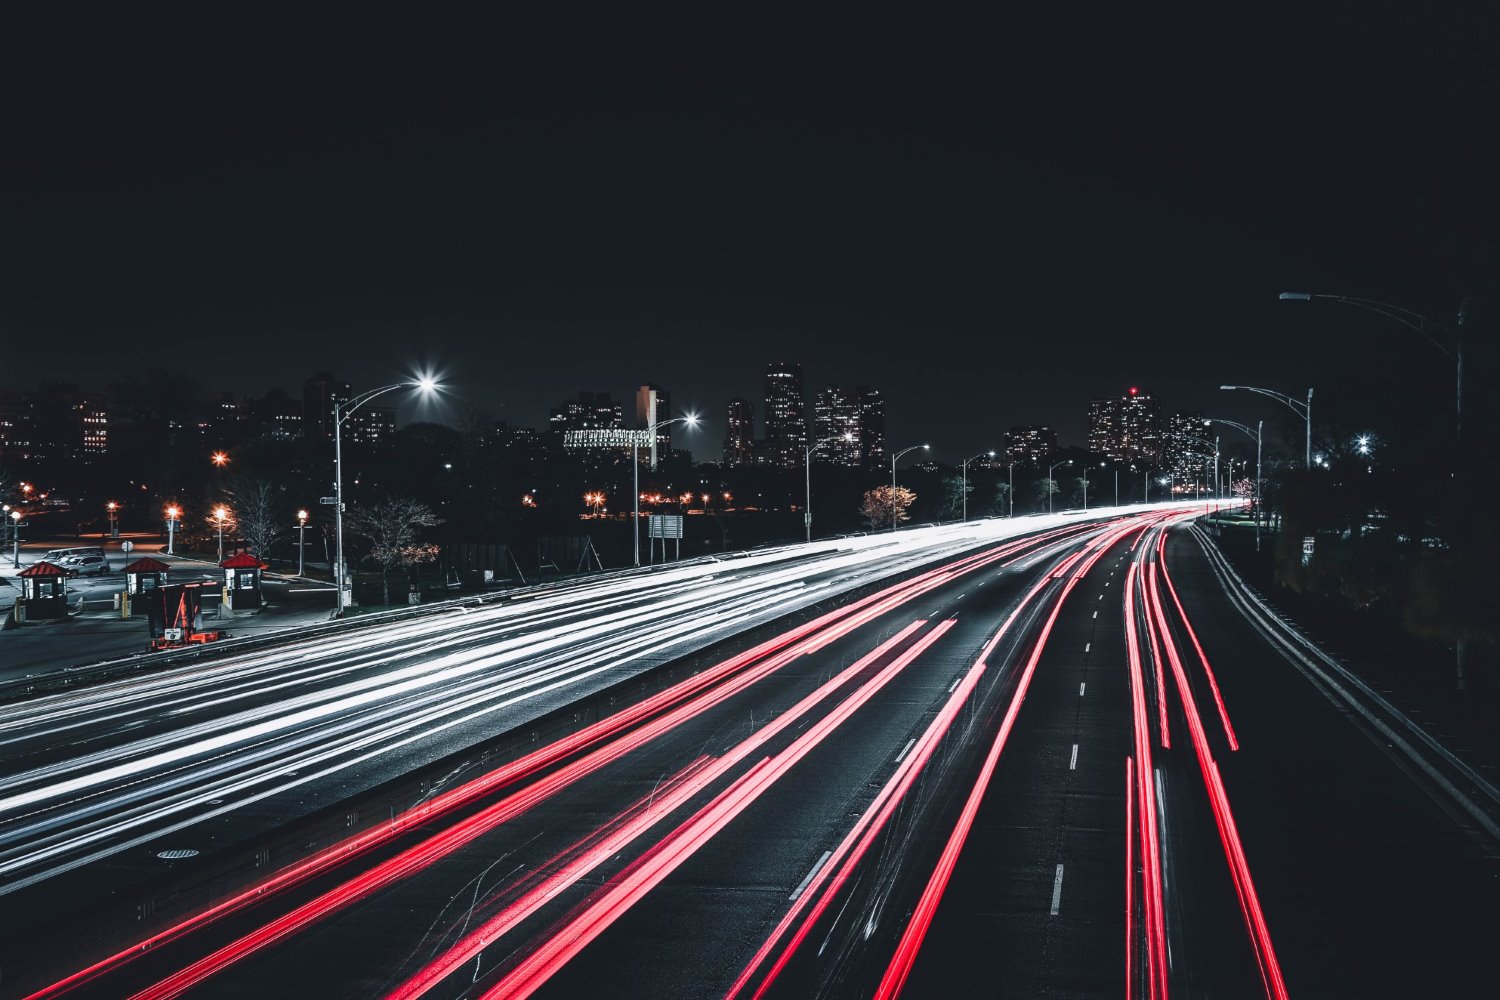
For night shots, like car light trails, it’s a similar process. Find a safe spot (like a bridge overlooking a road), set up the tripod, low ISO, maybe f/8 or so, and then experiment with shutter speeds like 10, 20, 30 seconds to capture those streaks of light as cars go by.
What I Learned
Looking back, the key things were:
- Tripod is essential. Non-negotiable.
- Manual mode is your friend. You need that control.
- Keep ISO low. Cleaner images, longer exposure possible.
- Use a timer or remote. Avoids camera shake when starting the shot.
- Experiment! Especially with shutter speed. Don’t be afraid to take lots of test shots. That’s how you learn.
So yeah, that’s basically how I got started with long exposures. It takes a bit of patience, fiddling with settings, but seeing those cool effects appear on your camera screen for the first time is pretty rewarding. Go out and try it!
")


")


