
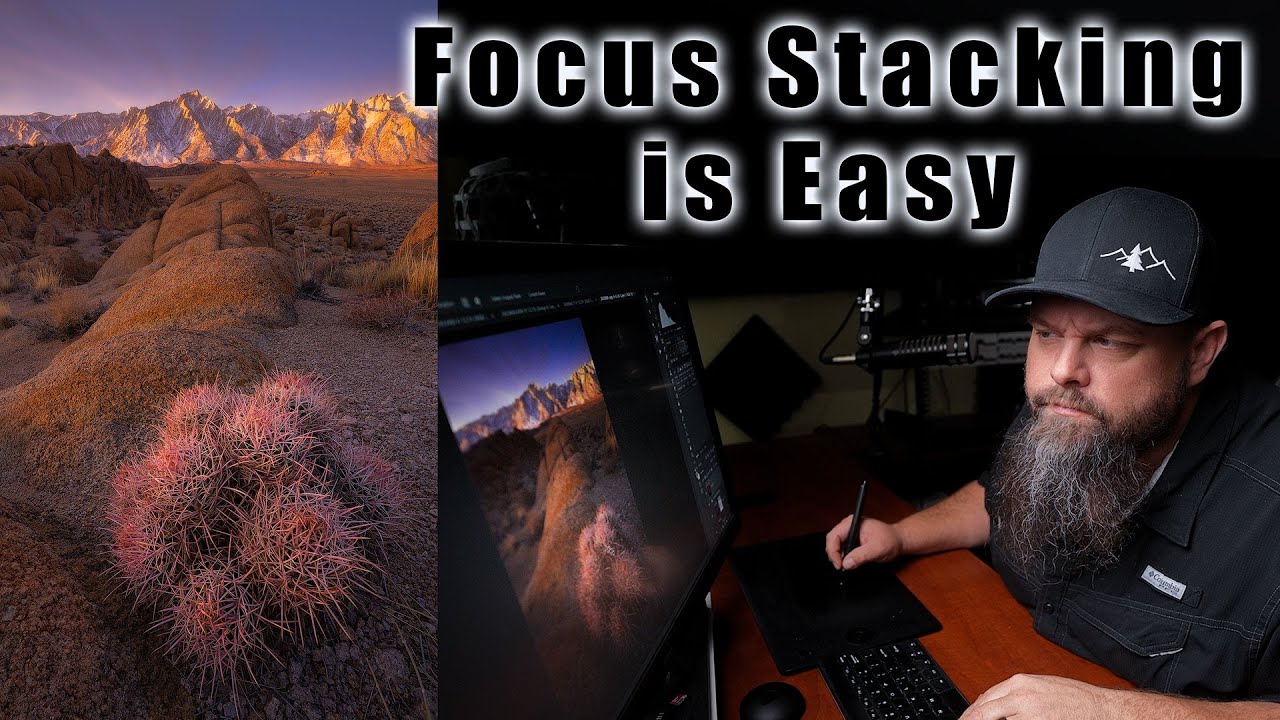
Today, I wanted to mess around with stacking photos, something I’d never really tried before. I figured it would be a cool way to combine multiple shots into one awesome image. So, I grabbed my camera and started snapping away.
Getting Started
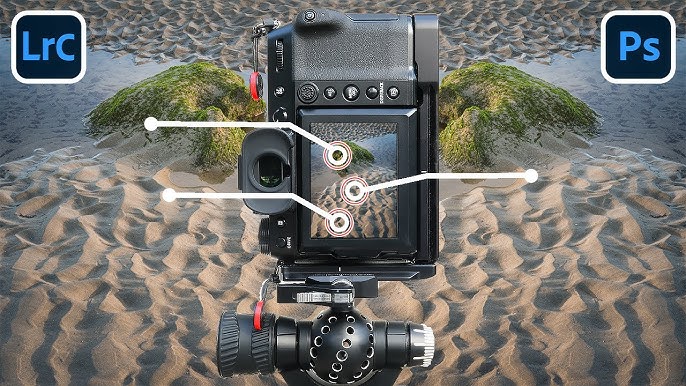
First things first, I needed some photos to work with. I decided to take a bunch of pictures of the same scene, changing the focus point in each shot. I used a tripod to make sure my camera stayed in the exact same spot – that’s super important for this to work.
- Set up the tripod: Found a nice, stable spot.
- Framed the shot: I chose a simple scene with some flowers in my backyard.
- Took the pictures: Click, click, click – I took about five or six, refocusing each time.
The Stacking Process
Next, I needed to get these photos onto my computer and figure out how to actually stack them. I’d heard Photoshop was the go-to tool for this, so I fired it up.
I did a quick search on how to stack images in photoshop. There are some complex way to use some “scripts” to load files and run auto-blend layers. But i just want a fast and easy way to stack the images, and don’t want to learn too much. So I loaded all photos into one file and create each photo as a layer.
Then, I selected all the layers in the Layers panel. Made sure they were all highlighted.
After that, I went to the Edit menu and chose “Auto-Blend Layers…”. A little box popped up, and I picked “Stack Images” and made sure “Seamless Tones and Colors” was checked. Then I hit “OK”.
The Result
Photoshop did its thing for a few seconds, and then – boom! – I had a single image where everything was magically in focus. It looked way better than any of the individual shots. The flowers in the front were sharp, and so were the ones in the back. Pretty neat!
I played around with some basic edits after that – bumped up the contrast a bit, tweaked the colors – just to make it look even nicer. Overall, I was really happy with how it turned out. It was way easier than I expected, and the result was awesome.
")


")


