
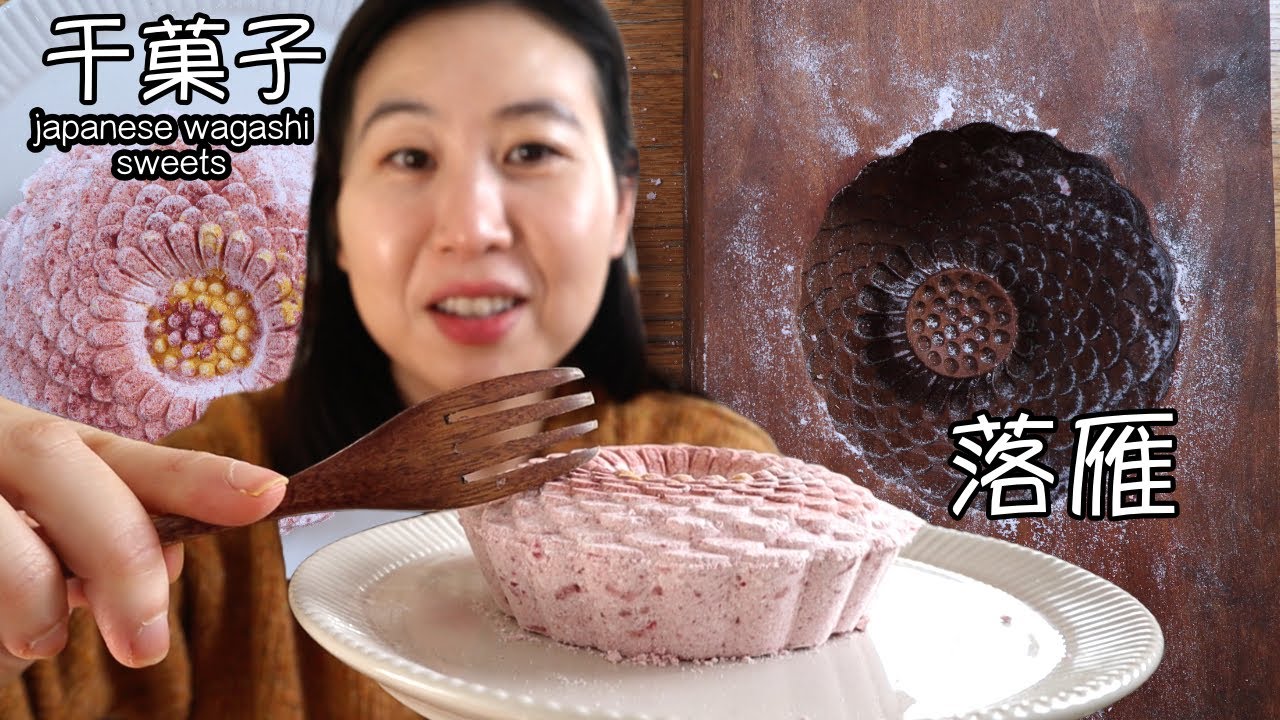
My Rakugan Experiment Begins
Yesterday I grabbed ingredients thinking this’ll be easy peasy. Rice flour? Check. Sugar? Double-check. Water? Obviously. Never made Japanese sweets before but how hard could shaping cute little blocks be?
The Gluey Disaster Phase
First attempt went like this: dumped everything into bowl together like pancake mix. Big mistake. Got this weird paste that stuck everywhere – fingers, counter, even the stupid spoon. Looked like kindergarten glue. Had to scrape it all off with a spatula while swearing.
Watching Grandma Wisdom
Found this granny’s video showing her wrinkled hands mixing powder slowly. Realized I was rushing like an idiot. Paused, took a breath, tried again. Sieved rice flour twice like she did – super important! Then added sugar water little by little, squishing with fingers until it felt like damp sand. Way better than my glue-monster version.
Changed mixing method:
- Sieve flour like crazy first
- Tiny water additions
- Knead until playdough texture
Mold Nightmares
Thought plastic sushi molds would work. Wrong. Stuck like concrete. Slapped that mess out angrily. Remembered my grandma’s wooden cookie press buried in the cupboard. Dusted it off, greased every crack with vegetable oil. Pressed dough firmly this time – Bam! Clean little squares popped right out.
Drying Drama
First batch dried near the window. Summer humidity turned them soggy. Total waste. Threw ’em in the trash crying. Second batch went into oven with only pilot light overnight. Checked next morning – perfectly firm without cracks! Did happy dance in pajamas.
Final Takeaways
Keys to non-rage quit rakugan:
- Patience mixing beats speedy disasters
- Wooden molds + oil = your best friends
- Overnight drying beats humidity suicide
Made four batches total. Last one actually looked Instagram-worthy. Still got sugar crust under my nails though. Worth it.


")


