
My First Real Go at Long Exposure Stuff
Alright, so I finally decided to actually do some long exposure photos. I’ve seen those cool shots with the blurry water and light trails forever, and figured it was time I stopped just looking and actually tried it myself. Seemed like a fun thing to mess around with.
First step was digging out the gear. Found my camera, obviously. Then hunted down my tripod – gotta admit, it doesn’t see the light of day too often, but knew it was essential for this. Charged up a couple of batteries just in case, because I heard this can drain them kinda quick.
Finding the Right Spot and Time
I decided to head down to the riverfront area in town. Thought the moving water and maybe some bridge lights would give me something interesting to shoot. Went down there late afternoon, hoping to catch the light changing as it got darker. Seemed like the best plan.
Setting Up and Fumbling Around
Got to the spot, found a decent place near the water’s edge. Unpacked the tripod, extended the legs, and mounted the camera. Making sure it was level took a few tries. Then came the settings. Switched the camera over to Manual mode – felt like I needed full control here. Started by trying to guess some settings. Dropped the ISO way down, like to 100. Closed the aperture up a bit, maybe f/8 or f/11, I forget exactly. Then, the main event: the shutter speed. I started dialing it slower… 1 second, 5 seconds, 10 seconds.
Taking the Shots (Trial and Error!)
Okay, first few shots. Took a 5-second exposure of the water. Looked… okay? A bit blurry, but not quite that smooth look I wanted. So, I went longer. Tried 15 seconds. Better! The water started looking silky. Tried 30 seconds. Now we’re talking! It really smoothed everything out. The key really is keeping that camera perfectly still. Even a tiny bump makes it useless.
I messed around with this for a while.
- Tried focusing on different points. Focusing in the dim light got tricky, switched to manual focus and aimed for something bright-ish.
- Adjusted the aperture – opening it up made things brighter but needed a faster shutter, closing it down let me keep the shutter open longer.
- Played with the shutter speed a lot, seeing how different lengths changed the look of the water and the clouds moving overhead.
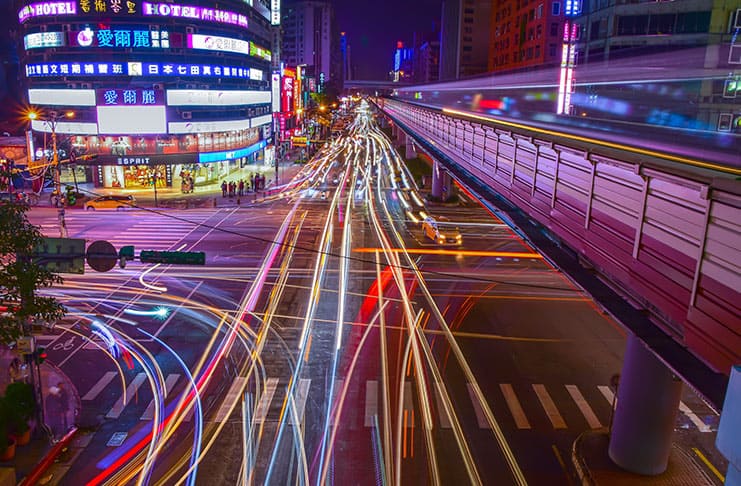
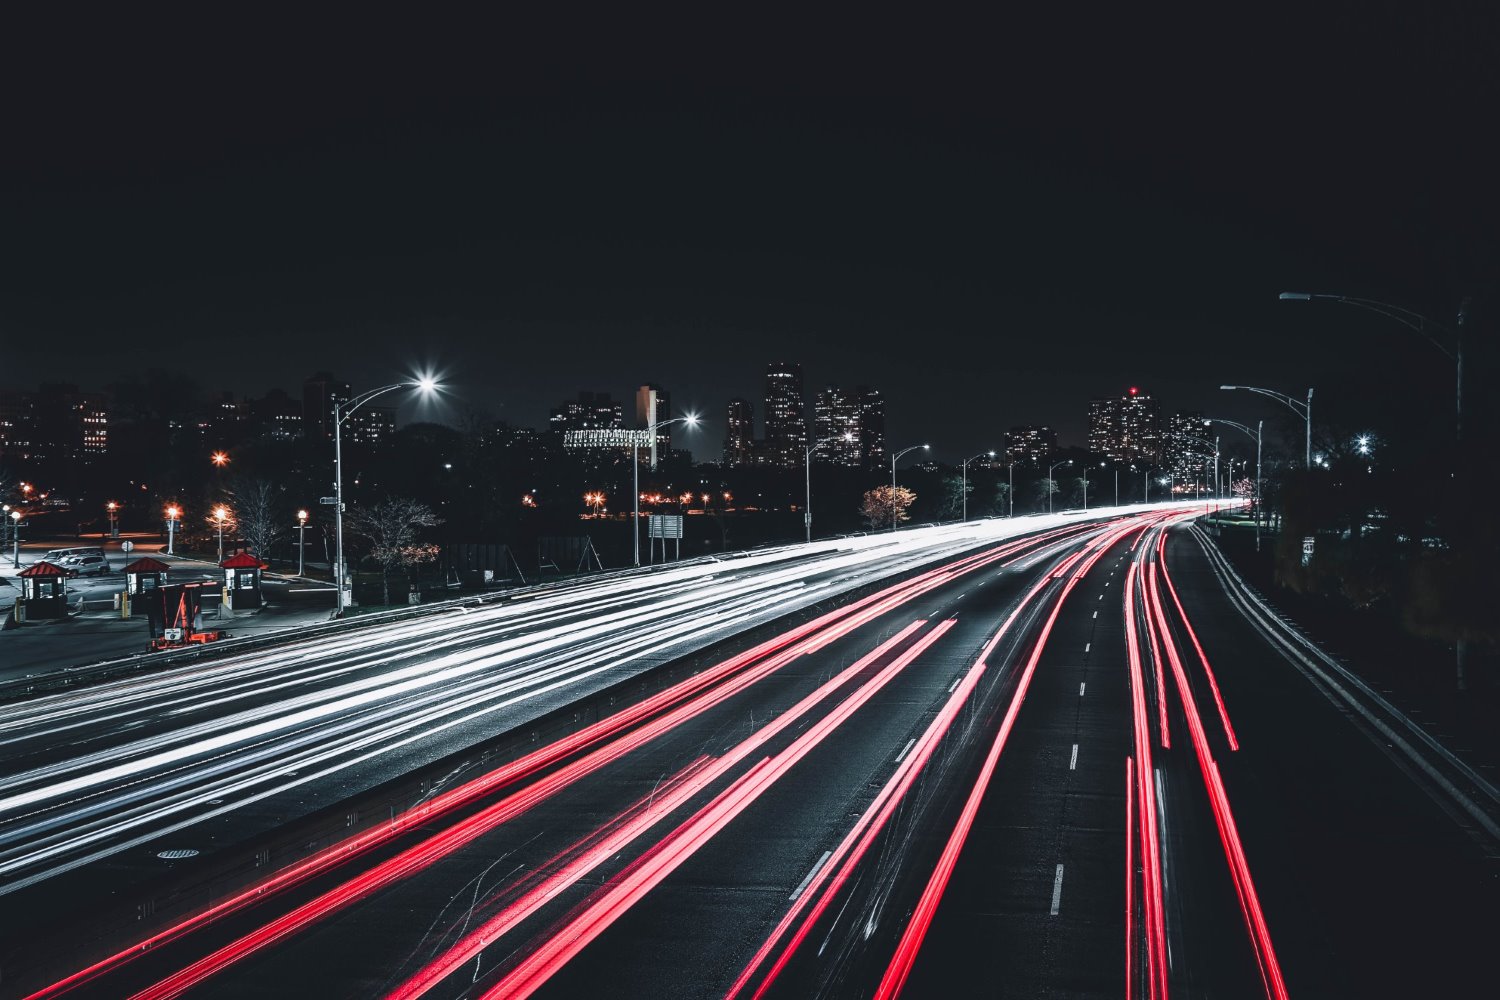
As it got darker, car lights started appearing on the bridge nearby. Pointed the camera that way. Set a 20-second exposure. Watched the cars drive through the frame. Checked the picture – cool red and white streaks! Did that a few more times, framing it differently.
What I Learned and The Results
It took a fair bit of patience. Standing there, waiting for the shutter to close, hoping I didn’t nudge the tripod. Sometimes the exposure was just totally white because I left it open too long for the light, other times too dark. But after maybe an hour of experimenting, checking the screen, tweaking settings, and shooting again, I started getting shots I actually liked.
Got some really smooth water effects, captured the movement of the clouds, and got those classic car light trails. It felt pretty good seeing the effect work right there on the camera display after waiting for the exposure. Definitely makes you think about time and movement differently when you’re shooting this way. Pretty satisfying process overall, even with all the fumbling.
")


")


