
Alright, so I had this SD card jammed full of pictures the other day, mostly junk shots and duplicates from a weekend trip. Needed to clear it out. It’s usually pretty straightforward, but sometimes things can get fiddly.

Using the Computer – My Go-To Way
Most times, I just pull the SD card right out of my camera, or phone, or whatever device it’s in. You gotta be gentle, don’t just yank it. Then, I grab my little USB adapter thing, like a card reader. Some computers have a slot built-in, mine doesn’t, so adapter it is.
I stick the SD card into the adapter, then plug the adapter into a USB port on my computer. Wait a second, and usually, the computer recognizes it like a USB drive. It pops up, you know? Sometimes you gotta go looking for it in ‘My Computer’ or ‘This PC’ or whatever your machine calls it.
Once I find the drive, I double-click to open it up. Usually, there’s a folder in there, often called ‘DCIM’ or something like that. That’s where the pictures live. I go into that folder.
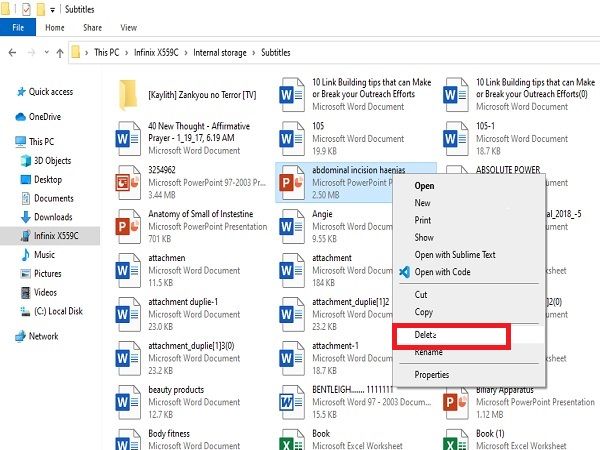
Then I just look through the pictures. I select the ones I want gone. You can click one, or hold down the ‘Ctrl’ key (or ‘Cmd’ on a Mac, I think) and click a bunch of different ones. Or hold ‘Shift’ to select a whole block of them. Once I’ve got them selected, I just right-click on one of the selected pictures and hit ‘Delete’. Poof. They go to the Recycle Bin or Trash.
Important bit here: They’re not really gone gone yet. They’re just sitting in the trash. So, I always make sure to empty the Recycle Bin afterwards. Right-click the Bin icon, choose ‘Empty Recycle Bin’. Then they’re properly deleted.
Doing it Straight from the Camera/Device
Sometimes, if I’m just out and about and take a really bad shot, I’ll delete it right there on the camera. Saves space, you know?
How you do this really depends on your camera or phone. Usually, you view the picture you want to delete. Then you gotta hit a button, often it looks like a little trash can, or maybe you have to press a ‘Menu’ button. You poke around in the options, and there’s usually a ‘Delete’ or ‘Erase’ option. It might ask if you want to delete just this one picture, or maybe multiple pictures, or even all pictures.
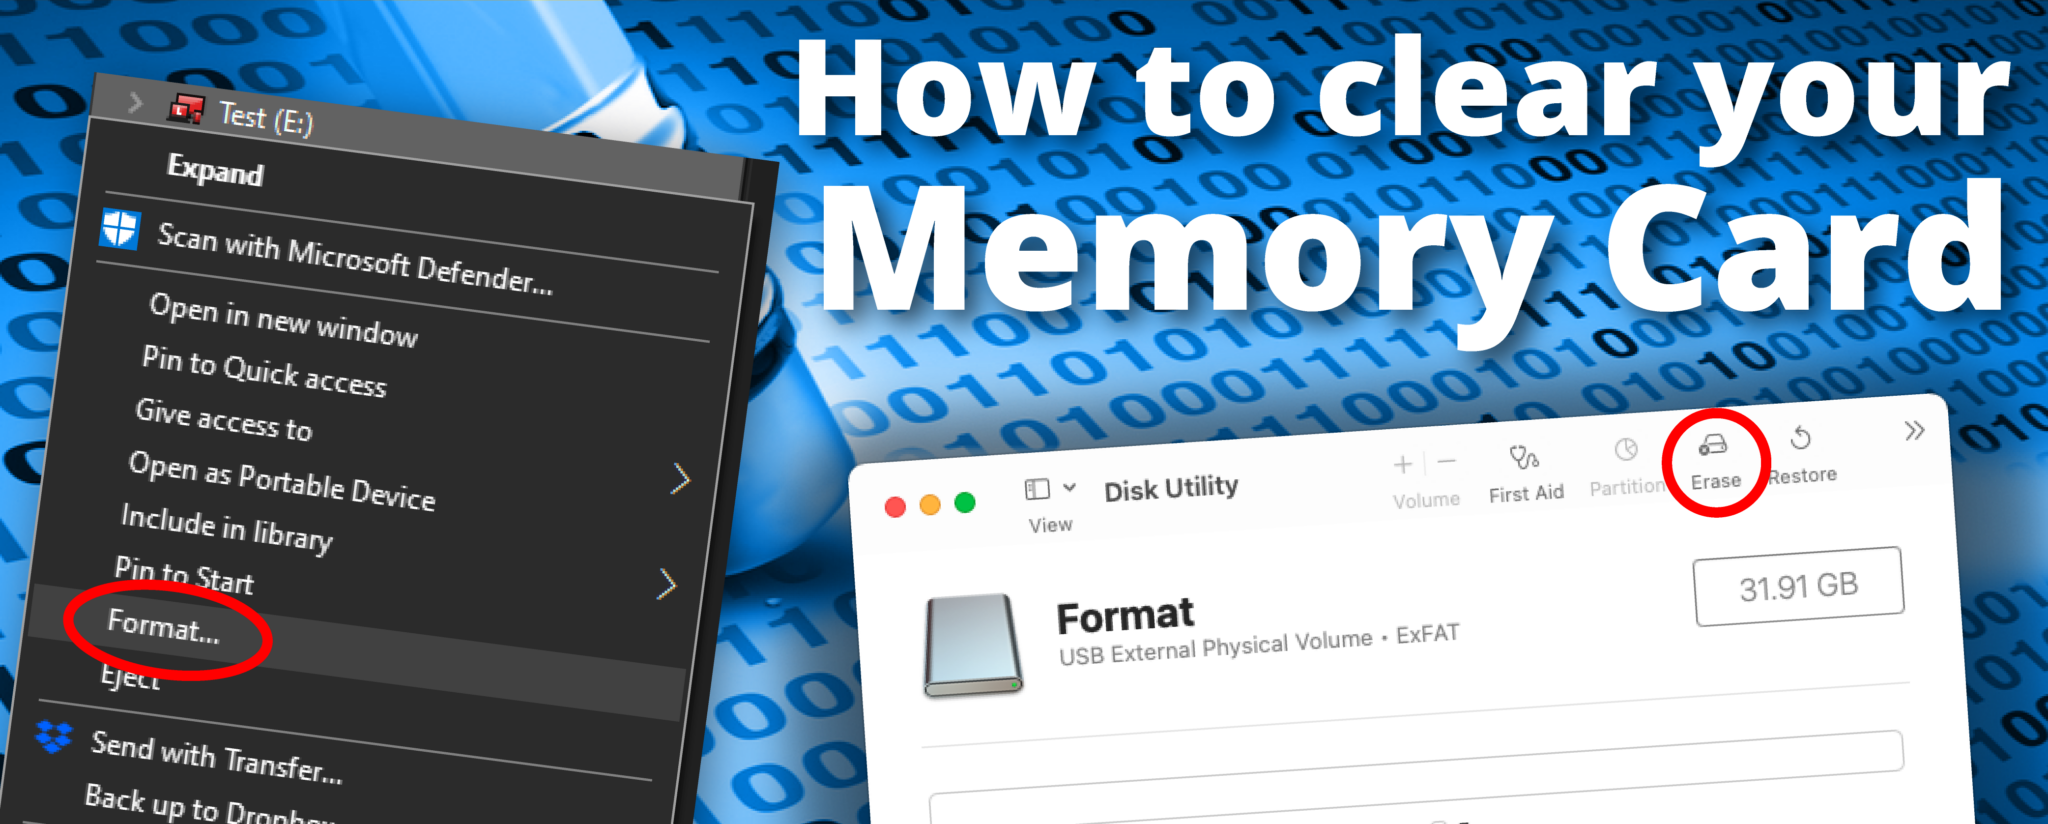
There’s often a ‘Format’ option in the camera’s main settings menu too. Be super careful with ‘Format’! Formatting wipes the entire card clean. Everything. Pictures, videos, everything. It’s like starting fresh. Good if you want to clear it completely, but disastrous if you choose it by accident. I only use ‘Format’ when I’m absolutely sure I’ve saved everything I need off the card first.
Why Bother? Space and a Little Story
So why do I clear them? Mostly just to make space. These cards fill up fast, especially if you shoot video or take loads of pictures like I do. But it also feels… cleaner? Like tidying up a digital drawer.
It sounds simple, deleting files. But man, I learned the hard way once. Years ago, I had two identical looking SD cards. One had photos from a family wedding, the other had random stuff I didn’t care about. Guess which one I stuck in the computer and formatted without double checking? Yeah. Lost the wedding photos. Took ages to get copies from relatives, and some were just gone forever. I felt like such an idiot. Since then, I always, always double-check which card I’m working on before I hit delete or format. These little plastic things hold memories, you know? Easy to delete, hard to get back. Makes you think about backups… which I’m still not great at, if I’m honest. Just gotta be more careful, I guess.
Anyway, that’s how I handle deleting pictures off my SD cards. Usually the computer way feels safest for me, lets me see exactly what I’m deleting on a big screen. Just gotta pay attention.
")


")


