
Okay, so I finally decided to take that trip to Morocco I’d been dreaming about. First big hurdle? The tourist visa. Let me tell you, it wasn’t as simple as booking a flight, but totally doable. Here’s how I went about it, step by step:
Figuring Out What I Needed
First things first, I dug into the requirements. I knew every country is different, so I couldn’t just assume anything. I spent a good chunk of time on the Moroccan embassy’s website (for my country, of course – yours might be different). It’s important find the official one, not some random travel site.
Gathering All the Documents
This was the most time-consuming part, honestly. Here’s what I ended up needing:
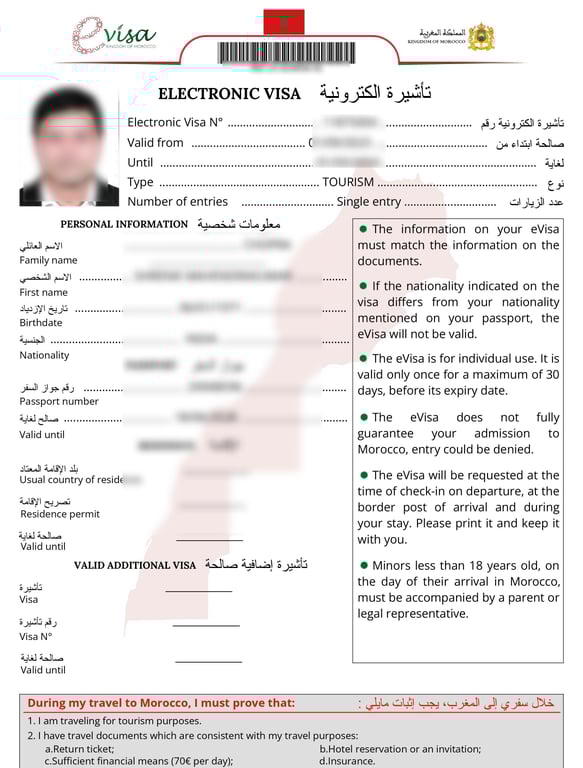
- My passport: Obviously, right? And it needed to be valid for at least six months after my planned trip. I double-checked, triple-checked, and then checked again.
- Passport photos: I got these done at a local pharmacy that does passport photos. Make sure you get the right size – they usually know the requirements.
- The application form: I downloaded this from the embassy website. I filled it out super carefully, no typos or mistakes.
- Proof of travel arrangements: This meant my flight itinerary – both arrival and departure. I booked a round-trip ticket to show my intention to leave.
- Proof of accommodation: I booked a hotel for the first few nights and printed out the confirmation.
- Proof of sufficient funds: This was a bit tricky. I gathered my recent bank statements (like, the last three months) to show I could afford the trip.
- Travel insurance: I always get travel insurance, and for the visa, I made sure it covered medical emergencies and repatriation. I printed out the policy details.
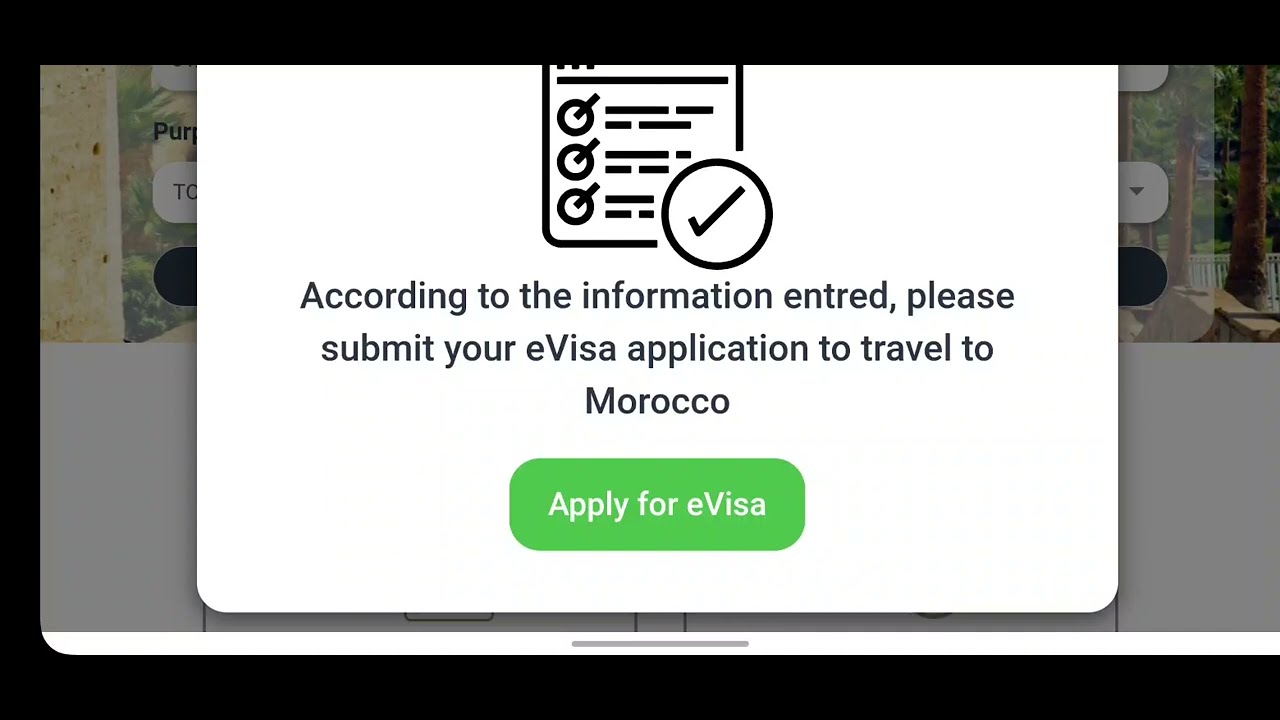
Submitting the Application
Once I had EVERYTHING (and I mean everything – I made a checklist!), I checked the embassy’s website again to see how to submit it. Some embassies let you mail it in, others require an in-person appointment. For me, I had to book an appointment online. I picked a date and time, and showed up on time, all documents in hand.
The Waiting Game
After submitting, it was just a waiting game. The embassy website gave me an estimated processing time, but I tried not to obsessively check my email every five minutes. It took about two weeks for me, but it can vary.
Getting the Visa!
Finally, I got the email! My visa was approved! I had to go back to the embassy to pick up my passport, and there it was, the beautiful Moroccan visa sticker. Success!
It felt like a lot of work, but being organized and following the instructions exactly really helped. Now, I’m all set for my Moroccan adventure!


")


