
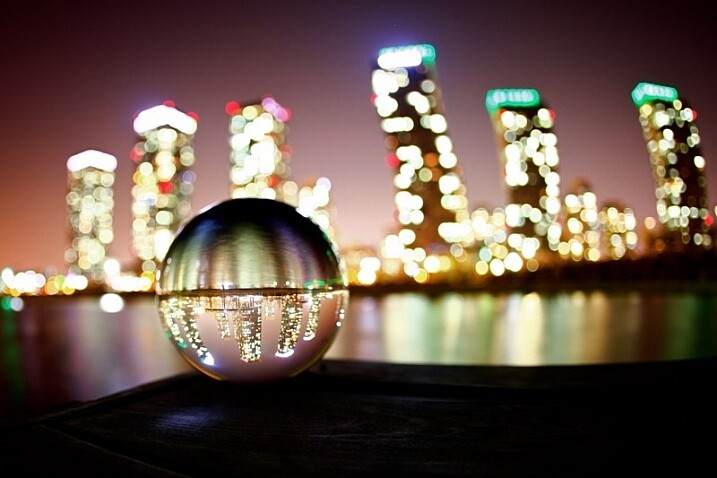
Alright, so I decided to try out this night crystal ball photography thing I’d seen floating around. Looked kinda neat, you know, the city lights all flipped upside down inside a glass ball. Figured, how hard could it be?
Getting Started
First off, I needed a crystal ball. Just got one online, nothing fancy, maybe like 80mm? Big enough to hold, small enough not to be a total pain. Already had my old DSLR camera and a tripod, which, trust me, you definitely need for night shots. Handholding this stuff in the dark? Forget about it.
So, gear gathered:
- Camera (my trusty old one)
- Tripod (the shaky one, but it works)
- The crystal ball
- A microfiber cloth (important later)
Finding the Spot
Next step was finding a location. I needed lights, obviously. Went downtown one evening, looking for a spot with some decent background, maybe some colorful signs or building lights. Found this overlook spot, not too crowded, with a good view of the city skyline across the river. Perfect.
The Setup and Struggle
Okay, here’s where it got fiddly. I set up the tripod first. Then, placing the crystal ball. I tried balancing it on a ledge, but it kept wanting to roll away. Seriously annoying. Ended up just holding it carefully in my hand for some shots, and using its little glass stand on a flat part of the wall for others. Needed that cloth right away because fingerprints were all over it instantly.
Camera settings… well, that was trial and error. Switched to manual focus, ’cause autofocus just gets confused by the ball and the background. Tried focusing on the tiny image inside the ball. This was way harder than it looked, especially in the dark. Everything’s upside down and backward in the reflection, makes your brain hurt a bit.
I cranked up the ISO a bit, not too much or it gets noisy. Opened the aperture pretty wide to let more light in, like f/4 or something? Then played with the shutter speed. Too fast, and it’s too dark. Too slow, and any tiny wobble makes it blurry, even on the tripod. Took a bunch of shots, adjusting things each time. Felt like I took a hundred pictures.
Getting the Shot (Finally)
Keeping the ball clean was a constant battle. Every time I touched it, smudge city. Wipe, shoot, check, wipe again. Also had to watch out for weird reflections of myself or my camera in the glass. Had to angle it just right.
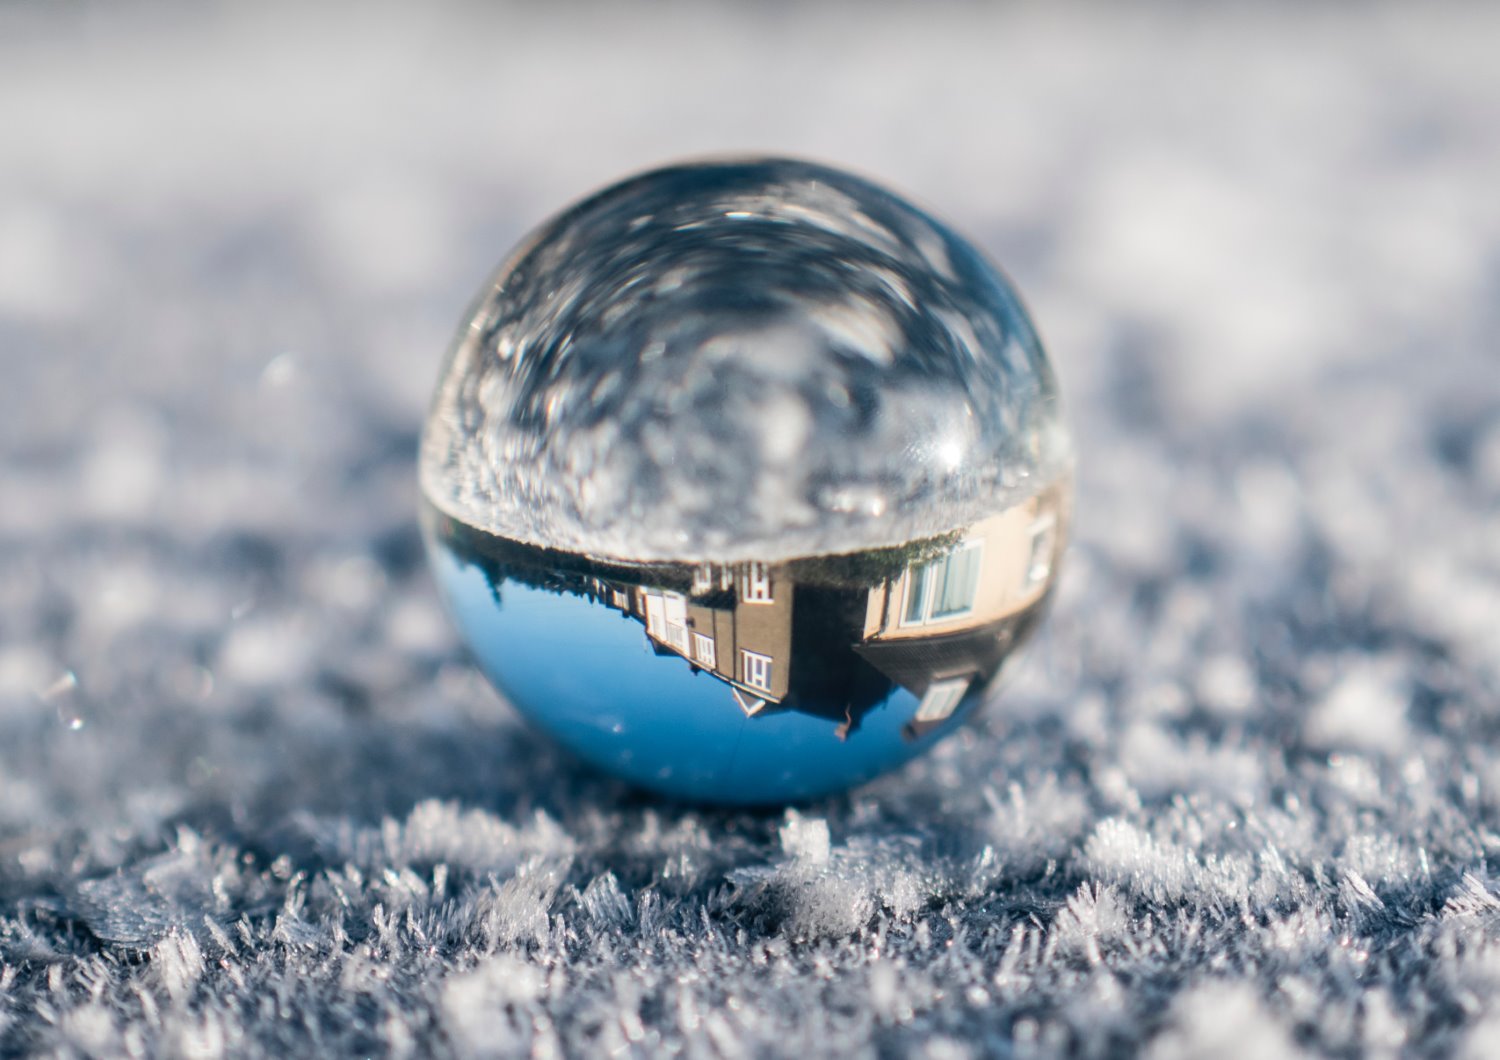
After a lot of messing around, checking the little screen on the camera, deleting blurry ones, I started getting a few that looked decent. The city lights trapped in the sphere, all sharp and upside down, with the background nicely blurred out. It actually looked pretty cool.
It wasn’t exactly a walk in the park. Took patience, lots of fiddling, and constant wiping of that glass ball. But seeing those few good shots made it feel worth it. Kinda satisfying to capture that weird little upside-down world.
")


")


