")
My Bánh Gai Adventure – Or How I Spent a Whole Day in the Kitchen
So, a bunch of you have been asking me about making bánh gai. Let me tell you straight up, it’s not just some “mix this, steam that” kind of deal. Oh no. It’s a whole production, a real commitment. I decided to actually try making them last weekend. I thought, “Hey, how tough can these little cakes be?” Yeah, famous last words, as usual.
First thing, getting all the stuff together. The ingredients.
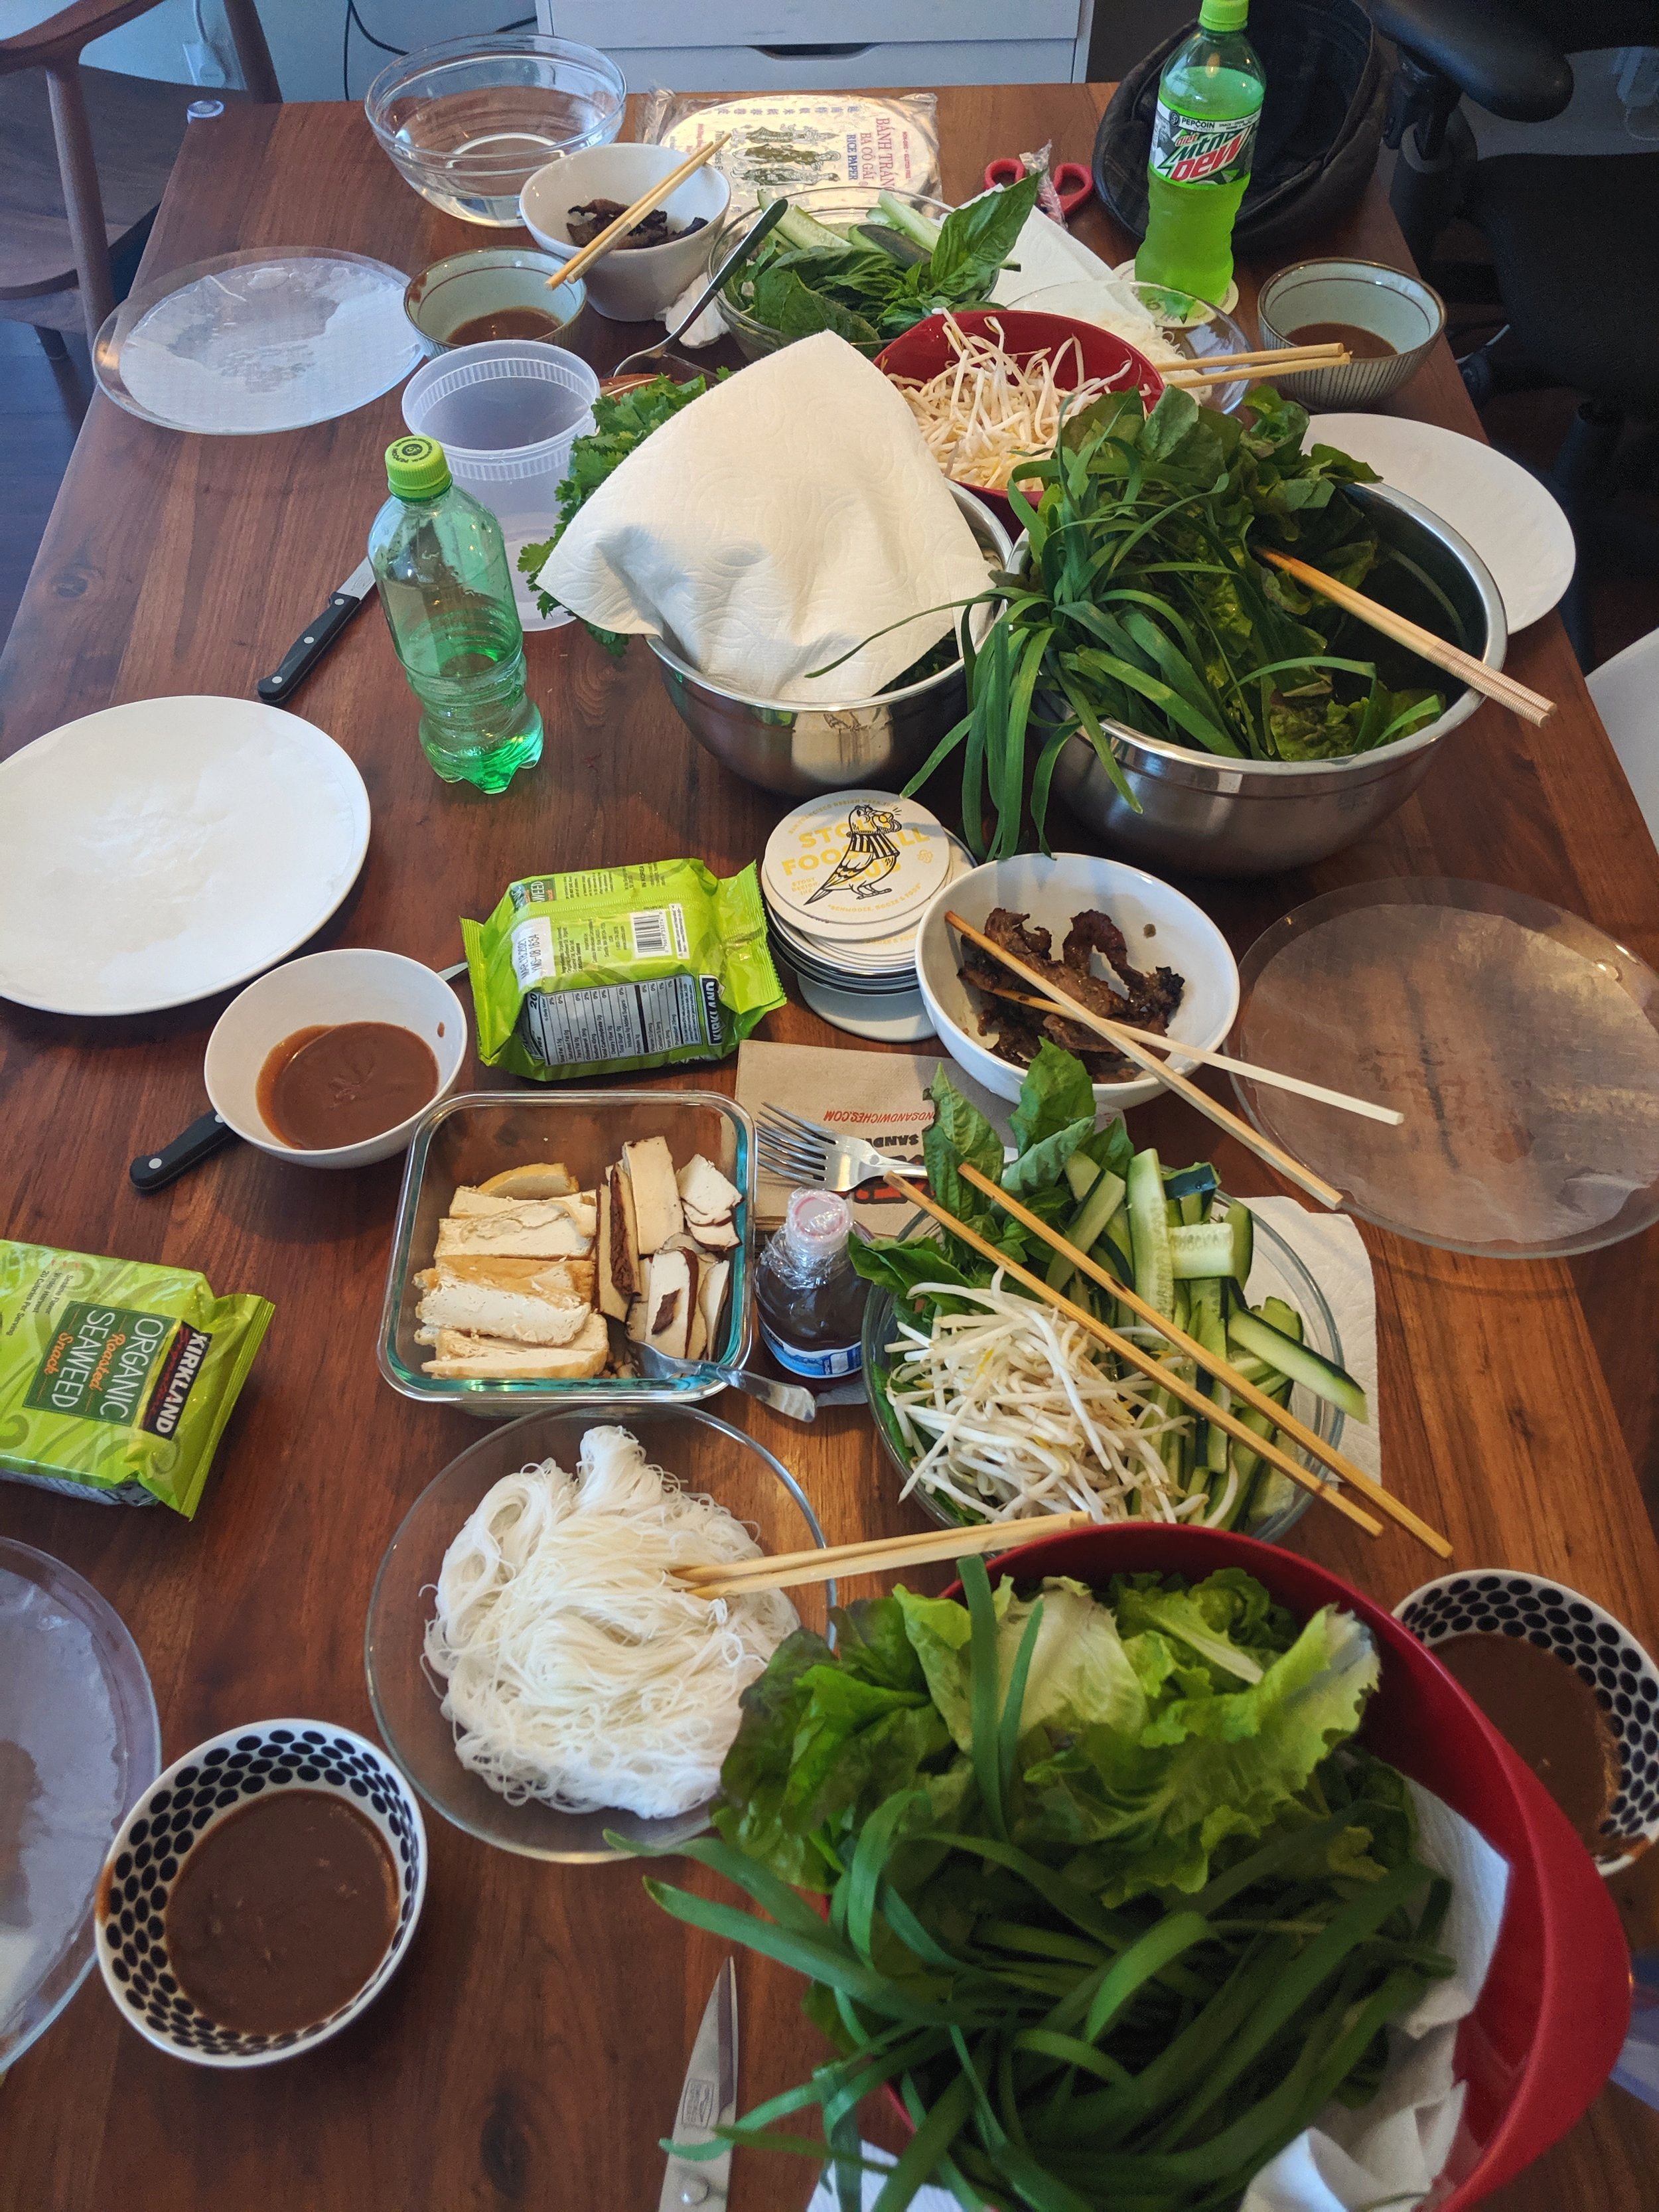
You’d think finding gai leaves, the main star, would be straightforward. Nope. I seriously had to drag myself to three different Asian markets. Three! And then the glutinous rice flour – you can’t just grab any old bag; you need the good kind, the sticky kind. Don’t even get me started on finding decent banana leaves that weren’t already ripped to shreds or brittle. It felt more like I was on a scavenger hunt than prepping for a recipe. I swear, sometimes I think the folks writing these recipes have a secret stash or a magic garden right in their backyard.
Then comes the “super fun” part: wrestling with those gai leaves.
You can’t just chuck them into the mix. Nah. First, I had to wash them, meticulously. Then boil them until they were practically mush. And after that? The recipe said to pound ’em. Or grind ’em. I went with pounding. My arm was aching for a good day afterwards. Online, all those videos make it look so smooth and easy. Total lies. It’s messy, it’s a real chore, and you end up with this dark, almost black, green paste. At that point, I was seriously looking up my local Vietnamese restaurant’s number, thinking about just ordering some.
Making the Dough and the Filling – This is where my patience really got tested.
Mixing that gai leaf paste with the glutinous rice flour… it’s a sticky, messy affair. You add a bit of water, some sugar, and then you just knead, and knead, and knead. My kitchen counter looked like a disaster zone. And the filling! Oh boy. The mung beans had to be soaked for hours, then steamed until they were super soft, then mashed up. “Make it smooth,” the instructions chirped. Mine was, let’s say, “rustic.” Then there’s the candied pork fat. Yes, you heard that right. Pork fat. Little cubes of it, blanched, then simmered slowly in sugar until they turn kind of translucent. Sounds a bit out there, I know, but it’s key for the authentic taste. But man, it’s another pan, another step, more stirring. I felt like I was running a small food factory, not just whipping up a snack.
- Soaked those darn mung beans for what felt like forever.
- Steamed them until they were practically begging for mercy.
- Mashed them with a fork, trying my best to get all the lumps out. Mostly got there.
- Then, I tackled the pork fat. Chopping tiny, slippery cubes of fat is not as easy as it sounds, let me tell you.
Assembly and Wrapping – The Part Where My “Artistic Skills” (or lack thereof) Shone.
Alright, so I had my dark, almost black dough, and my yellowish, sweet filling. Now, the grand finale of putting them together. I’d take a blob of dough, flatten it out in my palm, spoon in some filling, and then try to seal it all up neatly. Sounds simple, right? Wrong. Trying to make them look like those perfectly shaped, glossy bánh gai you see in the shops? Forget about it. Mine were… let’s call them “uniquely shaped.” Or maybe “charmingly rustic.” Yeah, that’s a good word for them.
And the banana leaves! You have to soften them first, usually by passing them over a flame or dipping them in hot water. Then wipe them clean, maybe rub a tiny bit of oil on them so the cakes don’t stick. Then comes the wrapping. It’s like trying to do origami, but with a sticky, soft cake and a big, floppy leaf. Some of my wrapped bundles looked fairly decent; others looked like they’d already been through a rough day. I just crossed my fingers and hoped they’d hold their shape during steaming.
Finally, Steaming and the Moment of Truth. The Payoff?
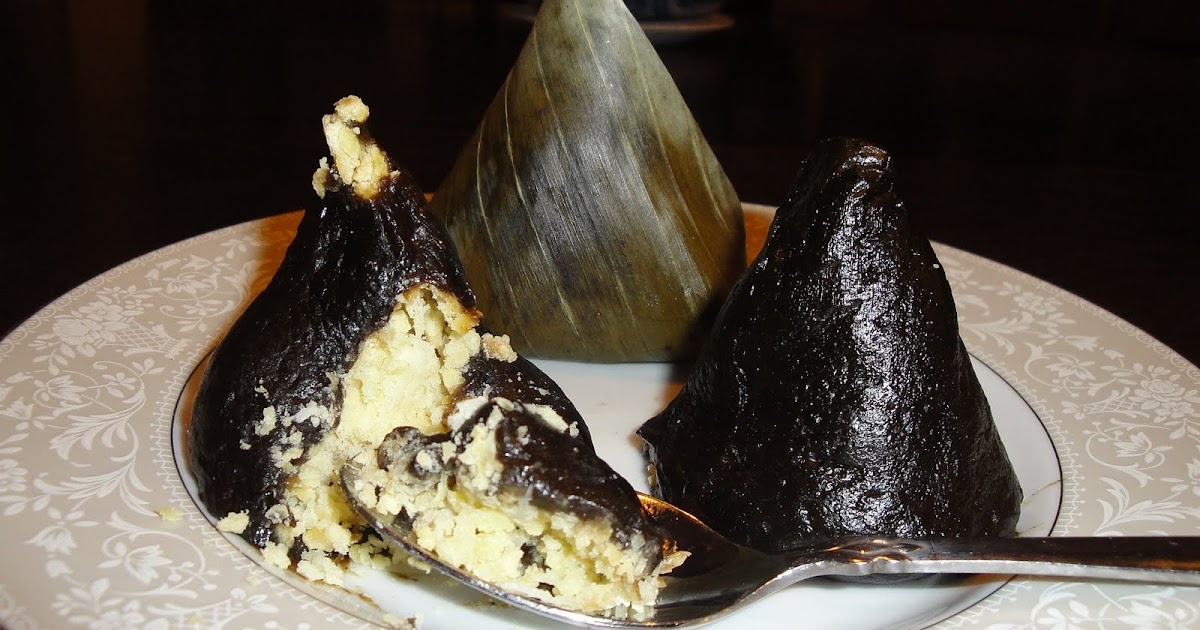
I carefully stacked all my little banana leaf parcels into the steamer. Set the timer. And waited. This is usually the part where you survey the kitchen, which now looks like a bomb went off, and start the cleanup. After what felt like an age, the timer dinged. They were done. I nervously unwrapped the first one… and you know what? The smell was pretty amazing, I have to admit. That distinctive, slightly herbal aroma. The color was that deep, dark, characteristic black-green. The texture? Actually, not half bad! Chewy, sticky, just like it should be. The sweet, rich filling was a really nice contrast.
Were they perfect, bakery-quality bánh gai? Heck no. Not even close. Were they worth all that effort, all that mess? Well, I made them. I can say I conquered the bánh gai. My family actually ate them, which was a surprise and a relief. But honestly? Next time, I think I’ll just buy them. Seriously. Unless I somehow manage to forget just how much work this whole process was. It’s kind of like they say about childbirth, right? You supposedly forget the pain. We’ll see. Or maybe I’m just a sucker for punishment when it comes to these old-school, traditional recipes. It’s a whole damn project, not just a quick bake. So, if you’re thinking of trying, you’ve been warned!


