
Alright, let’s talk about that black and white portrait session I did recently. I’m no pro, just a hobbyist messing around, but I learned a few things and thought I’d share my process.
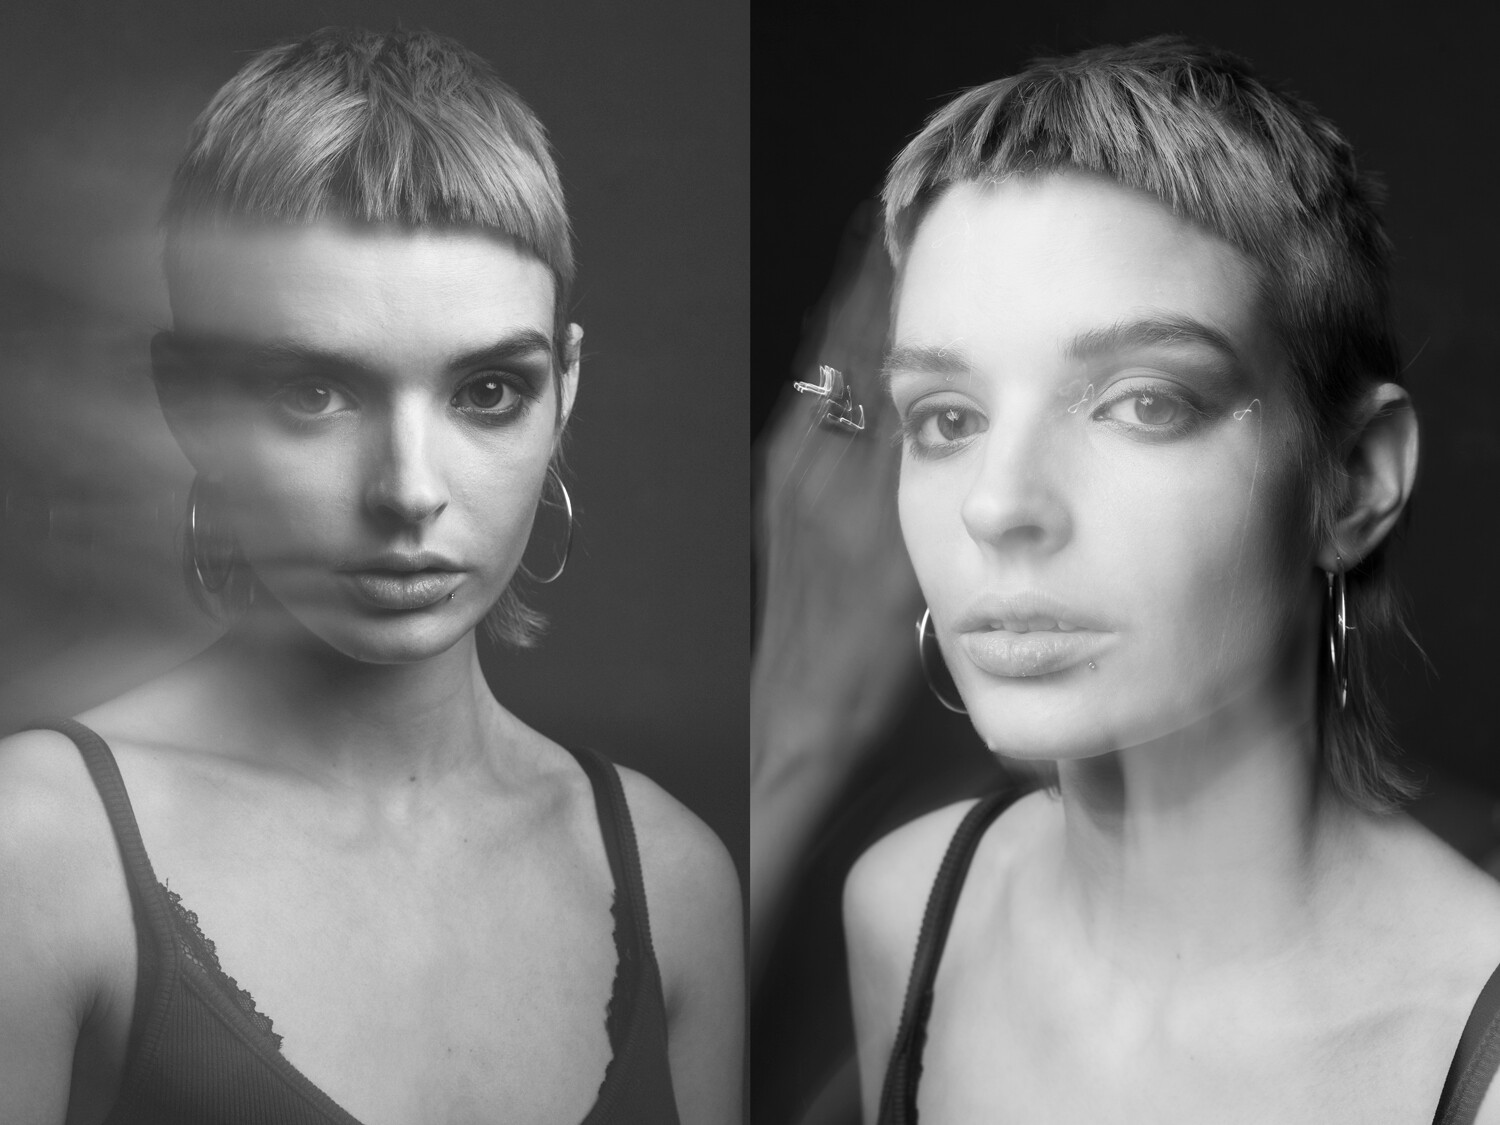
So, the idea came about because I was scrolling through some old photography books and got inspired by some classic black and white portraits. I wanted to try and recreate that look – you know, timeless, dramatic, the works.
- Planning & Gear: First things first, I needed a model. Luckily, my sister was willing to sit for me. I told her to wear something simple, no crazy patterns or logos, just a plain black top. As for gear, I used my trusty old DSLR, a 50mm lens (my go-to for portraits), and a speedlight. Nothing fancy.
- Lighting Setup: This is where things got interesting. I wanted to create a high-contrast look, so I went for a simple one-light setup. I placed the speedlight to the side of my sister, slightly in front of her, and bounced it off a white reflector to soften the light a little. I fiddled around with the power settings until I got the shadows I wanted.
- Camera Settings: Here’s the thing – I wanted a shallow depth of field to blur out the background, so I opened up the aperture to around f/2.8. Since I was using a flash, I set my shutter speed to the sync speed of my camera (1/200th of a second). And the ISO? Kept it as low as possible – ISO 100 – to minimize noise.
Shooting: Now came the actual taking-pictures part! I told my sister to just relax and try different poses. I shot a bunch of photos, trying different angles and compositions. I made sure to pay attention to her eyes – that’s where you connect with the viewer, right? I told her to think of something meaningful, to help her expression look natural.
The “Fast Shutter” Bit: Okay, so the title mentions “fast shutter.” Here’s where that comes in. I was initially aiming for that super sharp, crisp look, so I started with a faster shutter speed (like 1/200th). But then I started experimenting. I dropped the shutter speed a bit, letting in more ambient light, and it gave the portraits a slightly different feel. It wasn’t a huge difference, but it added a subtle softness. I ended up liking some of the shots taken with a slightly slower shutter better.
Post-Processing: This is where the magic REALLY happens, in my opinion. I imported all the photos into Lightroom. The key to a good black and white conversion, for me, is playing with the individual color sliders. Even though the image is going to be black and white, the original colors still affect the tones. So, I darkened the blues and greens (for the background) and brightened the reds and oranges (for skin tones). I also played with the contrast, highlights, and shadows to get the look I wanted. And a touch of sharpening, of course.
Lessons Learned:
- Simplicity is Key: One light, simple background, minimal posing. It all helped to focus on the subject.
- Don’t Be Afraid to Experiment: That “fast shutter” thing? It wasn’t a strict rule. Messing around with it led to some interesting results.
- Post-Processing is Crucial: A good black and white conversion can make or break a portrait.
Overall, it was a fun and challenging session. I’m still learning, but I’m happy with how some of the portraits turned out. And hey, that’s the point of all this, right? To learn, experiment, and have fun with photography.
Hope this helps someone out there! Now go shoot something!
")


")


