
Alright, so I decided to give night time portrait photography a whirl. It’s something I’ve been wanting to try for a while, you know, capturing faces when it’s dark out. Seemed like a good challenge.
My First Steps & Thoughts
First thing I did was think about what I’d actually need. Low light means the camera struggles, right? So, I knew I couldn’t just point and shoot like in the daytime. My biggest worry was getting sharp photos, not just blurry messes. And also, how to actually light up the person without it looking weird or like a deer in headlights.
Getting My Gear Ready
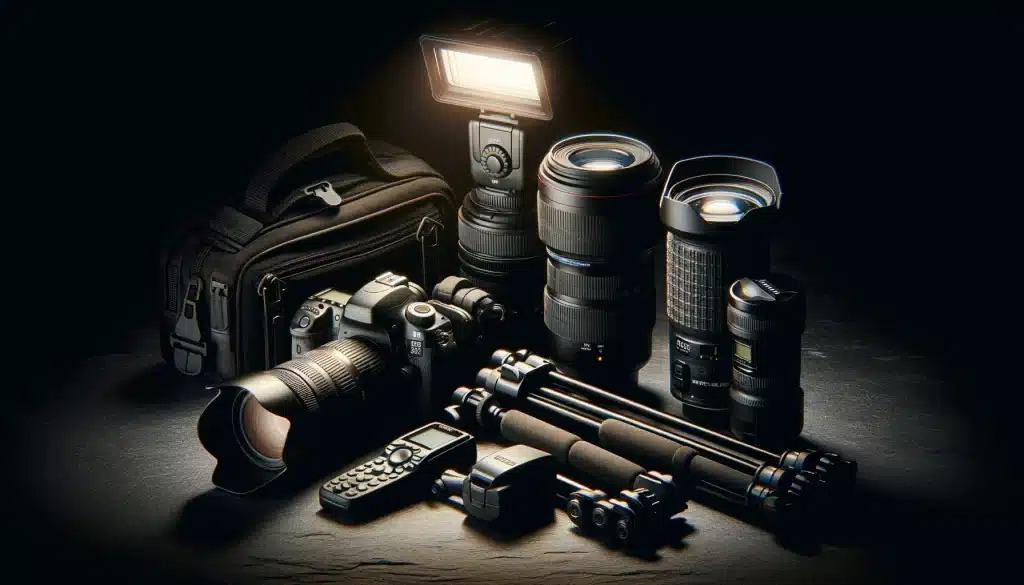
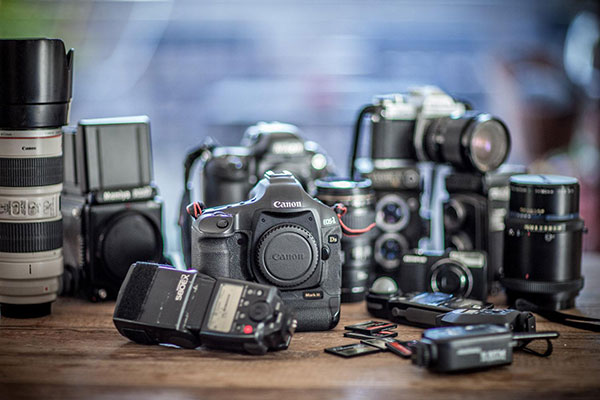
I grabbed my usual camera, nothing super fancy. I made sure to pick a lens that can open up pretty wide – you know, to let more light in. I think they call it a ‘fast’ lens. I also dug out my tripod. My hands aren’t the steadiest, especially when you have to use slower shutter speeds, which I figured I’d need. I thought about a flash, but decided to try and use whatever light was around first, maybe add a little something simple if needed. I didn’t want to make it too complicated for my first real try.
Out We Go: Finding a Spot
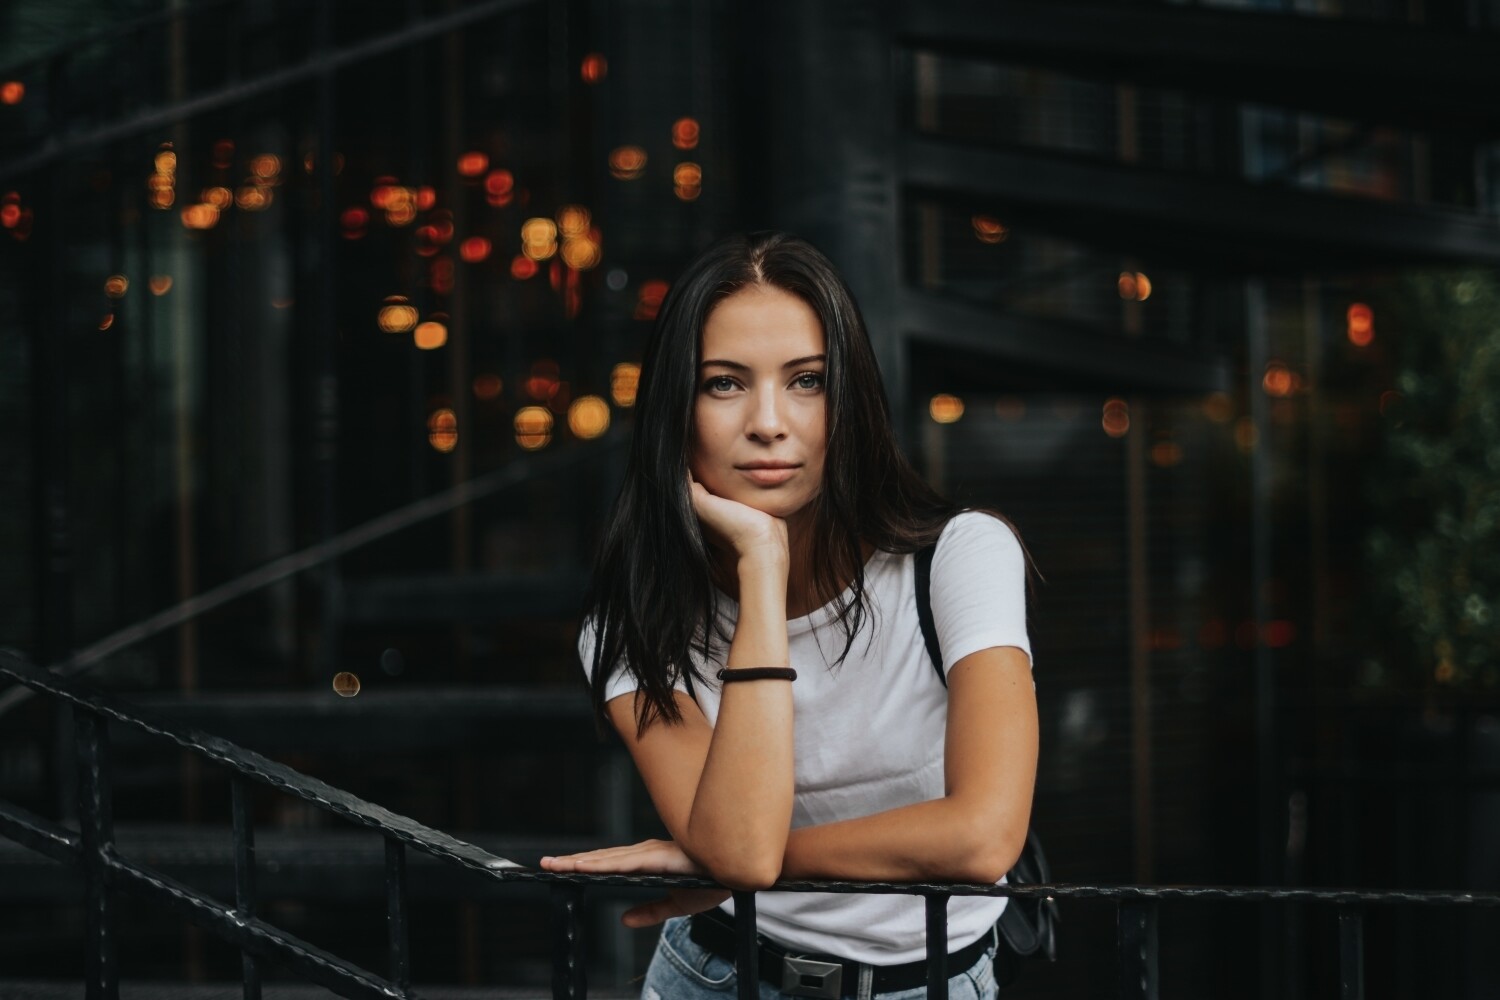
My friend agreed to be my model, which was cool. We wandered around downtown for a bit. I was looking for places with some existing light – streetlights, shop windows, anything that could give a bit of a glow. I didn’t want complete darkness, because then, well, you see nothing. We found this spot near an old building that had some lamps on the wall, casting a nice warmish light. Seemed like a decent starting point.
The Actual Shooting: Trial and Error
Okay, so setting up the camera on the tripod was the first thing. Then I started messing with the settings. I put it in manual mode, ’cause I wanted to control everything. I opened up the aperture on my lens as wide as it would go. Then I started playing with the shutter speed and ISO.
My first few shots were, honestly, pretty bad. Some were way too dark. I slowed the shutter speed down, but then if my friend moved even a tiny bit, it was blurry. So, I told them to stay super still. Like, statue still. Then I tried bumping up the ISO. That made things brighter, but then the pictures started to look a bit grainy. It was a real balancing act.
Focusing was another beast. The camera had a hard time locking on in the dark. I switched to manual focus for a lot of shots. I’d use the live view on the camera screen, zoom in on my friend’s eye, and try to get it as sharp as possible. It took a few tries for each pose.
We then experimented a bit with a small LED light I had in my bag. Just a little panel. I tried holding it at different angles, sometimes to the side, sometimes a bit from above, just to see how it changed the shadows on their face. It definitely helped to make them ‘pop’ a bit more from the background.
Getting Somewhere
After a while, I started to get a feel for it. The shots where my friend was near one of those wall lamps, with me using a slightly slower shutter speed (thanks, tripod!) and a bit of fill from my LED light, those started to look pretty cool. The background got a nice blur, and their face was lit up okay. The ambient light gave a nice mood.
I also tried to use some of the brighter shop windows as a main light source. Had my friend stand near one, facing it slightly. That actually worked quite well, gave a nice soft light. The key was really just trying different things and seeing what happened. Lots of checking the back of the camera.
A Quick Look at the Results
Later, I pulled the photos onto my computer. Some were definitely still duds, no doubt. But a few of them, I was pretty happy with! I did a little bit of editing, mostly just tweaking the brightness and contrast, maybe warming up the colors a touch on some of them. Nothing too heavy.
What I Learned
So, what did I take away from this little adventure?
- A tripod is your best friend. Seriously. Unless you want everything blurry.
- Don’t be afraid to crank the ISO, but know its limits. A little grain is better than a black photo.
- Manual focus can be a lifesaver when autofocus gives up.
- Look for existing light sources. Streetlights, windows, anything. Use them to your advantage.
- Even a small, simple light source you can move around can make a big difference. My phone flashlight even came in handy for a shot or two just to see what it would do.
- Patience is super important. It takes time to set up, get the settings right, and for your model to hold still.
It was a fun experience, and I definitely learned a lot just by doing it. I’m keen to try it again, maybe experiment with some different types of lights or locations. If you’re thinking about it, just grab your camera and go for it. Don’t worry too much about having all the fanciest gear to start with. Just play around!
")


")


