
So, I decided to finally try that long exposure thing at night. You see those pictures online, right? The ones with the car lights streaking across like lasers. Looked cool, figured I’d give it a shot.
First thing, had to dig out my gear. Grabbed my usual camera, nothing fancy. The most important bit, apparently, is a tripod. Found my old shaky one in the closet, hoped it would be steady enough. Also grabbed a remote shutter thingy I bought ages ago and barely used, figured it might help stop me wobbling the camera when I pressed the button. Could’ve used the camera’s timer too, I guess.
Finding the Spot & Setting Up
Finding a good spot wasn’t super easy. I ended up going to that overpass looking down onto the main road. Seemed like a classic spot for light trails. It was pretty chilly out, mind you. Setting up the tripod in the dark was a bit of a fumble, trying to get the legs level on the uneven pavement. Snapped the camera on top. Looking through the viewfinder or at the screen, framing the shot was tough ’cause everything was so dark. Just pointed it where I thought the cars would make cool lines.
Messing with Settings (The Hard Part)
Okay, camera settings. This is where I just started guessing, really.
- Put the camera in Manual mode (M). Gotta control everything yourself.
- ISO: I remember reading somewhere to keep ISO low, like 100 or 200, to avoid grainy pictures. Tried that. Took a shot. The picture was basically black. Useless. Okay, had to bump it up. Went to ISO 400, then tried 800 like some online tips vaguely mentioned. Seemed to let more light in, which I needed.
- Aperture (f-stop): This controls how much light the lens lets in too, and how much is in focus. I heard f/8 or f/11 is good for keeping things sharp, like landscapes. So I started around f/8.
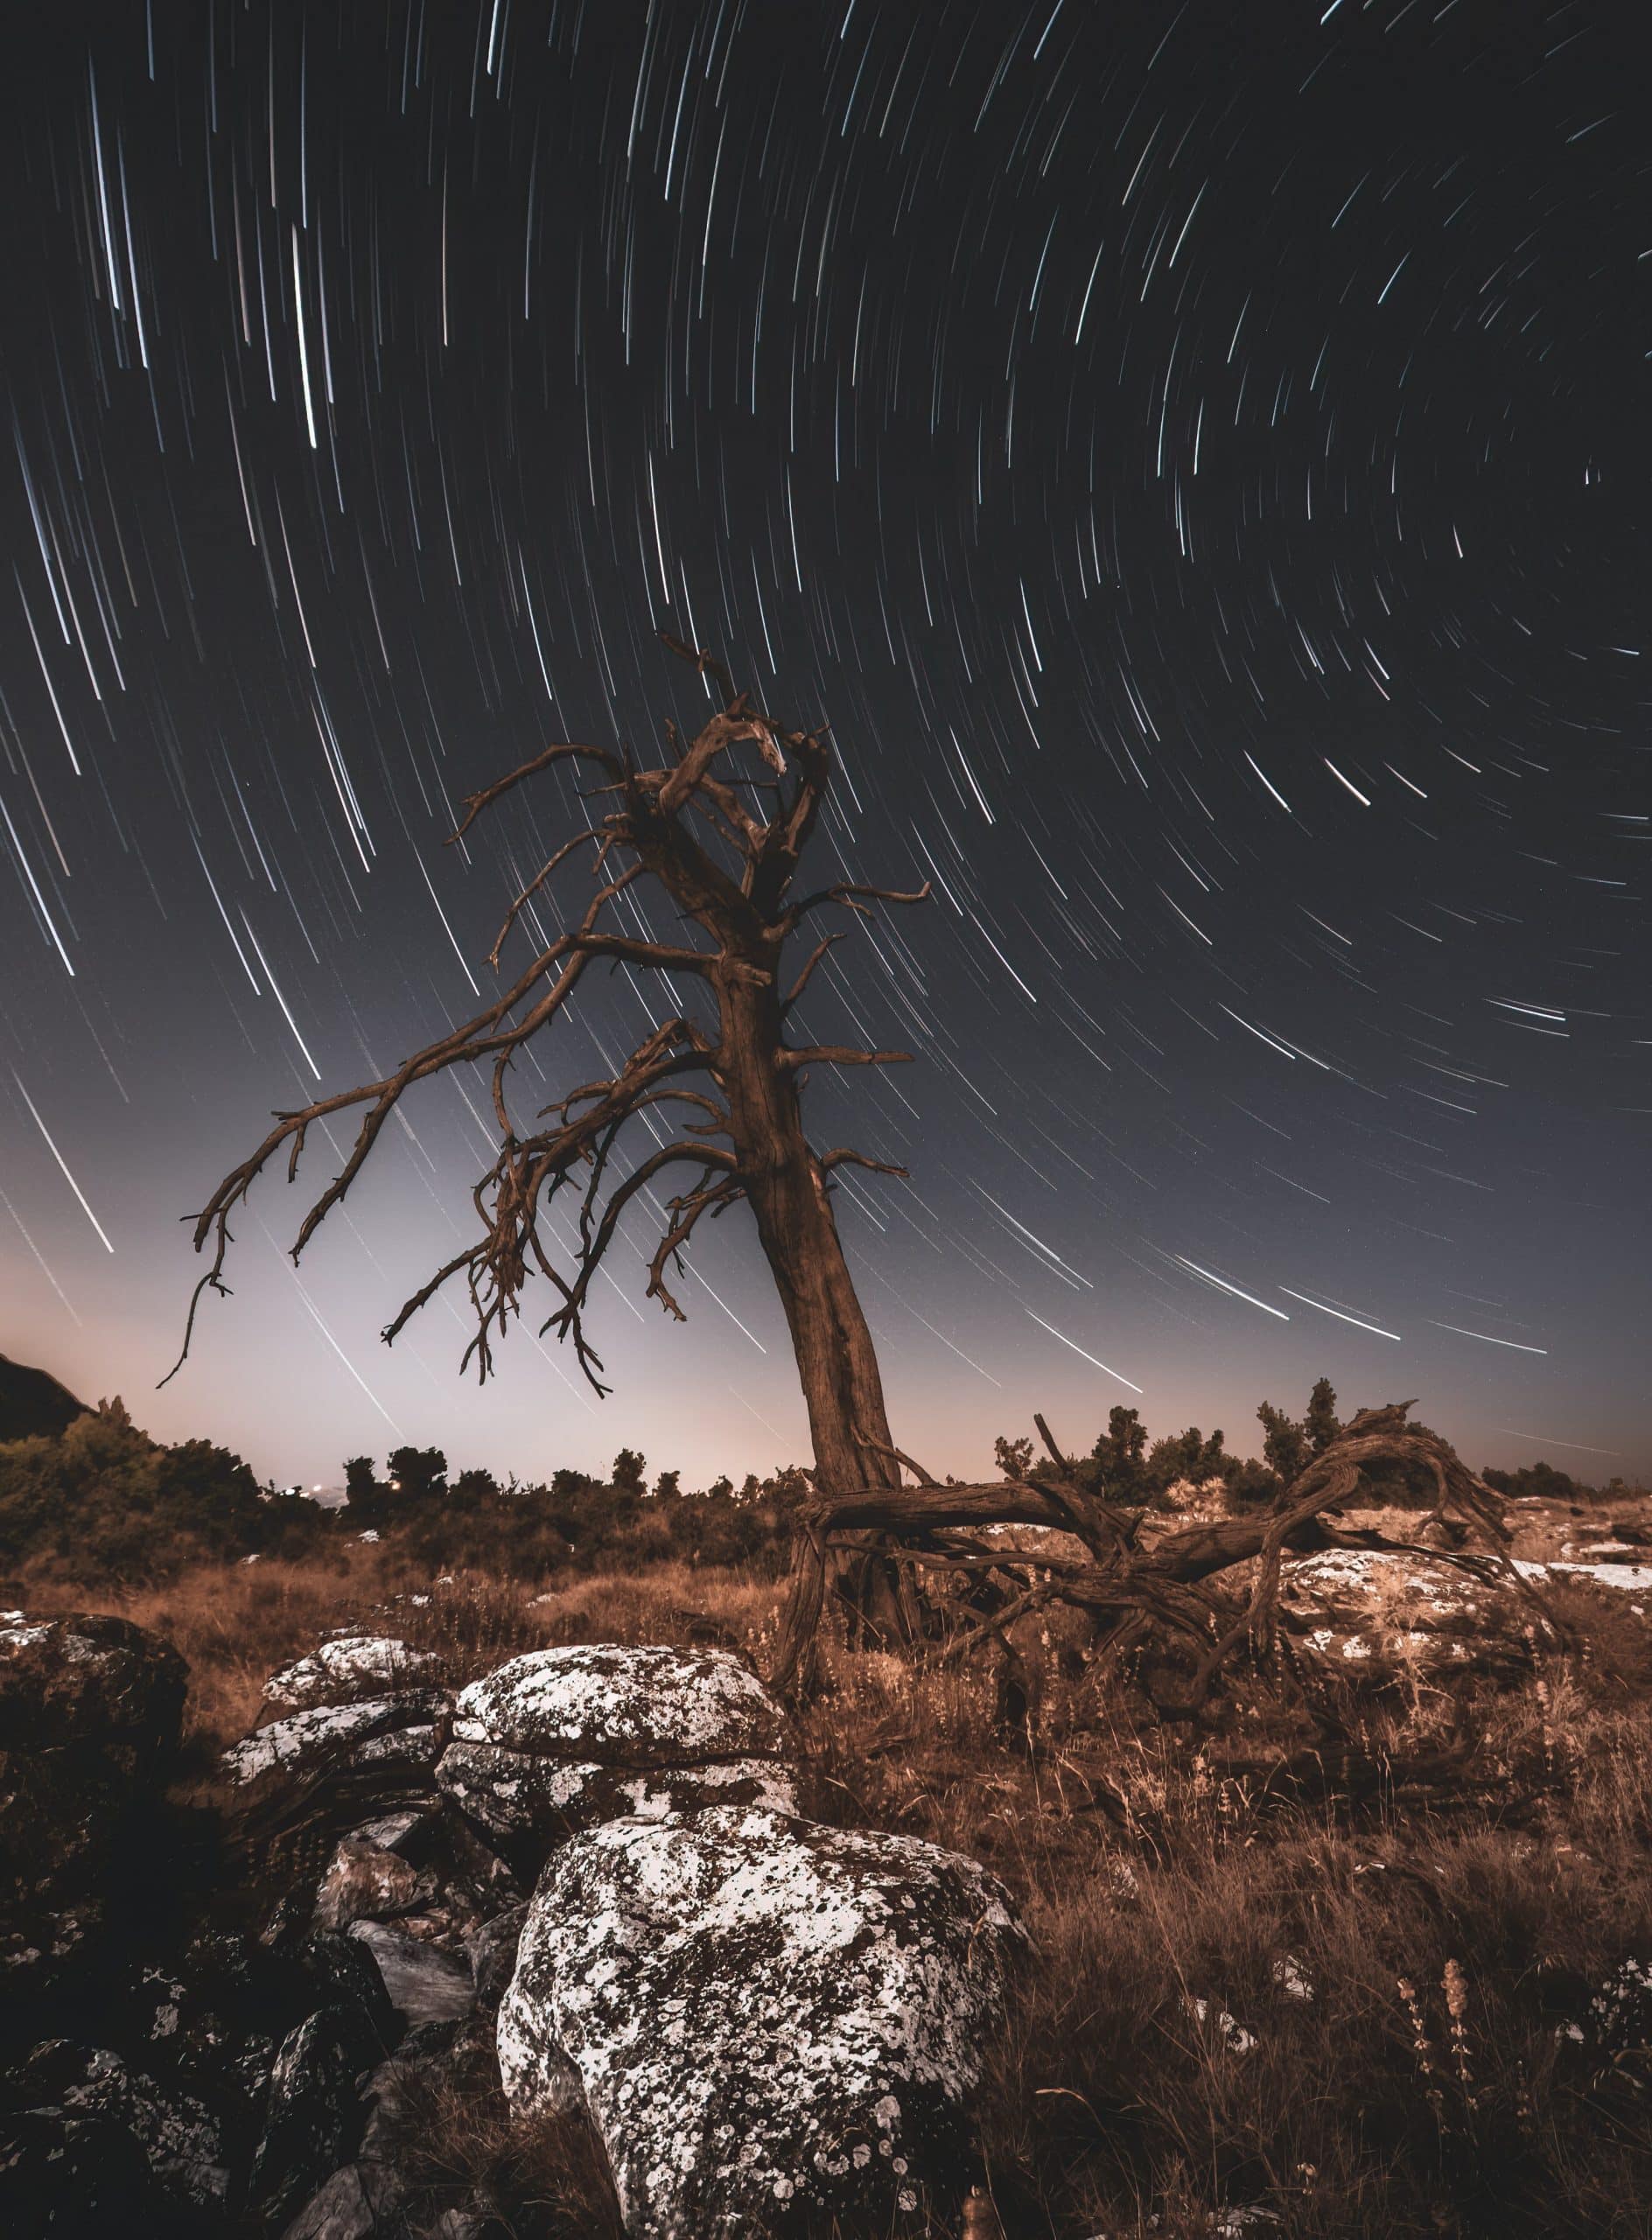
- Shutter Speed: This was the main event. How long the camera’s eye stays open. This had to be slow to get the light trails. I started with maybe 5 seconds. Took a picture. Hey, I could see some faint streaks! Progress!
- Focus: Oh yeah, focusing was a nightmare. Autofocus just hunted back and forth in the dark, couldn’t lock onto anything. Had to switch the lens to manual focus (MF). Then I used the camera screen, zoomed in digitally on a distant streetlight, and twisted the focus ring until the light looked like a sharp dot. Hoped for the best.
Taking the Shots
So then it was just trial and error.
Used the remote to start the picture. The camera would click, then just sit there, quietly capturing the light for 5, 10, sometimes even 20 or 30 seconds. Waiting felt like ages, especially in the cold. Cars zoomed underneath, their headlights and taillights painting lines on my camera’s sensor (or so I hoped).

Checked the little screen after each shot.
- “Too dark.” Okay, maybe longer shutter speed? Or higher ISO?
- “Too bright!” Alright, maybe shorter shutter speed? Or smaller aperture (like f/11 or f/16)? Or lower the ISO if I could?
- “Streaks look cool, but the buildings are blurry.” Maybe the tripod moved? Or it was just the wind?
I must’ve taken dozens of pictures, tweaking things slightly each time. Changed the shutter speed a lot – 8 seconds, 15 seconds, 25 seconds. Played with the aperture a bit too. It was a lot of just guessing and seeing what happened. Standing there, watching the traffic, waiting for the camera.
The Results
Packed up when I couldn’t feel my fingers anymore. Got home, loaded the pictures onto the computer. Honestly? A lot of them were junk. Blurry ones, ones where the bright lights were totally blown out, ones that were just too dark. But… there were a few that actually looked pretty cool! Got those nice, smooth light trails I was after. It wasn’t perfect, but seeing those streaks, knowing I made them happen by leaving the shutter open, felt pretty good.
Definitely learned that a sturdy tripod is probably worth investing in, and that patience is key. And bring gloves next time. Might try it again sometime, maybe find a different spot.
")


")

")


