
Alright, folks, let’s dive into how I tackled creating a travel itinerary for a super remote area. It was a bit of a beast, but totally worth it!
Step 1: The Initial Brain Dump
First things first, I opened up a fresh Google Doc. I didn’t worry about formatting or anything, just started typing out everything I could think of related to the trip. Where did I even want to go? What did I want to see and do? What were my “must-haves” versus “nice-to-haves”? It was a total mess, but getting it all out on “paper” was crucial.
Step 2: Research, Research, Research!
This is where things got serious. I spent hours, maybe even days, just Googling. I looked at:
- Blogs: Other people’s experiences are gold. I searched for phrases like “[remote area name] trip report” or “[remote area name] backpacking blog.”
- Forums: Reddit, TripAdvisor, and other travel forums can have some really specific and helpful info, especially for less-traveled places.
- Maps: Google Maps is great, but I also checked out specialized maps, sometimes even topographical maps, to get a sense of the terrain.
- Local Tourism Websites (if any): Sometimes, even the tiniest villages have a website with some basic info.
- I even went on some random websites,but most of them are useless.
I took notes on everything: potential campsites, water sources, transportation options (or lack thereof), permit requirements, local customs, you name it. I didn’t get too bogged down in details at this stage, just gathered as much raw info as possible.
Step 3: Whittling it Down
Okay, now I had a mountain of information. Time to start making some tough choices. I asked myself:
- What’s realistically doable in the timeframe I have?
- What are my absolute top priorities?
- What can I realistically cut out?
- Are there any logistical nightmares I need to avoid? (Like, needing to backtrack for days to get to a certain spot.)
This was probably the hardest part. I had to be ruthless and cut out some things I really wanted to do, but it was necessary to create a feasible itinerary.
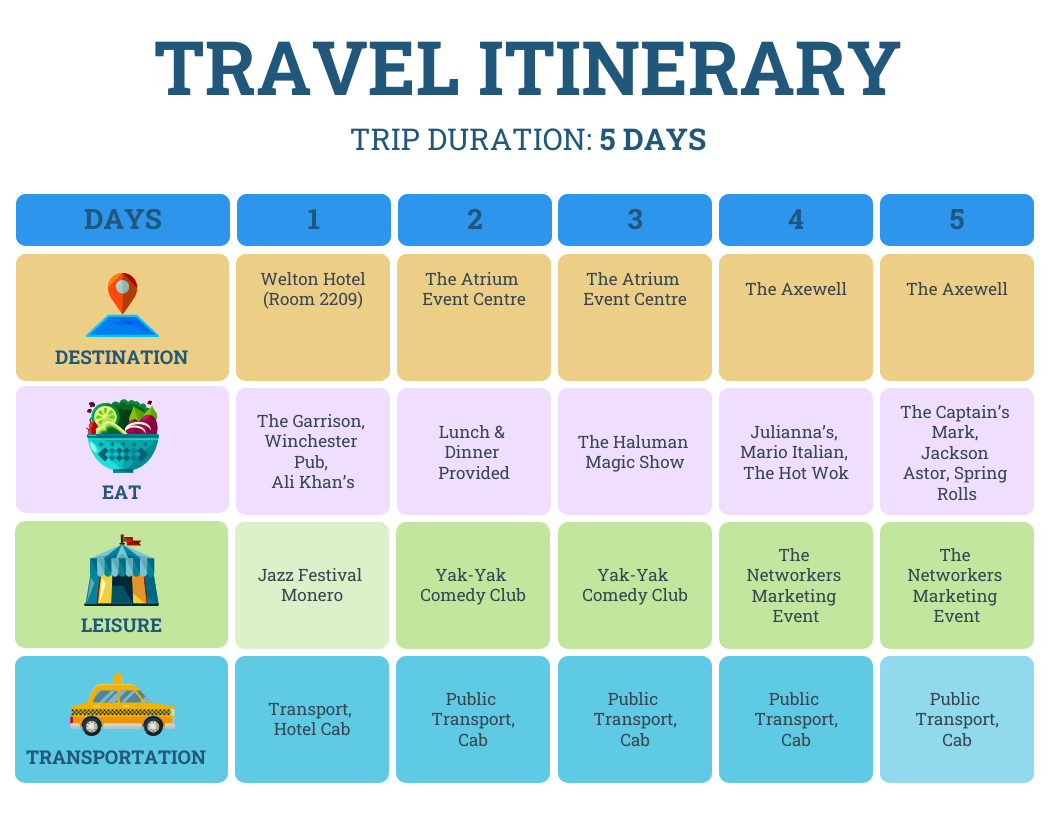
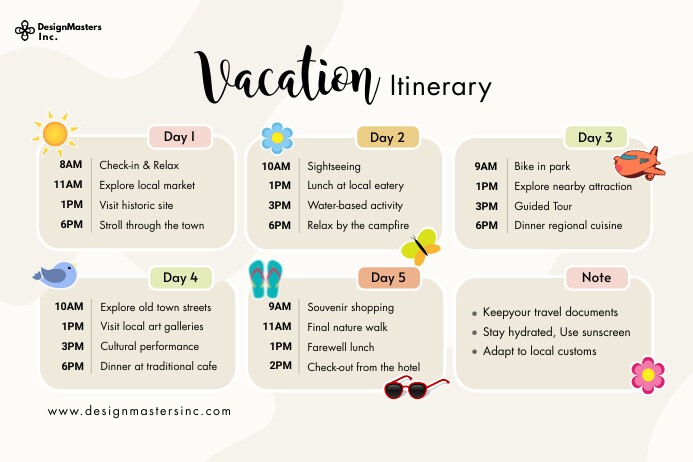
Step 4: Building the Itinerary (Day by Day)
Finally, I started putting together a day-by-day plan. I used a simple table format in my Google Doc:
I made sure to include:
- Estimated travel time: This was crucial for remote areas, where things often take longer than expected.
- Planned activities: Hiking, exploring a specific village, etc.
- Accommodation: Campsite name, guesthouse (if any), or just “wild camping.”
- Food/Water: Notes on where I planned to resupply, or if I needed to carry everything.
- Contingency plans: What would I do if something went wrong? (Bad weather, trail closure, etc.)
I try my best to make some Contingency plans,it’s really hard for me.
Step 5: Review and Refine
Once I had a draft itinerary, I went back and reviewed it multiple times. I looked for potential problems, double-checked distances and travel times, and made sure everything flowed logically. I also shared it with a friend who’s an experienced traveler for feedback. (Fresh eyes are always helpful!).
Step 6: Finalize and Pack!
After a few rounds of revisions, I had a solid itinerary I felt confident about. I printed out a physical copy (crucial for remote areas with no cell service!) and packed my bags. Of course, things rarely go exactly as planned when you’re traveling, but having a well-thought-out itinerary gave me a great framework and peace of mind.
I printed and put them in to my bag, finally I can go now!
It’s a lot of work, but totally worth it for an amazing adventure in a remote area!


")


